Working Instructions of MailsDaddy Outlook PST Repair tool
Step by step instructions to repair corrupted Outlook PST files and search & export specific emails using MailsDaddy Outlook PST Repair software.
How to Recover Corrupted PST file? (6 Steps)
Click on any screenshot to view full resolution.
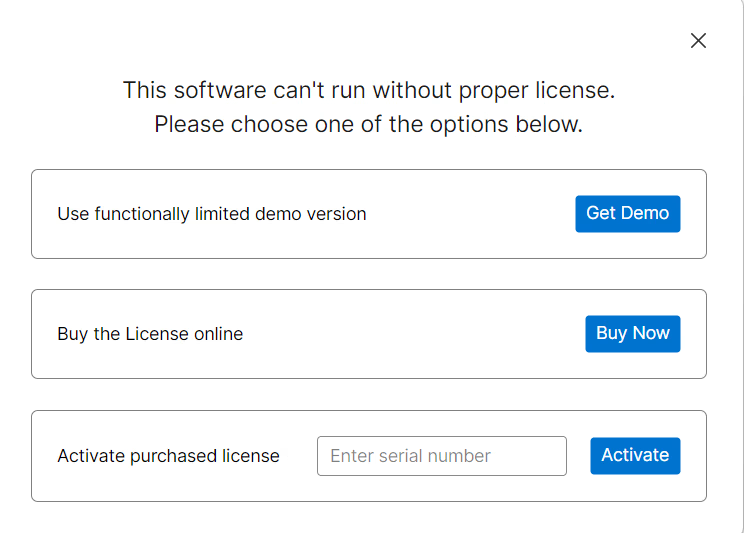
Download & Activate Outlook PST Repair
Download and install the MailsDaddy Outlook PST Repair software and activate with a genuine licensed activation key, or start with the free demo version to evaluate all functionalities.
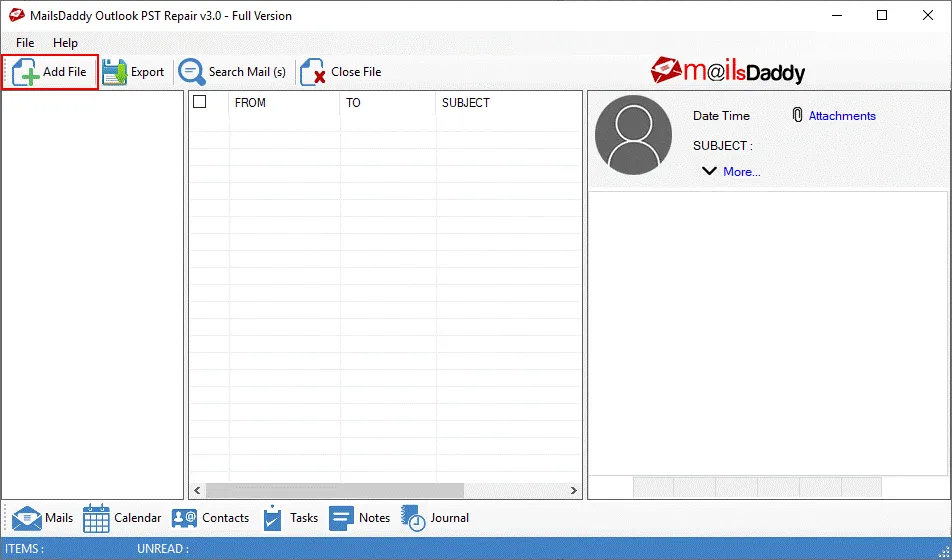
Add Corrupted PST File
The Outlook PST repair tool automatically opens after activation. Click on the Open File button to add the corrupted or inaccessible PST file.
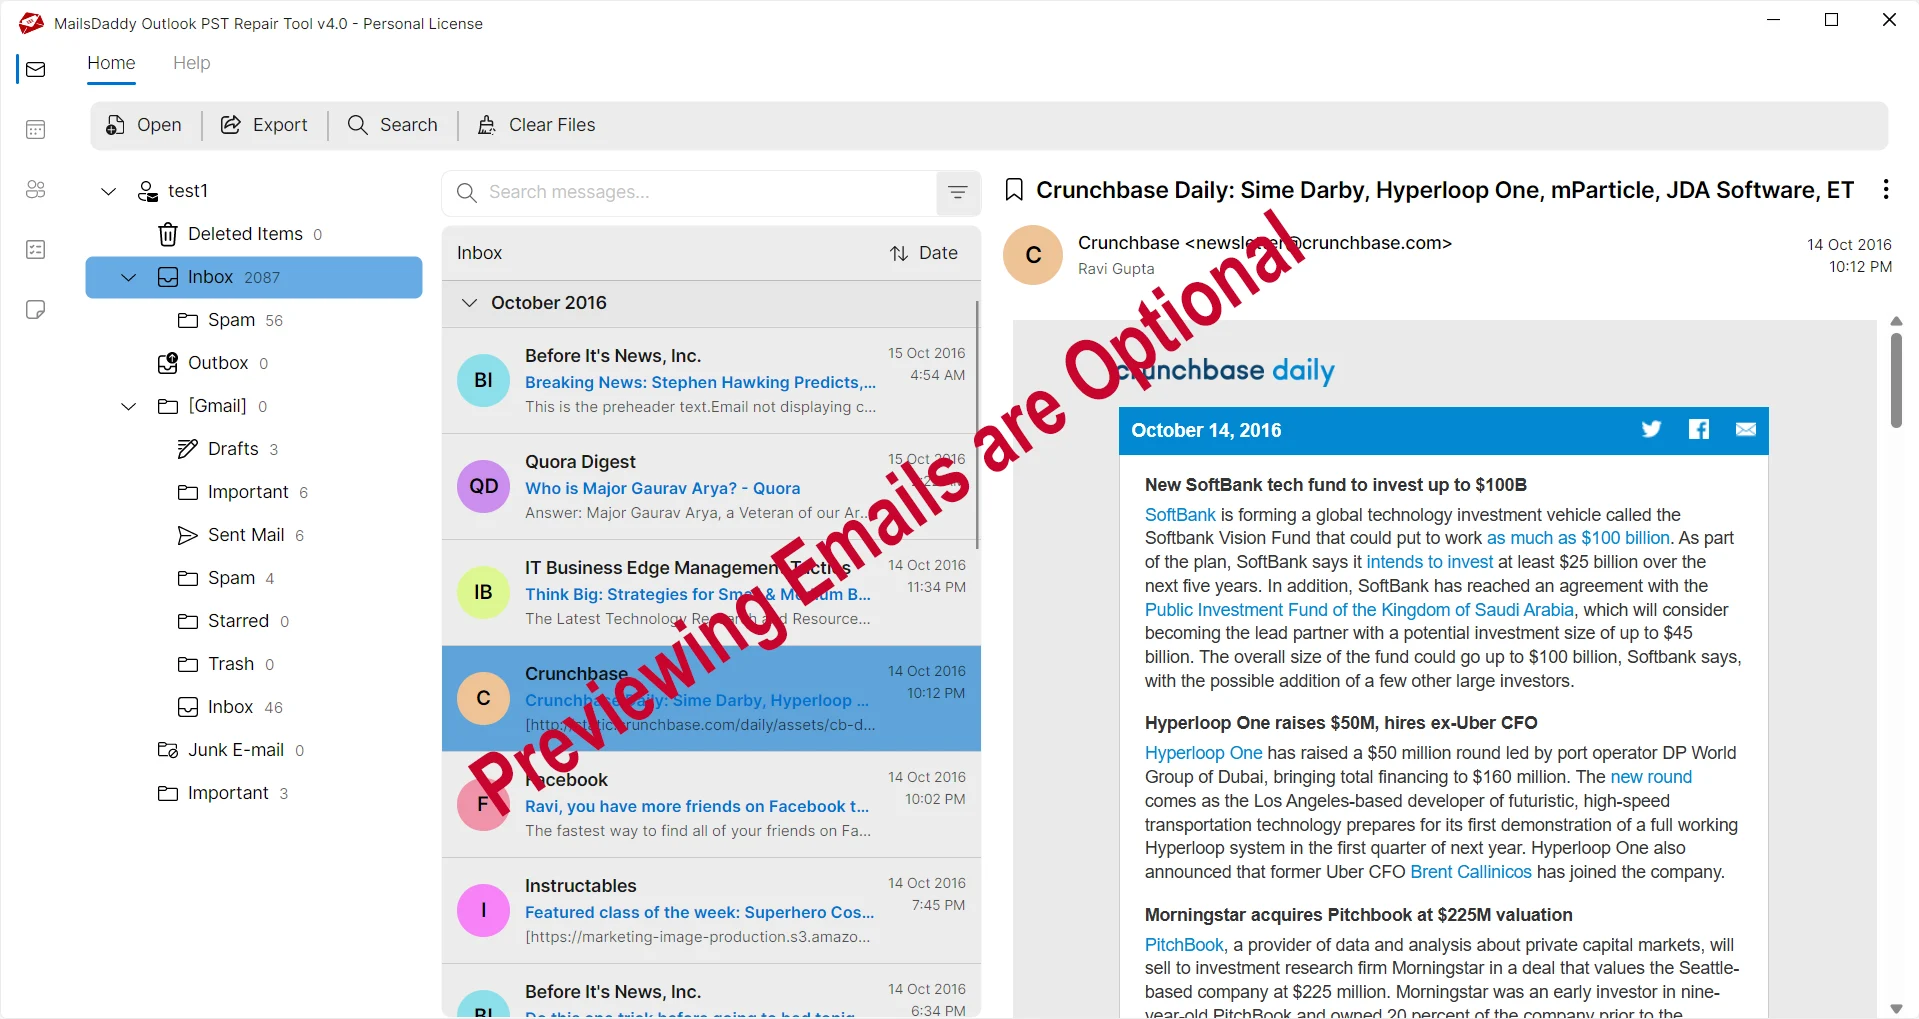
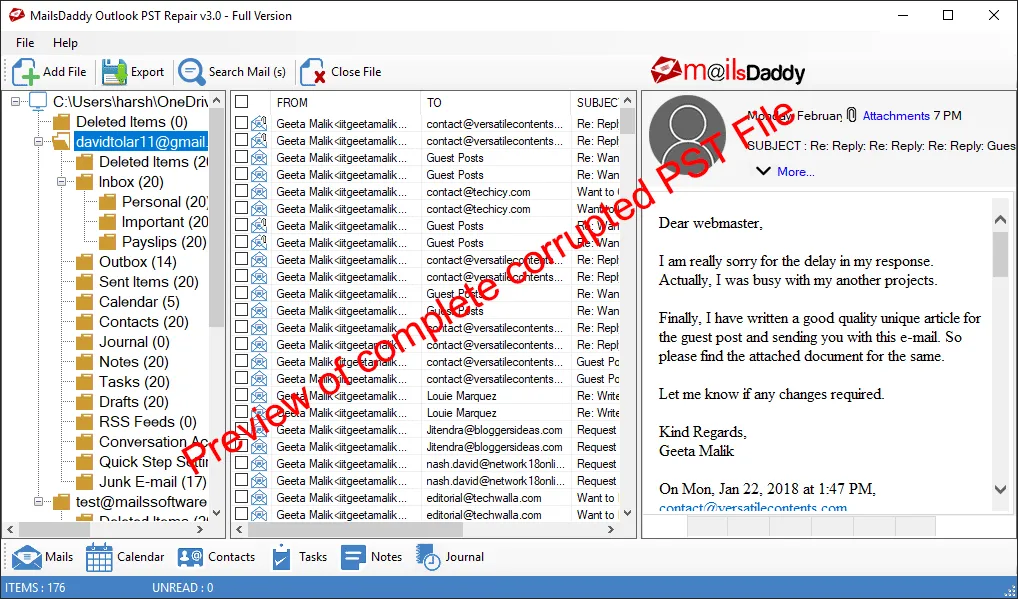
Preview Recovered Mailbox Data
Preview recovered emails, attachments, contacts, and calendars in the preview pane. After reviewing the contents, click on the Export button.
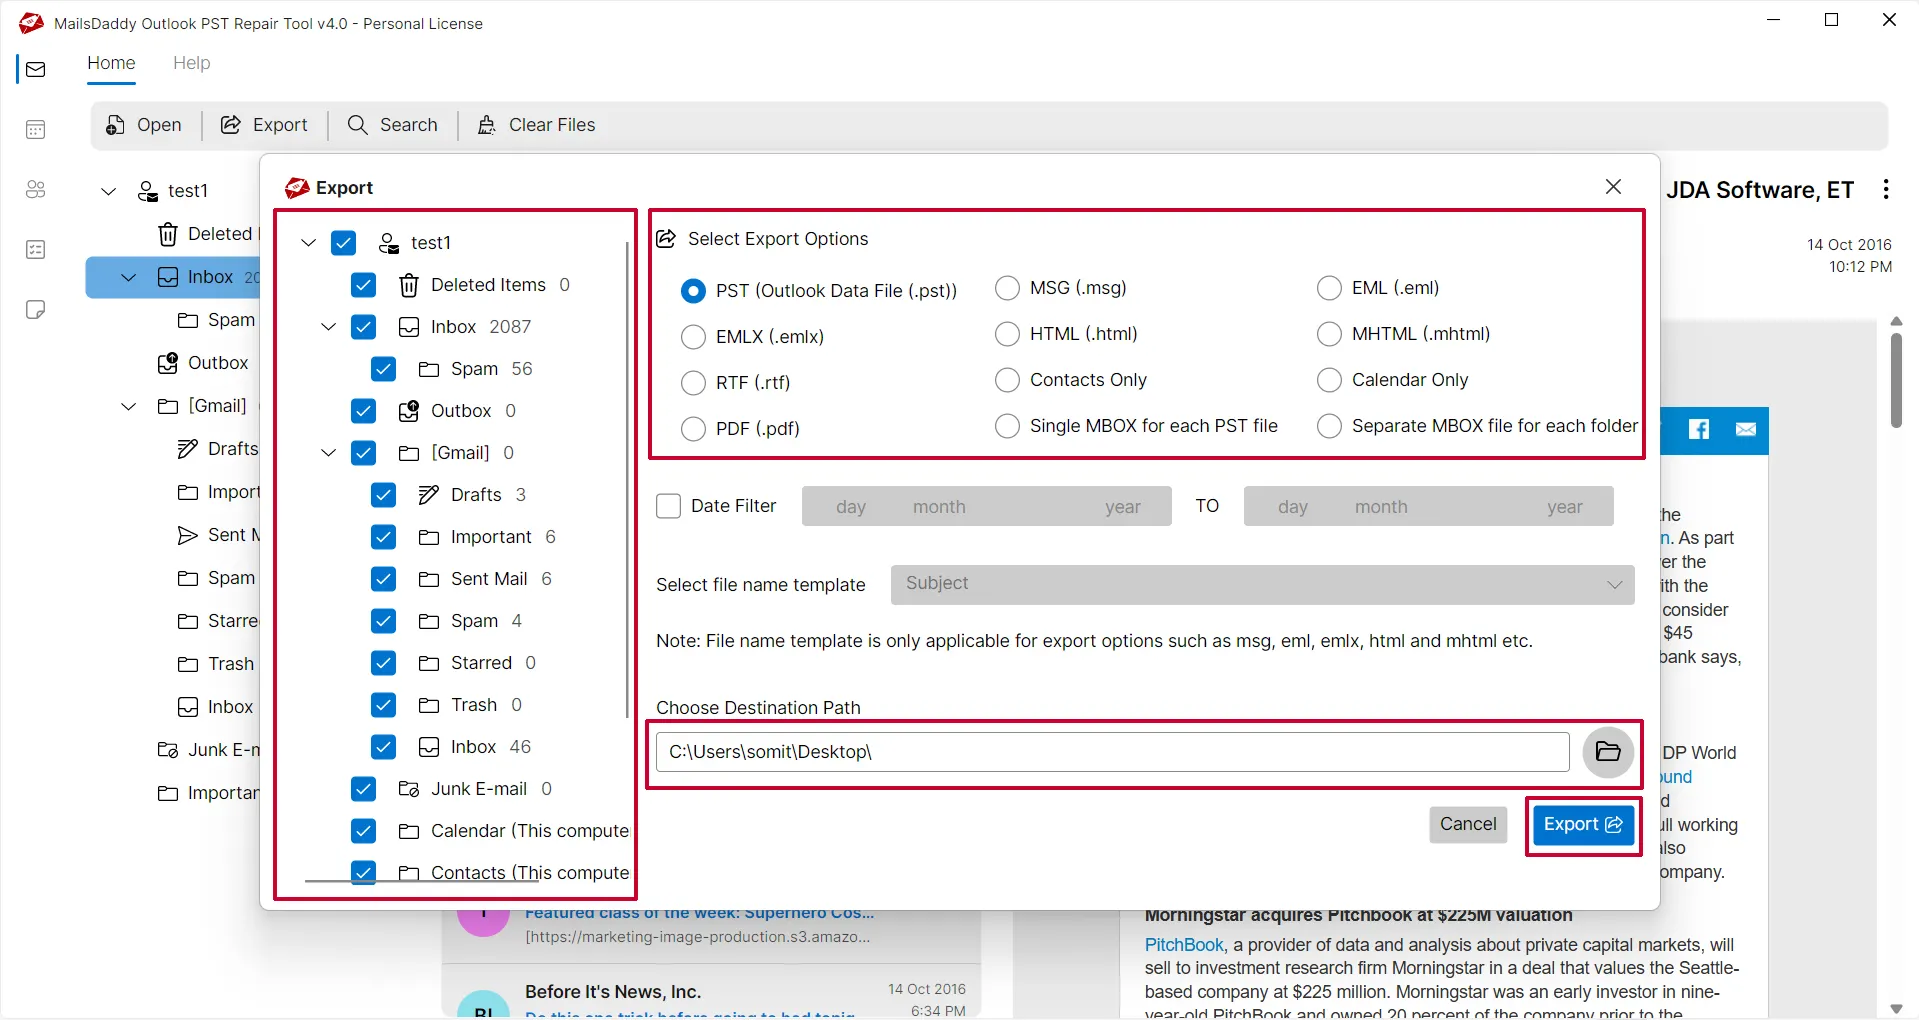
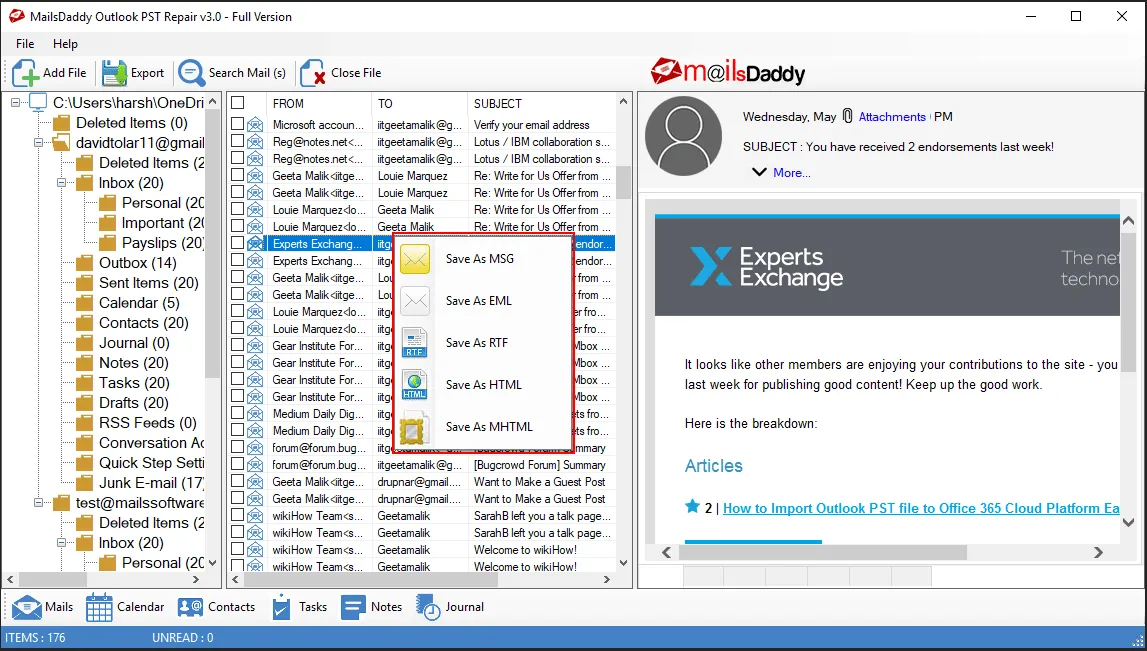
Select Export Format & Destination
Select all or specific folders you want to export. The application offers multiple export options: PST, EML, MBOX, HTML, MSG, RTF, etc., along with separate contacts and calendar export. Set your destination folder and click Export.
Monitor Recovery & Conversion Progress
Within a few seconds, the migration progress window will appear, displaying real-time item conversion status.
Complete Repair Process
Wait for the confirmation window to complete the process, then click on the OK button to finish repairing and exporting your PST file.
Ready to Start with Outlook PST Repair?
Download the free trial version to preview all mailbox items or buy the full license for unlimited conversion.