Managing SharePoint storage quotas is critical for smooth operations and collaboration within Microsoft 365. As your organization grows, so does your data. Monitoring and expanding your storage resources requires careful planning and the right tools.
As the IT administrator, you are responsible for managing site storage and limits so that the organization can continue its work without interruption.
In this guide, we will learn how to effectively view, manage, and expand SharePoint storage manually and using PowerShell.
How to View SharePoint Storage Limit – Simplified vs. Dashboard View
Microsoft offers two different views: a Simplified one for site owners and a Dashboard for admins to access full control over SharePoint.
Simplified View (Site Level or Site Administrator – No Admin Access)
The steps below help you identify SharePoint storage usage without admin access. If you need additional space, you should send a request to your IT admin with details of the current available storage and the amount required.
- Log in with your credentials > Apps and go to SharePoint.
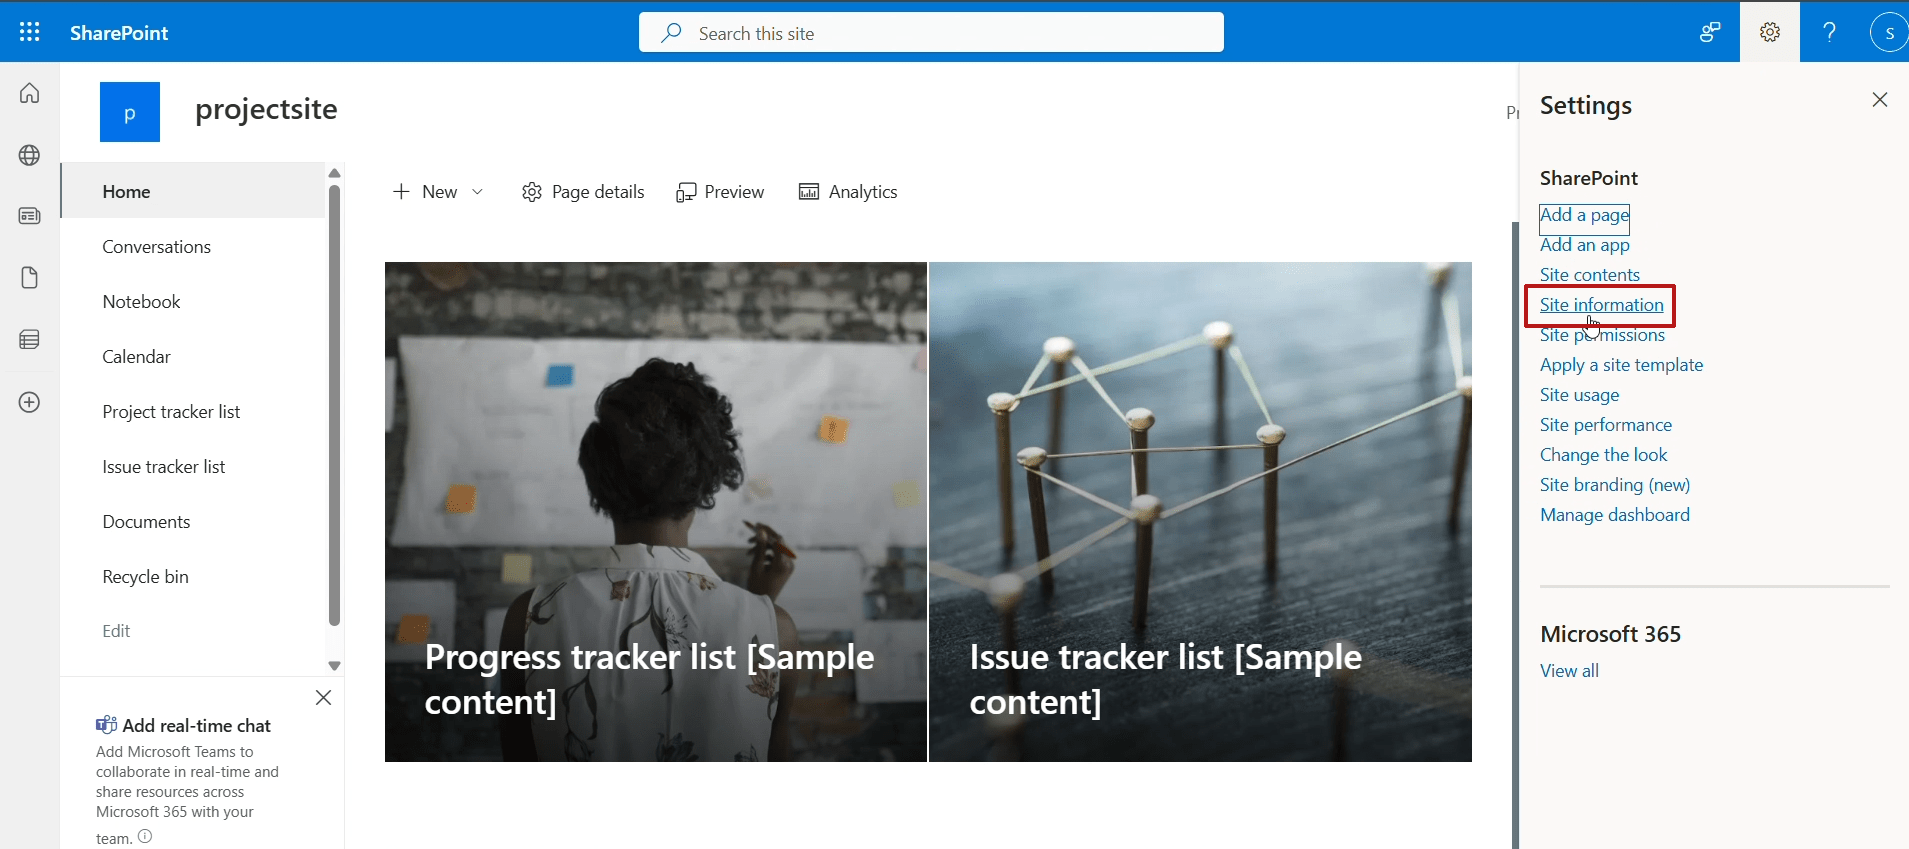
- Open Site > Go to Gear Icon.
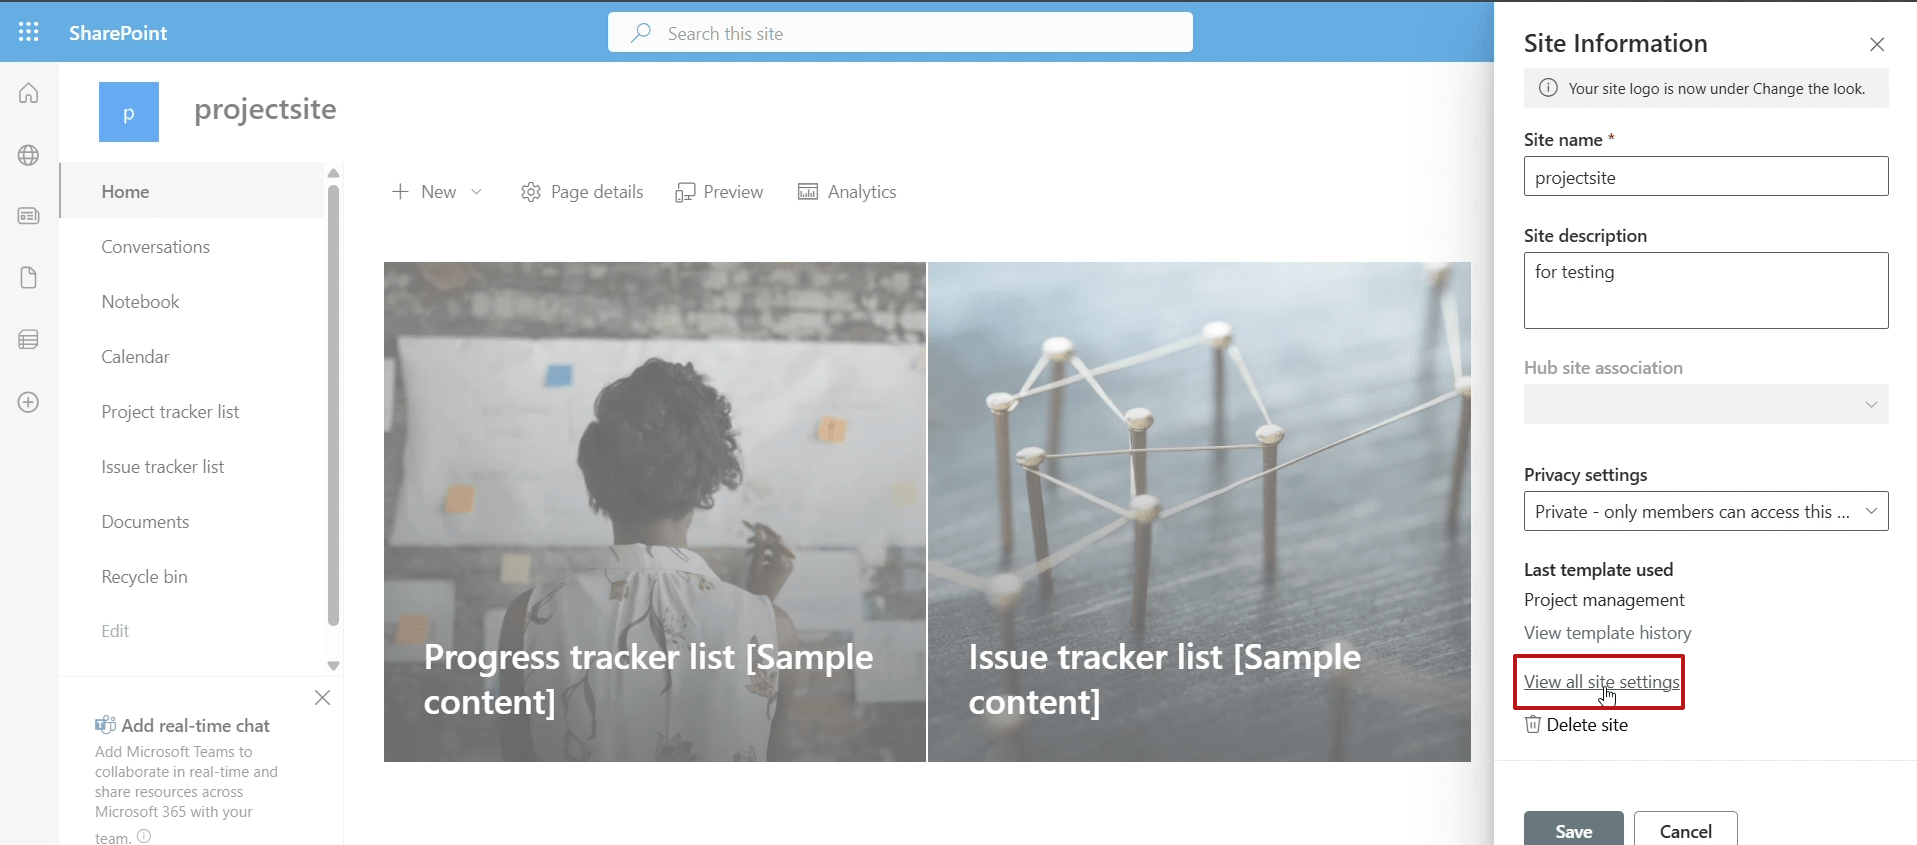
- Select Site information > View All settings.
- Under site collection administrator, choose storage metrics.
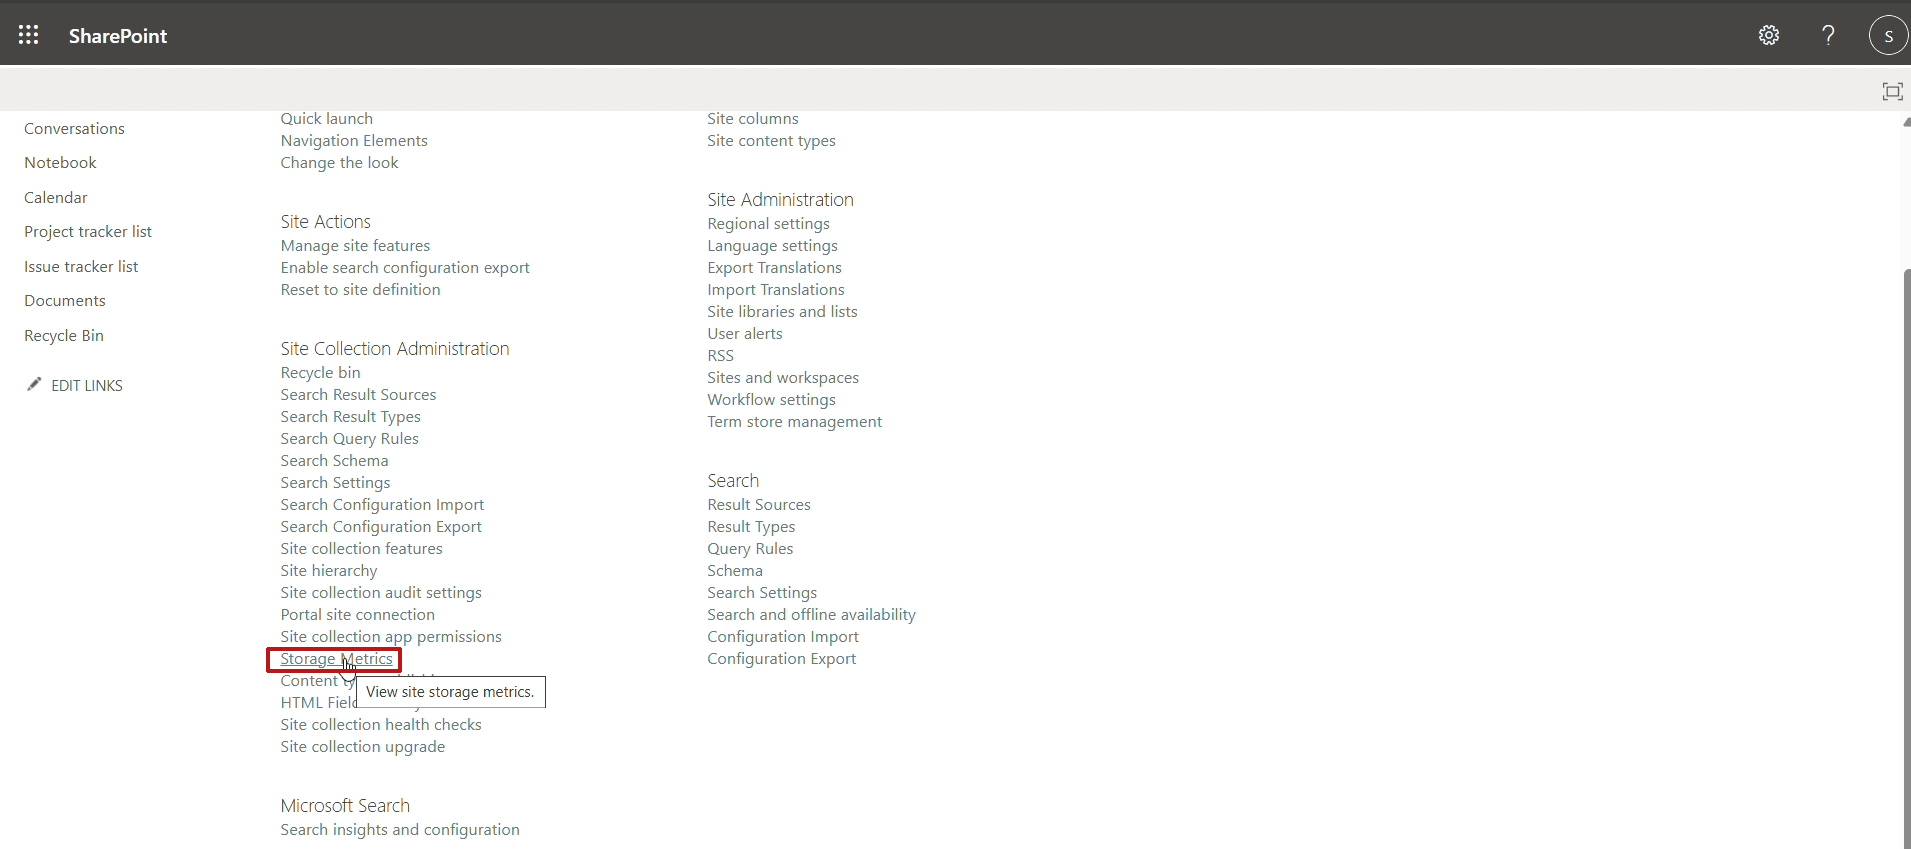
Now you will see the Total size and site quota of the respective site. Also, you will see the total assigned size for the site on the upper right side.
Dashboard View (Global Admin or SharePoint Admin Access)
- Go to the Microsoft 365 Admin Center.
- Navigate to Reports > Usage.
- Under SharePoint, click on the Storage tab.
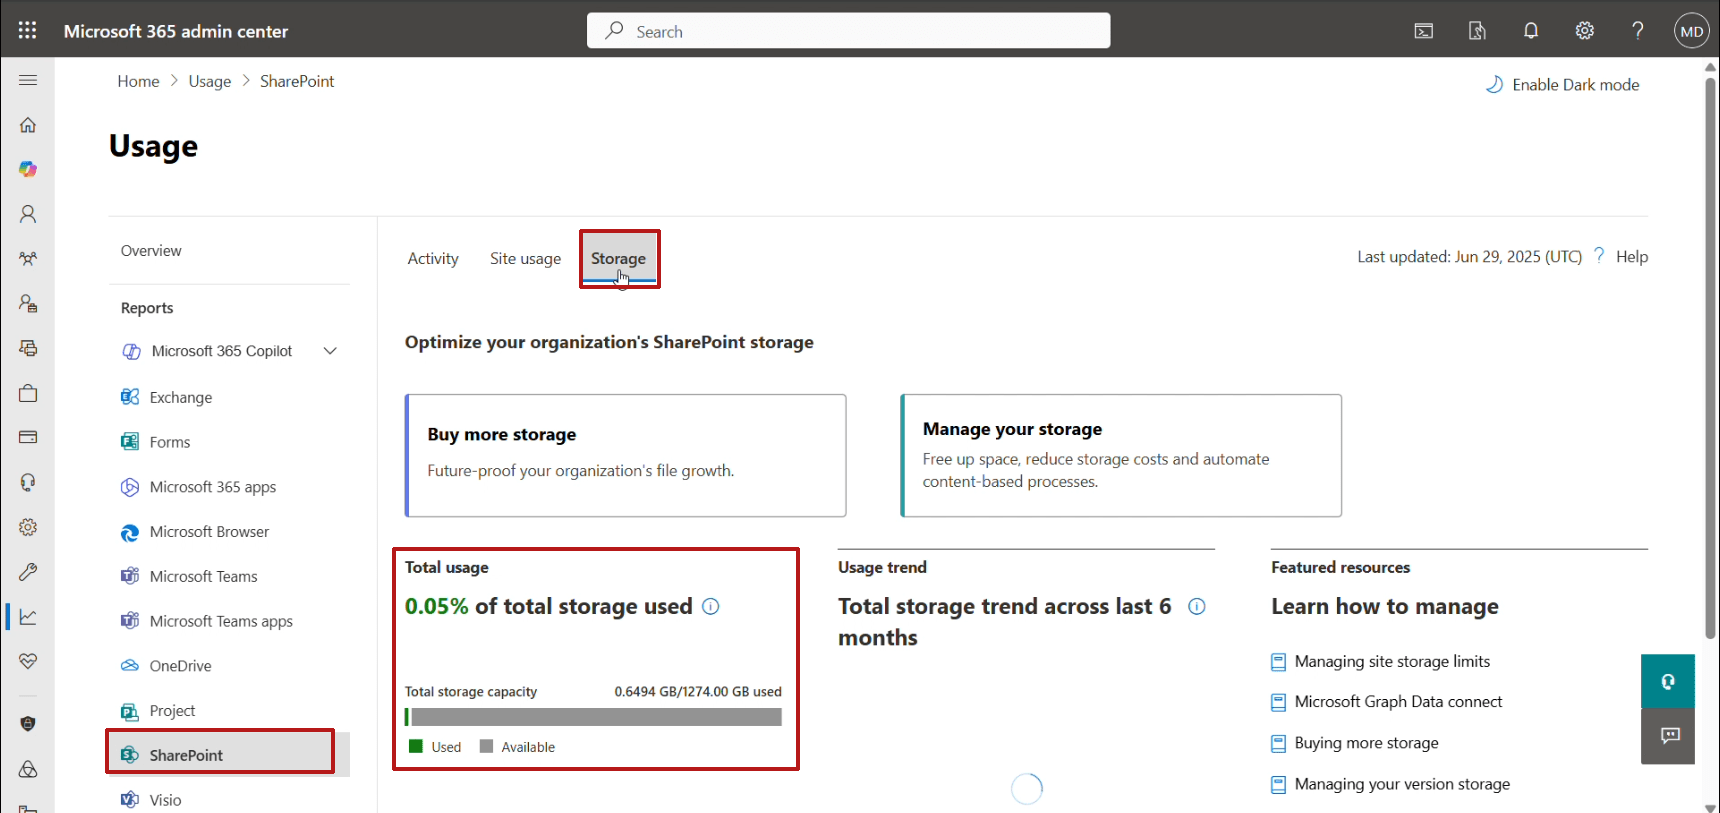
You will see storage usage across all sites and the remaining quota.
Alternative method
- Go to SharePoint Admin Center > Active Sites.
- You will see all site details with the storage used. You can also apply a filter to view from large to small or from Small to large. Click on the particular site to view a detailed report on the right side of the pane.
Why Is It Important to Manage SharePoint Space?
Unmanaged SharePoint space can lead to upload failures, inaccessible files, and compliance and security risks. It will also have a direct impact on the organization’s growth, production, and site updates, which is a matter of deep concern.
By actively managing storage, you can increase user performance, manage files effectively, and prepare yourself for future growth etc.
What is the Automatic and Manual Storage Limit?
Automatic storage quota is assigned by Microsoft and provides each site with a large default quota from the tenant’s total pool. If you want more control over individual site storage, you can switch to manual mode and define quotas yourself.
Automatic Mode:
- Storage is pooled across all sites.
- SharePoint allocates space as needed.
- Recommended for large organizations.
Manual Mode:
- Admin assigns a fixed quota per site.
- Useful for controlled environments or critical project sites.
How to Manage SharePoint Storage?
You can manage SharePoint storage in two parts:
- Switch to Manual:
- Visit SharePoint Admin Center > Settings > Site Storage Limits.
- Choose between Automatic or Manual management.
- Change Storage in GB:
- Navigate to Active Sites, select a site, and click on three dots, then choose storage.
- Enter a custom value in GB to limit the site’s maximum usage.
How can a user extend SharePoint Storage without admin access?
Users cannot increase storage on their own unless given admin access. However, site owners can request more space from the SharePoint administrator. After monitoring the site usage report or metrics, the user can inform or send a request to increase the quota of the site.
After reviewing the storage, Admins can grant additional storage to individual sites by editing site limits using Admin Center or via PowerShell.
If you want to self-manage, then delete unnecessary files and folders or move content to OneDrive or Teams Archive (depending on permissions).
Subscription Limitations and Policies for SharePoint Storage
Your SharePoint storage capacity is tied to your Microsoft 365 subscription plan.
- Default Allocation: Each tenant gets 1 TB + 10 GB per licensed user.
- Additional Storage: Can be purchased from the Microsoft 365 Admin Center.
- Storage Cap: Some plans cap at 25 TB per site collection.
Note: Storage policies should include archiving, lifecycle management, and permissions reviews to avoid overuse.
How to Increase SharePoint Storage Using PowerShell?
As an IT admin, changing quotas using PowerShell is a more efficient and manageable method. Use the command below to increase or extend SharePoint storage quickly.
1st Step: Install the SharePoint Online Module
Install-Module -Name Microsoft.Online.SharePoint.PowerShell -Force
2nd Step: Connect to SharePoint Account – Change Tenant name, then run.
Connect-SPOService -Url https://yourtenant-admin.sharepoint.com
3rd Step: Check the Current Quota – Change the Tenant and site name, then run.
Get-SPOSite -Identity https://yourtenant.sharepoint.com/sites/yoursite | Select URL, StorageUsageCurrent, StorageQuota
4th Step: Change Quota – Change Tenant, Site Name, and Value, then run.
Set-SPOSite -Identity https://yourtenant.sharepoint.com/sites/yoursite -StorageQuota [value in MB] -StorageQuotaWarningLevel [value in MB]
Final Thoughts
We learned how to manage SharePoint storage with and without admin access. This article helps you understand the required permissions and access levels needed to efficiently manage your SharePoint quota. Proper storage management not only helps prevent downtime but also supports a scalable and collaborative environment for your team. Whether you have admin access or not, users can apply the methods above to optimize or manually increase SharePoint storage where permitted.
Read More: Link SharePoint to OneDrive
Read More: SharePoint Migration Tool