After purchasing an Office 365 subscription plan it is the first thing every administrator needs to do. But some of the organizations or individual users do not do this and prefer to go with default Microsoft sub-domain name for example ‘[email protected]’. If you are planning to set up your own domain and don’t have an idea how to do this then here you will get detailed information about how to add and verify a new domain to Office 365.
Also for any kind of migration from Exchange On-Premise to Office 365, you need to add a domain to Office 365. To add an external domain need to follow the given steps:
Step 1: Add an additional domain to Office 365 Tenant
Sign-In to Office 365 and from the Admin portal go to Setup a Domain. Then you will be directed to Domain page where you need to click on + Add Domain.
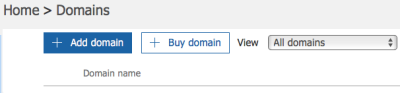
Enter the domain name that you wish (for example mailsdaddy.com) to insert to Office 365 and hit on the Next button.
Step 2: Verify the new domain added to Exchange Online
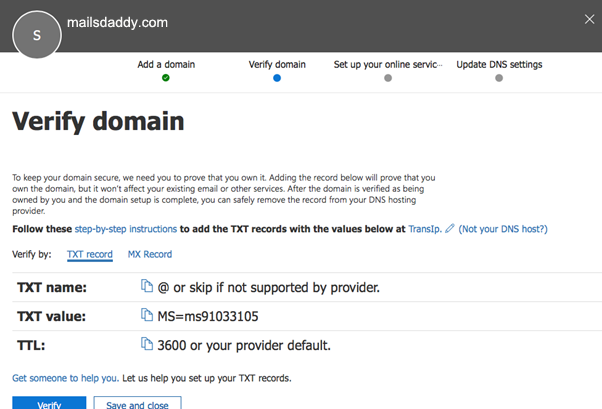
Now, you asked to verify the new domain and you can do it using any of the below options.
- Sign in to Domain Provider Portal: If your domain registered at GoDaddy then you can use this option to proceed with the verification process where you need to sign in to the GoDaddy and verify the domain.
- Verification email: Choosing this option will let to send a verification code to the registered contact on mail.
- Add a TXT record: This allows you to a TXT record to the DNS hosting provider by yourself.
Here, just for now select the last option (Add a TXT record) and click Next. You will be taken to a different page where you find the TXT name, TXT value, and TTL.
Step 3: Follow the steps to insert the custom domain step-by-step
You are not aware of the next steps you can also click on available “step-by-step instructions” to add the TXT record.
- Here, just copy the TXT value and go the DNS management.
- Click on the Add record to insert the record type as TXT.
- Enter the host as @, TTL and paste the copied TXT value.

- Save the record and again, go the Office 365
- Hit the Verify
Note: On this page will find both TXT and MX record, you can set any one of them. The reason both are given as some DNS hosting provider does not support the TXT record, in this case, you need to add the MX record.
Step 4: Set the Online services and Update the Domain Name System setting
You can update the DNS choosing any of the below options.
- Add DNS record for me
- I’ll add the DNS record
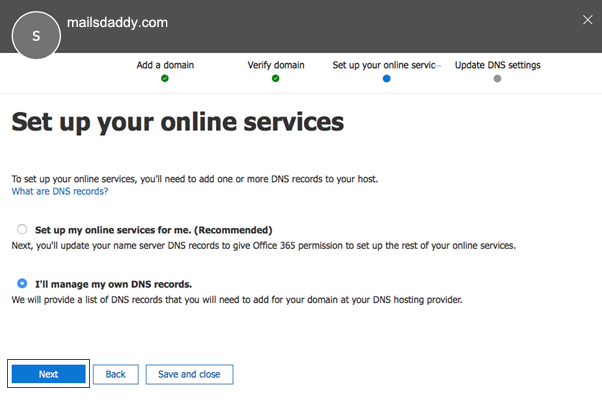
Select the second option and hit the Next button.
You will be asked to skip the step saying: “I have custom DNS, so I’ll add the records I need later. I understand that some Office 365 services may be unavailable until I manually add the records with my registrar.”
If you like, you may skip it.
Once it is verified, you can check whether the record was added to Exchange Online or not.
Note: Here, you may not find that the TXT record has added. That is because the TXT is not supportable with your DNS management. Create the MX record.
Steps to add the MX record to the DNS management system:
- Copy the Point to address the value of MX and go to the DNS hosting provider to add the MX record.
- In DNS management, add the record type as MX, set priority as zero, enter the hostname as @, TTL and paste the copied Point of address value.
- Save the record and go to O365 to verify it again.
- The verification process takes place and now you will find that the MX record has successfully updated.
- Now, you need to add all the CNAME record. Copy their hostname and Point to address or value and paste it to the DNS management. Verify all the added CNAME records update the DNS.
- In the same, you need to add the TXT record and SRV record and update the DNS.
- Once everything is updated and complete, the entire verification process then you get the message of complete updating.
Conclusion: Here in this blog you will get step by step guide to add a new custom domain in Office 365 tenant and verify it. If you still have any doubts then feel free to post a comment. We shall be happy to help you.