Office 365 is one of the most widely used and rapidly growing platforms worldwide. However, organizations often need assistance to manage Office 365 features and functionality according to their requirements.
In this post, we will show you how to create a distribution list in Office 365 and how to add users using both the Exchange Admin Center (EAC) and PowerShell.
For IT administrators, both methods are useful for creating, modifying, and removing distribution lists in Office 365 with minimal effort.
What is Distribution list or group in Office 365 Exchange?
A distribution list is used to send the same message or email to multiple users at once. It is a helpful and straightforward way to organize communication within large organizations.
You can also convert a distribution list into a shared mailbox later, allowing all members to commonly access and manage the mailbox together.
Create a Distribution List in Office 365 using Admin Center
To create a distribution list in Exchange online, follow the below steps.
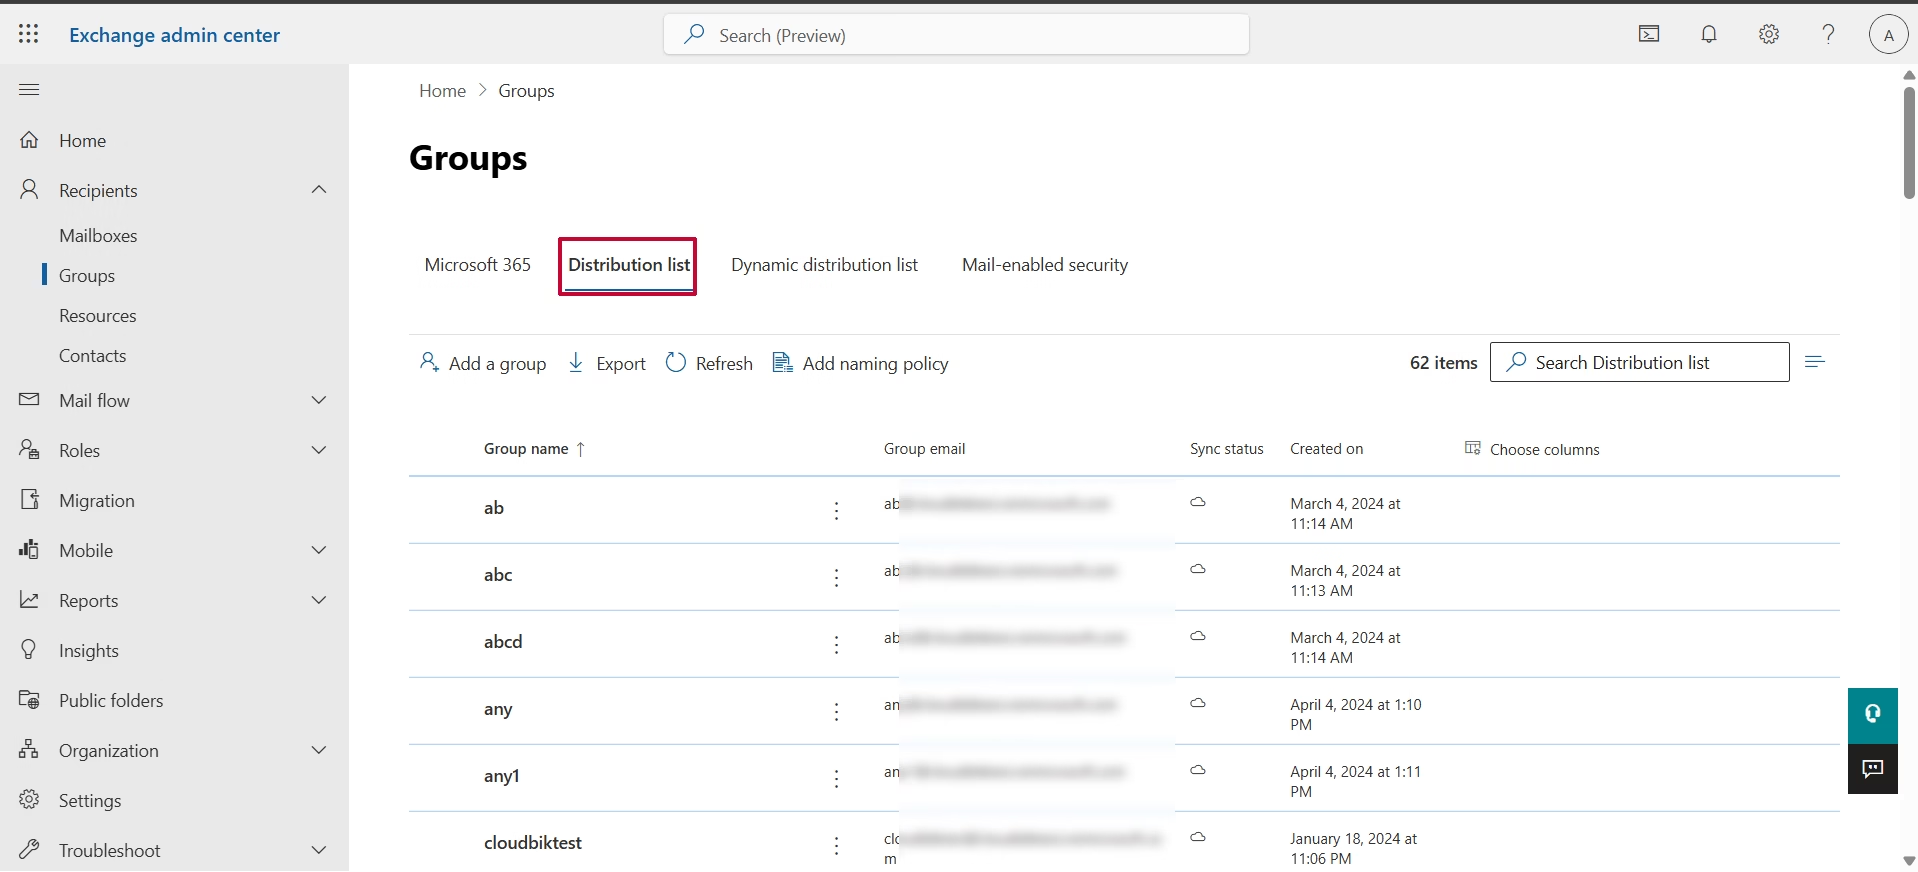
- Login to Office 365 using Admin credentials and navigate to Exchange admin center (EAC).
- Go to “Recipient” and click on “Group” option.
- Click on “distribution list” tab.
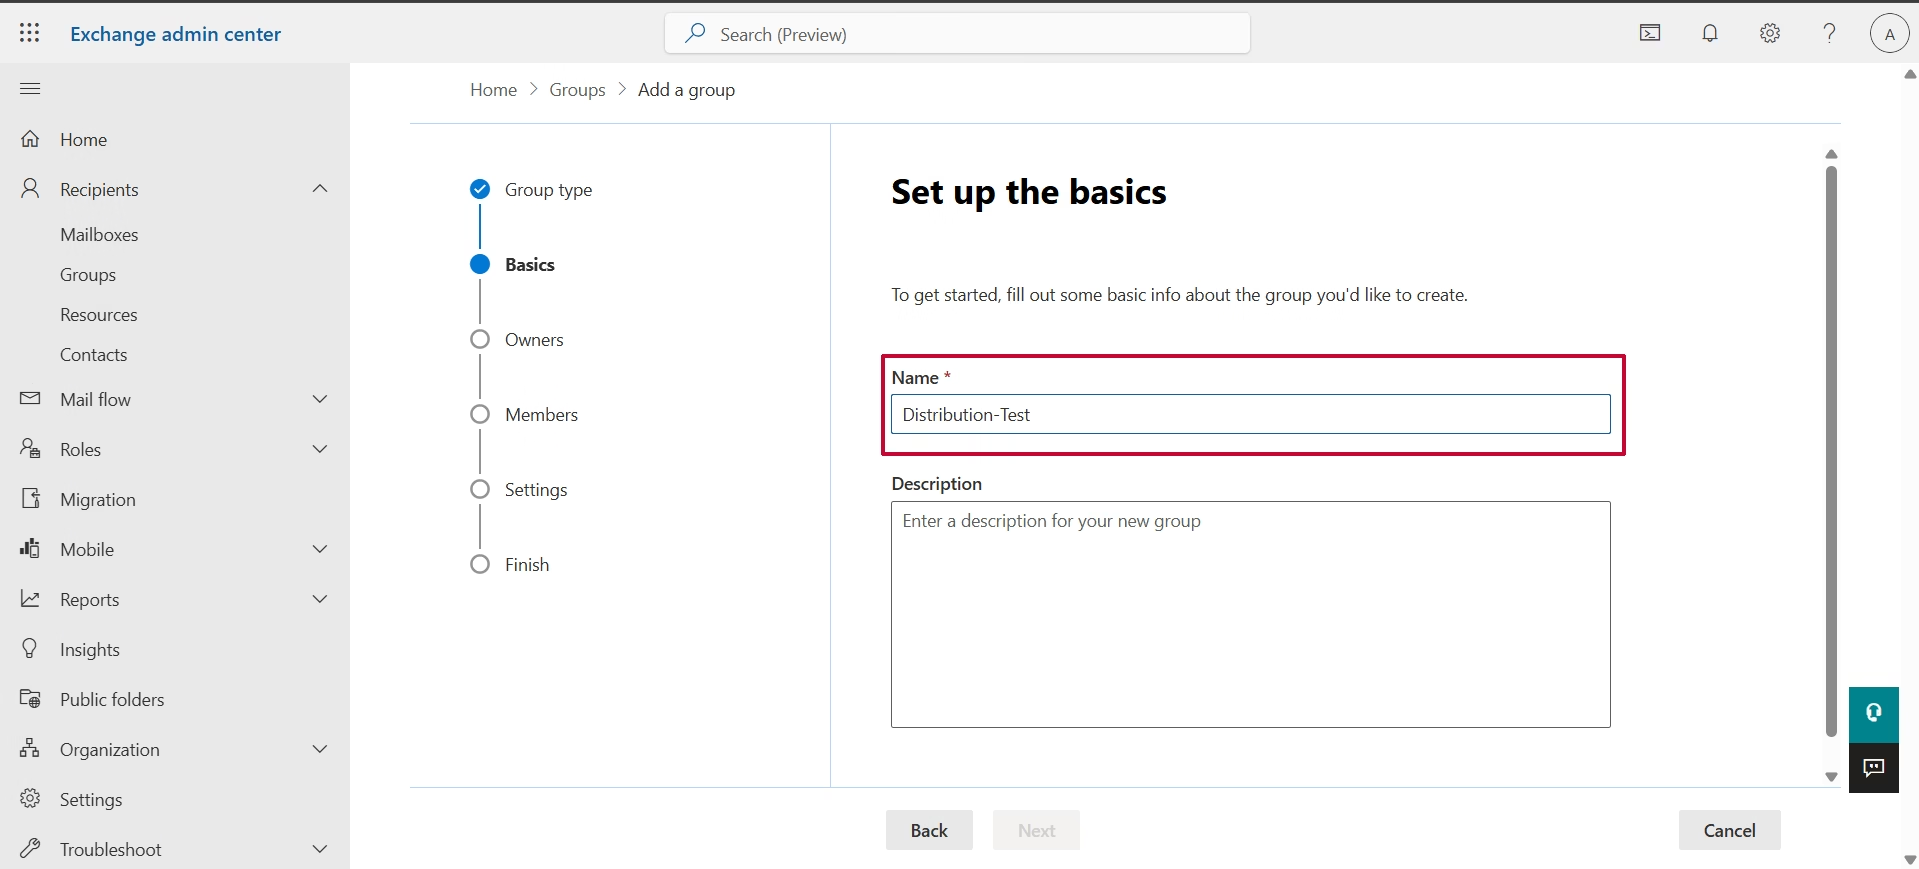
- Click on Add a group to open group creation wizard.
- Now you must select group type: “Distribution“.

- Click Next and type a unique group name then Next.
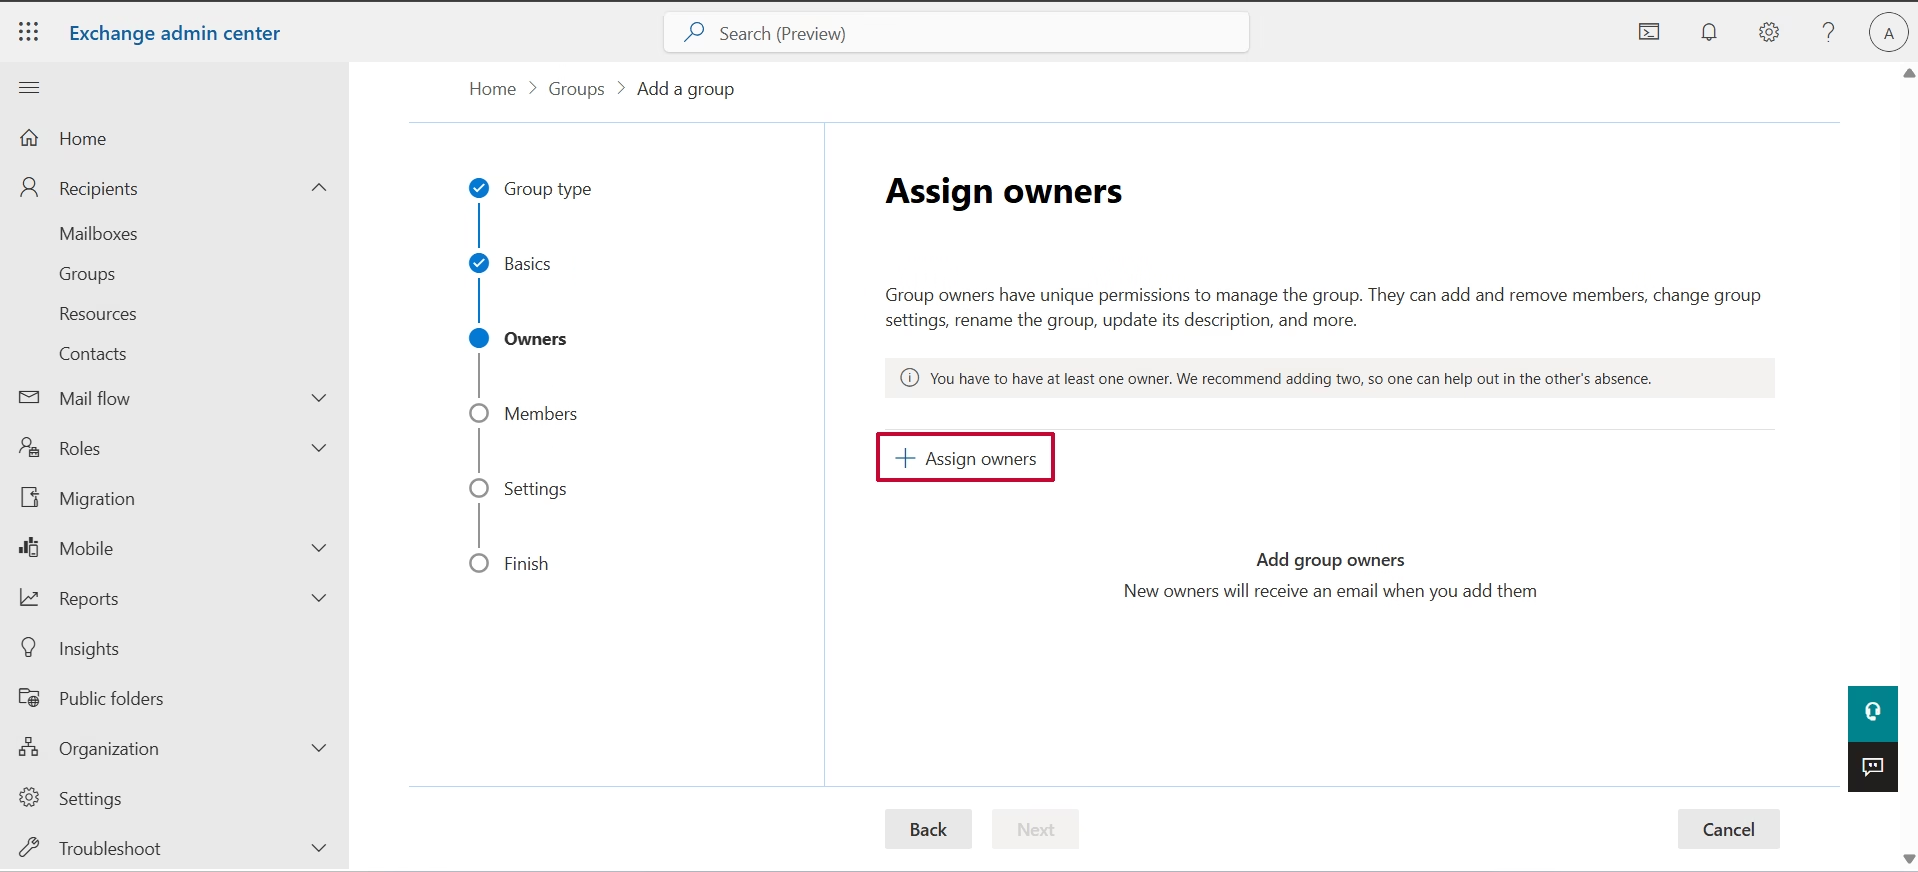
- Click on “Add owner” option and add it.
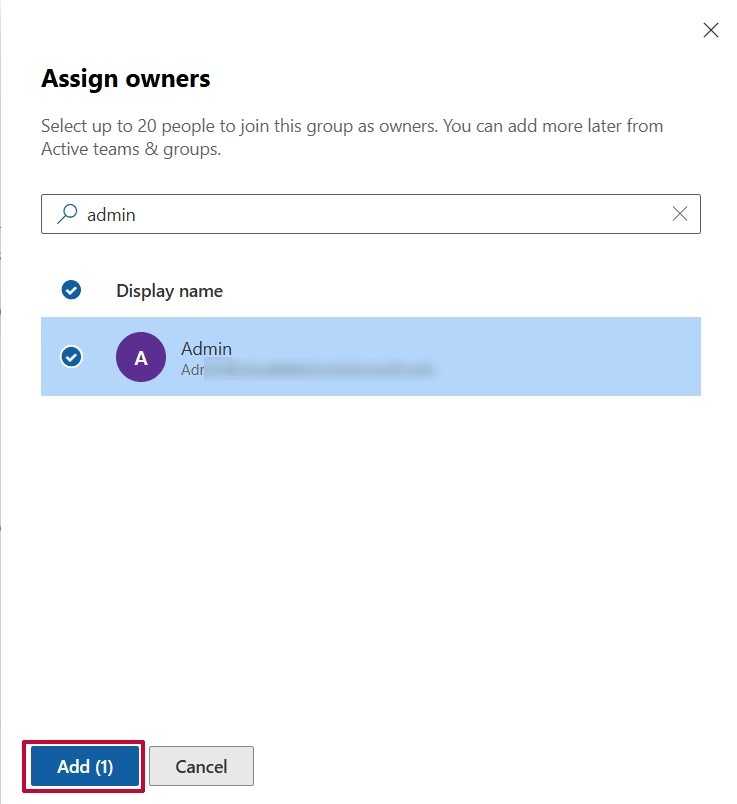
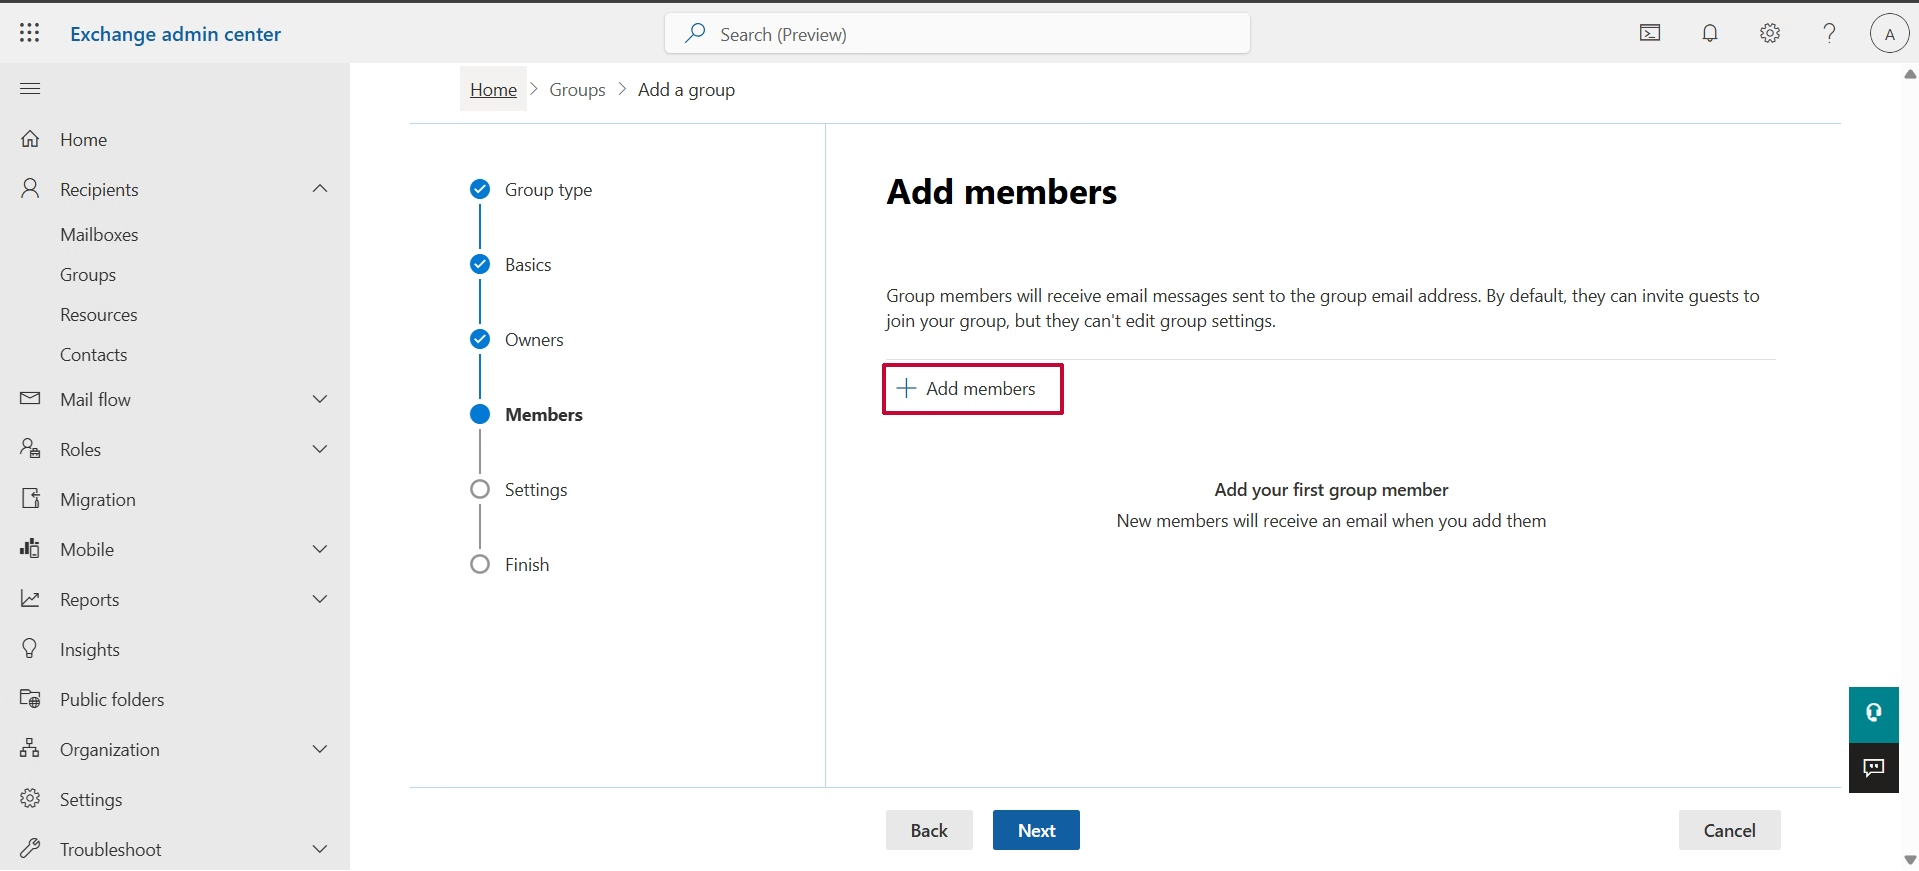
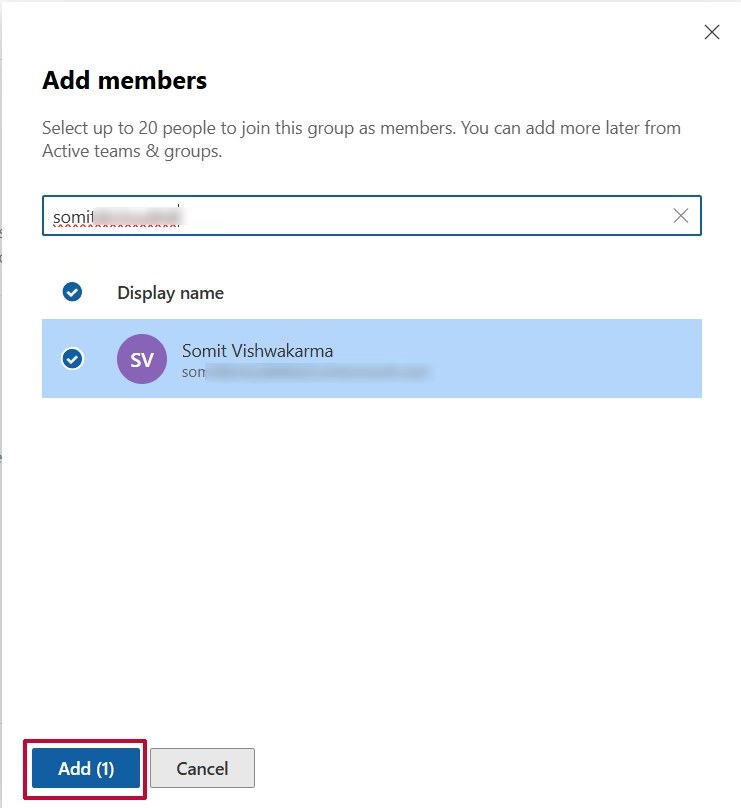
- Click on Add member option and add all users you want to add in this distribution list.
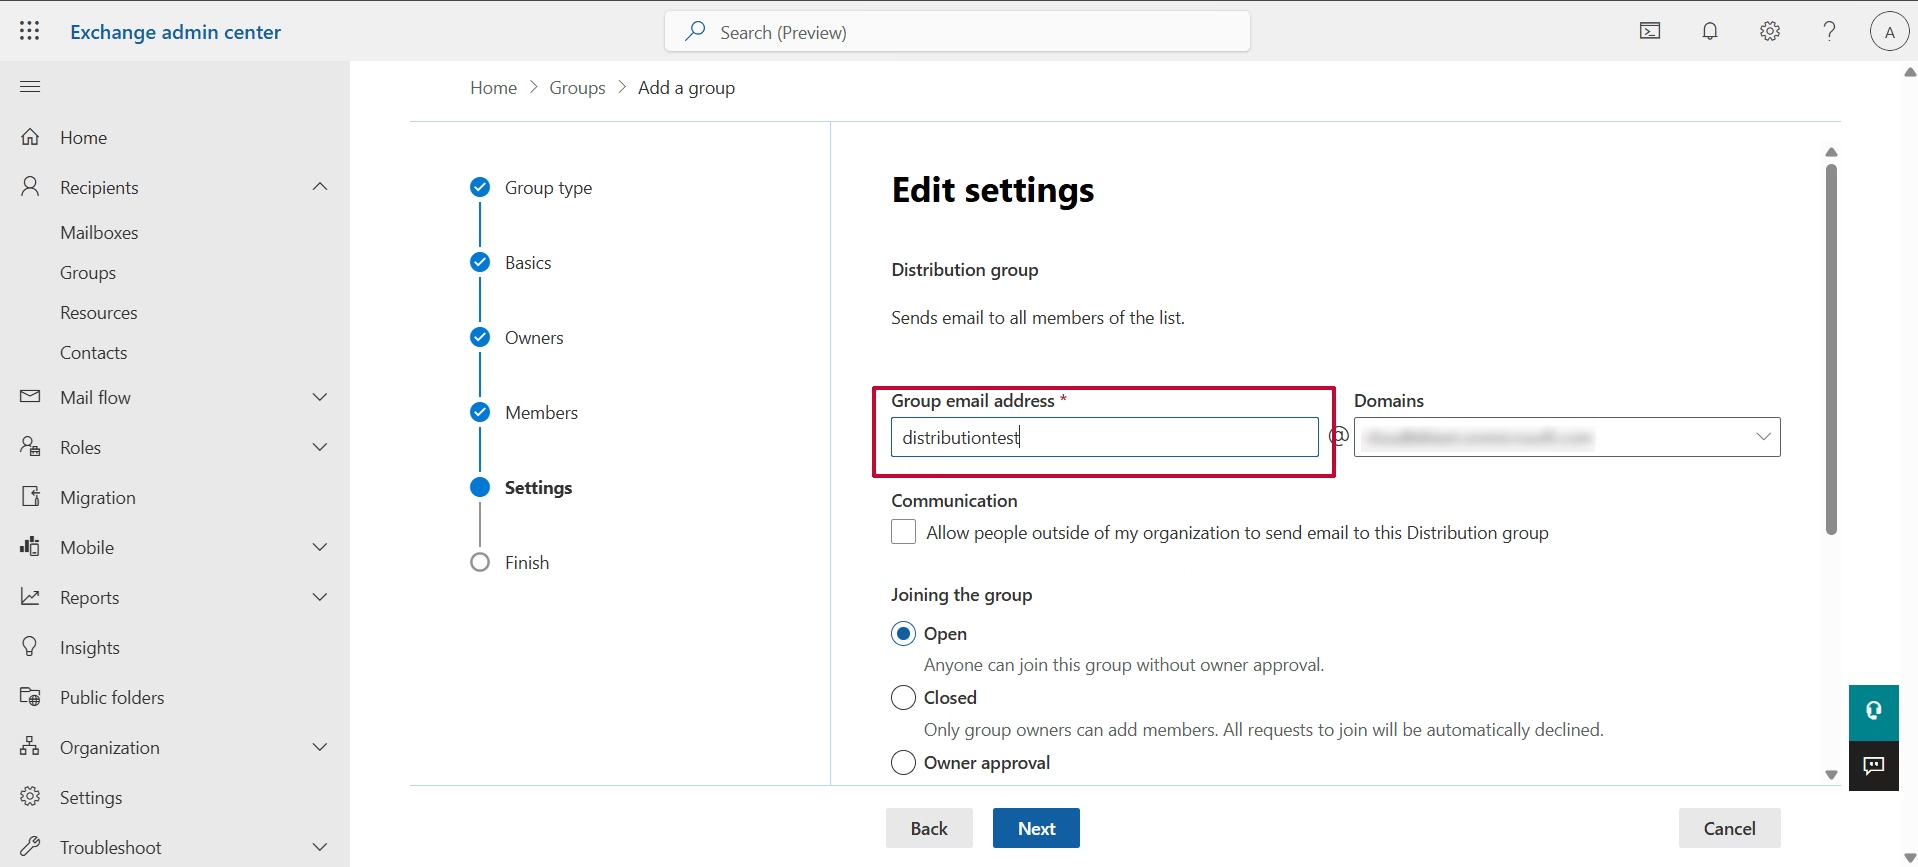
- In setting section, choose group email address and select domain from list, if you have multiple.
- Next check communication box, if you want to allow outsiders to send email in this distribution group. Otherwise leave it.
- Joining the group options –
- Open: If you want to anyone can join the group.
- Closed: Only group owner can add members.
- Owner Approval: Anyone can request to join in the group.
- Leaving the group options –
- Open: Anyone can leave the group without owner permission.
- Close: Only owner can remove someone from the group.
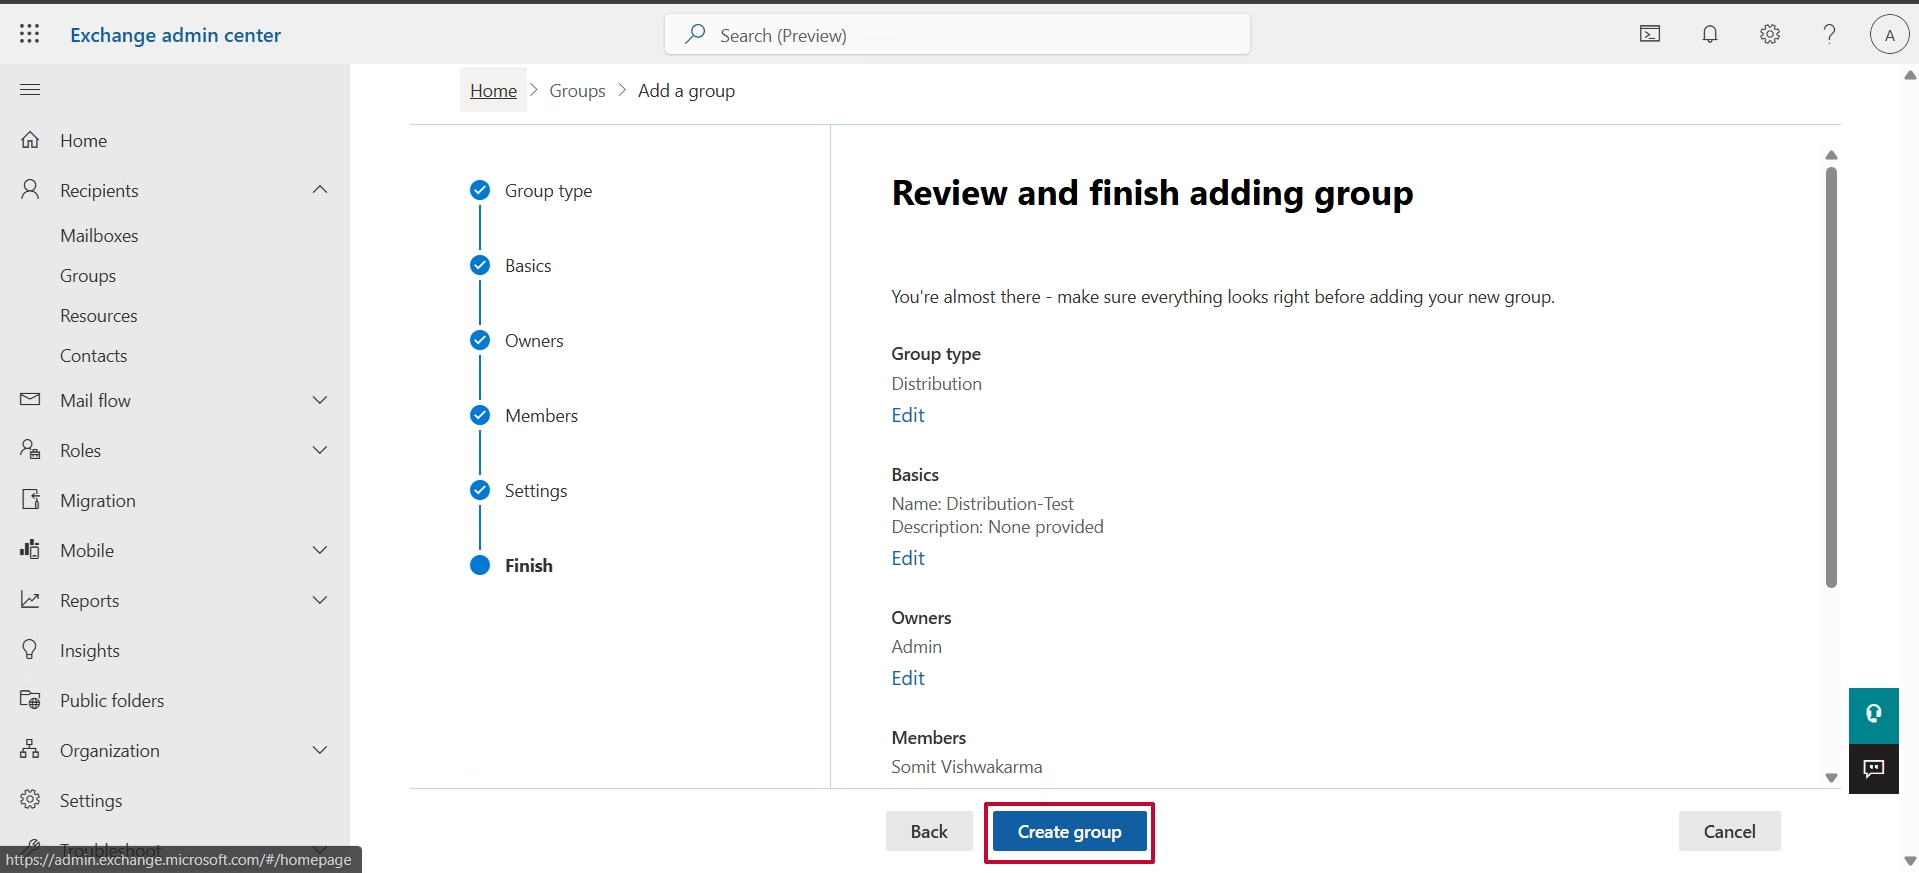
- Once you have selected the desired filter, click on the Next button..
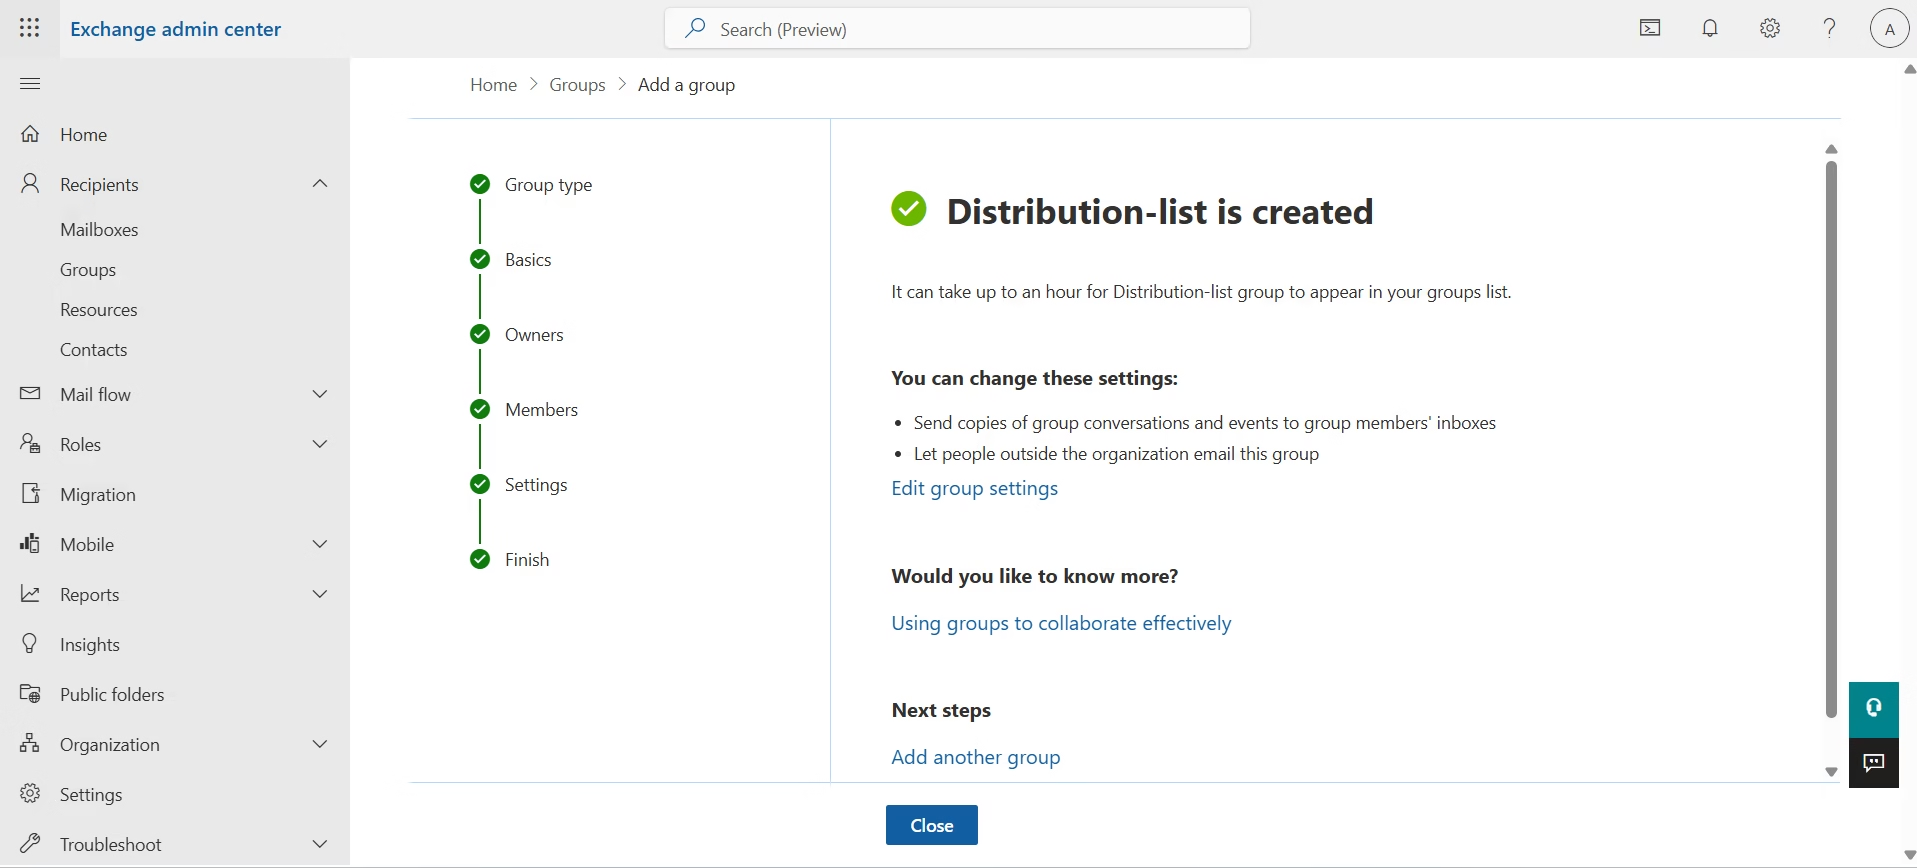
- Review and click on Create Group then close it.
Add Members to the Distribution List
If you have already created a distribution list and want to add more user than you can follow the below steps.
- Login to Office 365 and go to Exchange admin center (EAC).
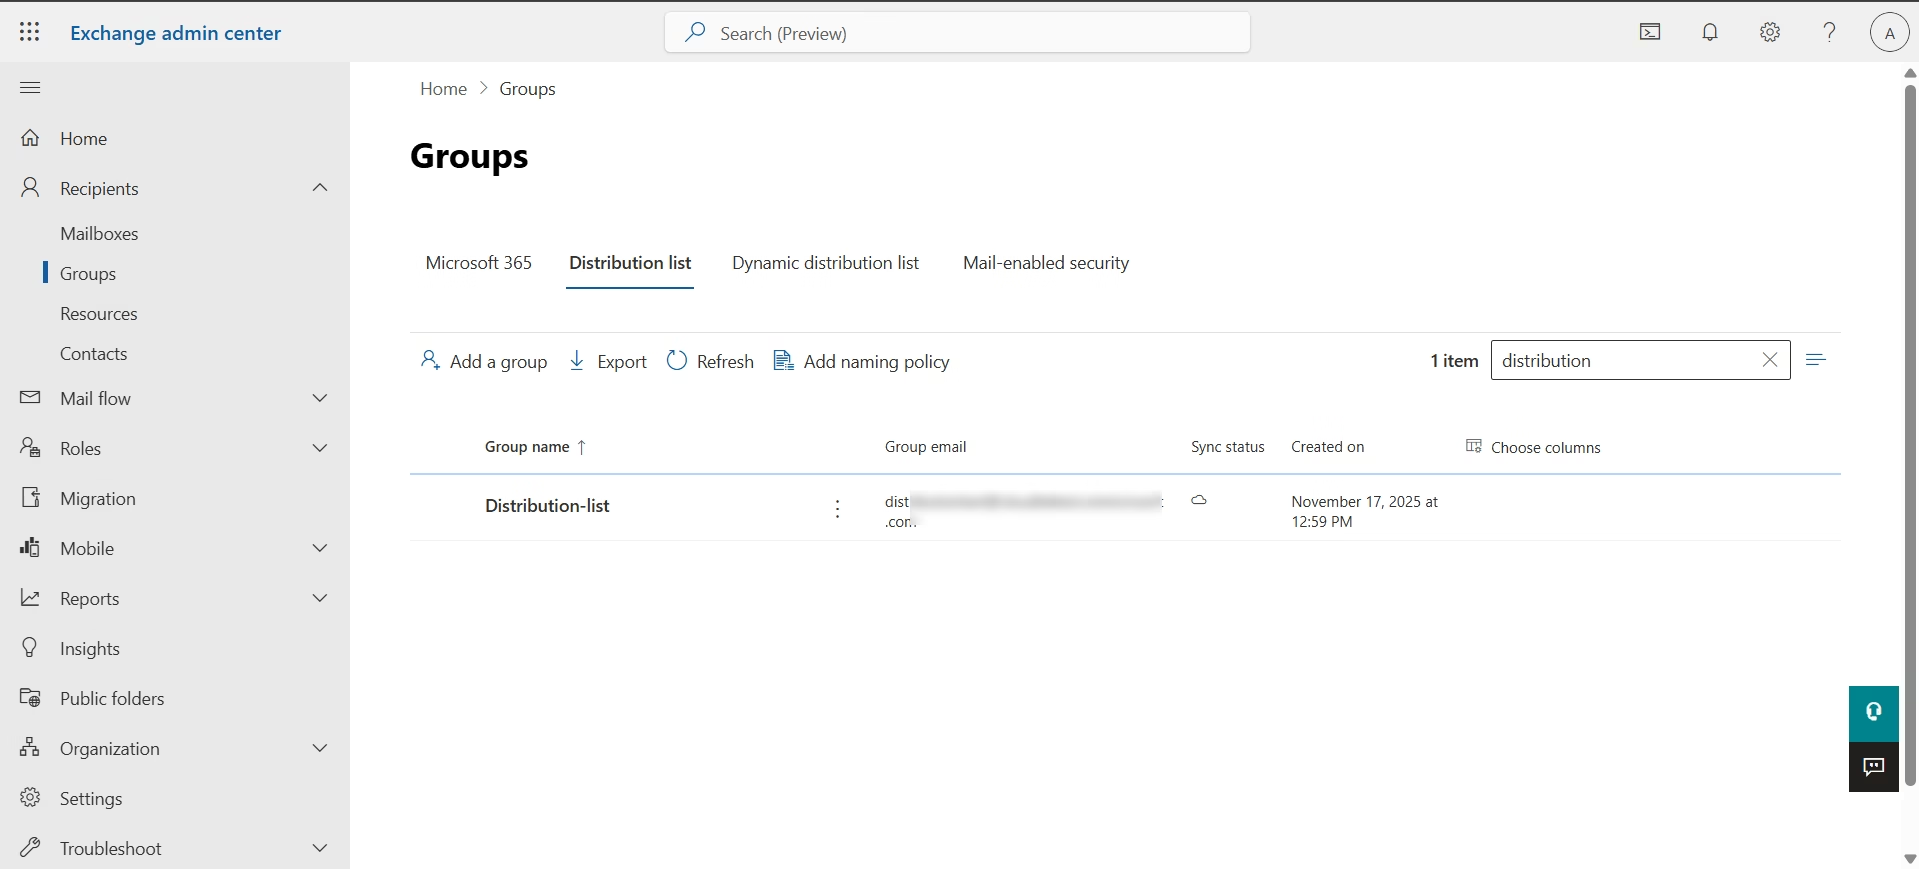
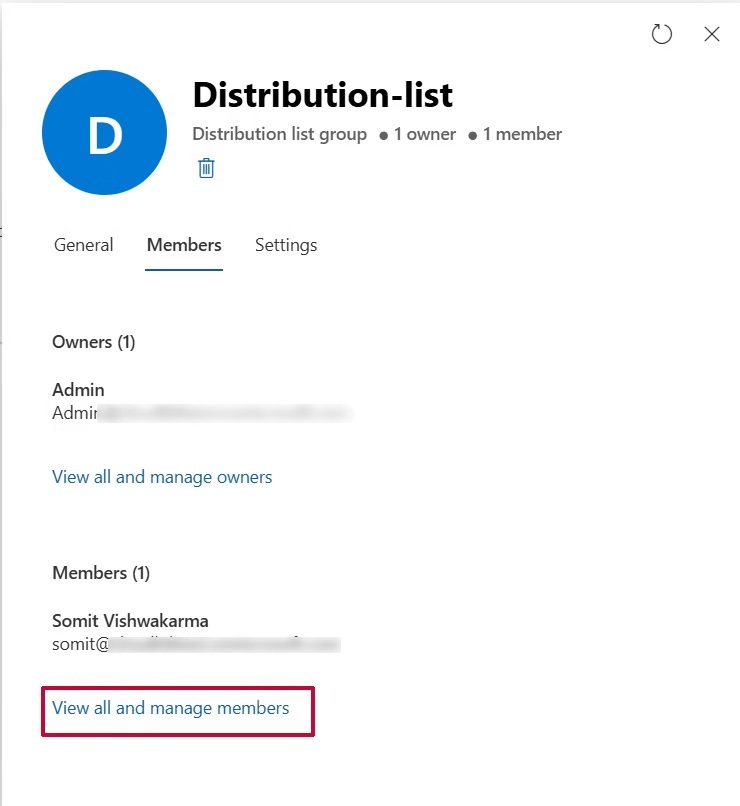
- Go to “Group” option under recipient and search the “distribution list” in which you want to add users and click on it.
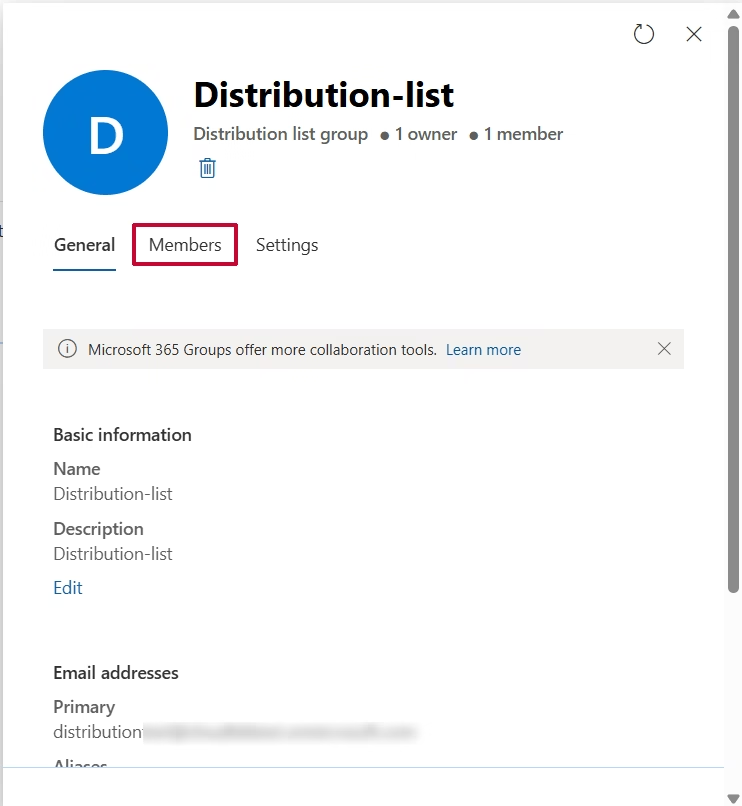
- Go to “Member” tab and click on “View all and manage members“.
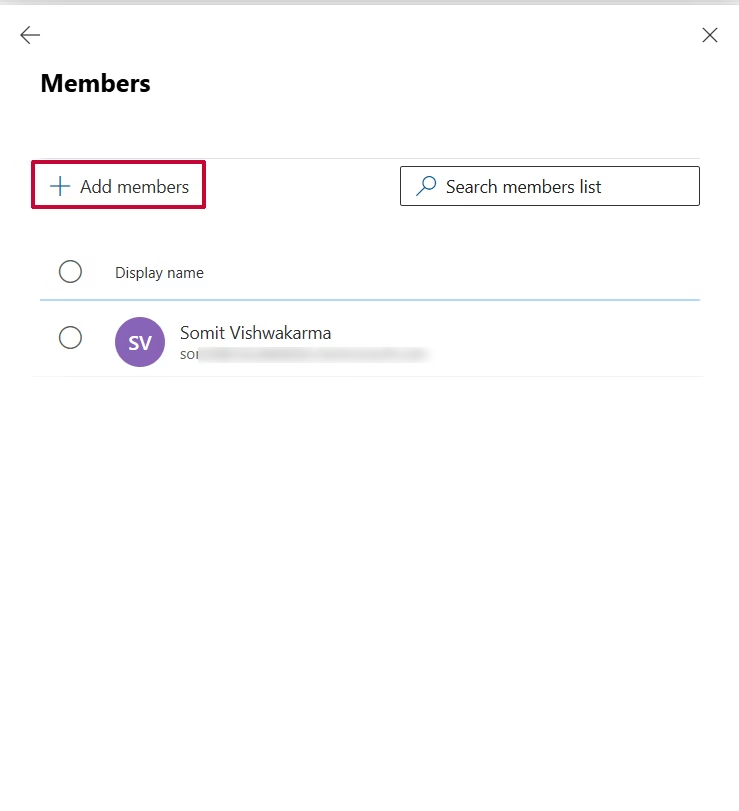
- Click on “Add members“
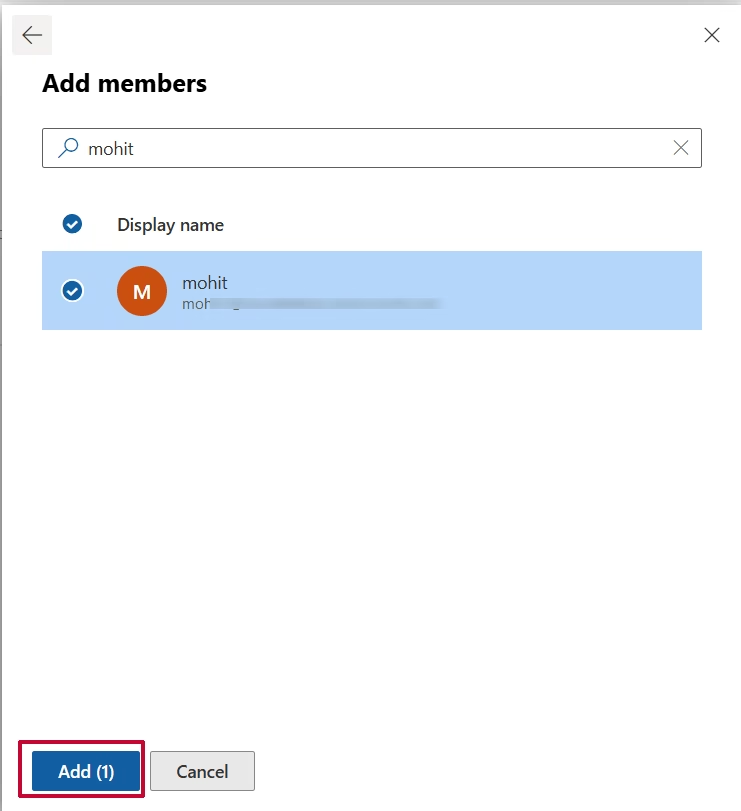
- Search and select all users who want to add into the group then click on Add button.
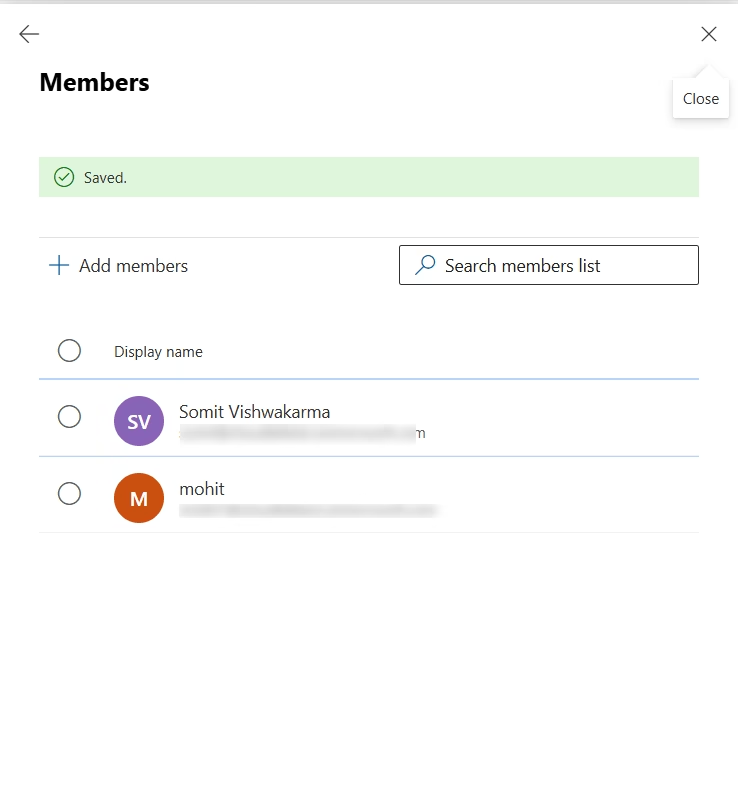
That’s it.
The above steps help the administrator to create and add users to the distribution list without any hassle.
Using PowerShell to Automate Distribution List Creation
PowerShell is the most efficient and convenient way to create distribution groups in Exchange Online without navigating through multiple menus. IT administrators and automation-focused users prefer this method because it allows them to manage Office 365 quickly and with minimal effort.
Connect to Exchange Online
Connect-ExchangeOnline
Change list “name”, “email address” and “managed by” then run it to create distribution list.
New-DistributionGroup -Name "Sales Team" -Alias "salesteam" -PrimarySmtpAddress "[email protected]" -ManagedBy [email protected] -Type "Distribution"
Add admin to the list (if you forget to add)
Set-DistributionGroup -Identity "Sales Team" -ManagedBy [email protected]
Add single member to distribution list
Add-DistributionGroupMember -Identity "Sales Team" -Member [email protected]
Add multiple members to distribution group using CSV
Create a CSV file with user email address and save it in .csv file format: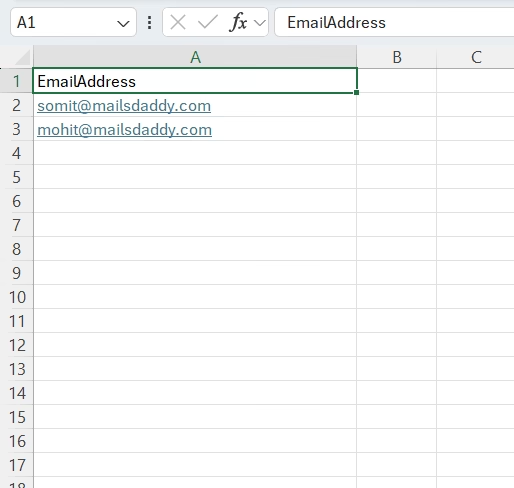
# Existing distribution list name or SMTP address
$DLName = "Sales Team"

# Path to your CSV file
$CSVPath = "C:\user\somit\Members.csv"
$members = Import-Csv -Path $CSVPath
foreach ($user in $members) {
    try {
        Add-DistributionGroupMember -Identity $DLName -Member $user.EmailAddress -ErrorAction Stop
        Write-Host "Added: $($user.EmailAddress)" -ForegroundColor Green
    }
    catch {
        Write-Host "Failed to add $($user.EmailAddress): $($_.Exception.Message)" -ForegroundColor Red
    }
}
Write-Host "Bulk member add process completed!" -ForegroundColor Cyan
View member of the list
Get-DistributionGroupMember -Identity "Sales Team" |
Select DisplayName, PrimarySmtpAddress, RecipientType
Remove a member from list
Remove-DistributionGroupMember -Identity "Sales Team" -Member [email protected] -Confirm:$false
Remove Distribution list
Remove-DistributionGroup -Identity "Sales Team"
That’s it.
Conclusion
A distribution group is a useful feature in Microsoft Office 365 that allows user to send the same email to multiple users at once. In this guide, we provided both graphical and PowerShell methods to create, modify, and remove distribution lists in Office 365 Exchange without any technical hassle.