
Microsoft 365 is a phenomenon cloud based service provider that’s why most businesses and organizations prefer to use this one. Migrating mailbox data to Office 365 is a crucial step for organizations moving to a cloud-based environment. One efficient way to transfer large amounts of Outlook data is by using the network upload method. This method allows administrators to upload PST to Microsoft 366. In this article, we’ll explore how to use the network upload method step-by-step to ensure a seamless data migration from PST to Office 365.
Why Need to Perform PST to Microsoft 365 Migration?
Importing PST files to Office 365 is essential for several reasons, especially for users who are transitioning from a traditional Outlook setup to a cloud-based Microsoft 365 environment. The main motivations for this process are as follows:
- Data accessibility: Office 365 is a cloud-based service, allowing users to access their emails, contacts, and calendars from anywhere and on any device.
- Improved collaboration: Microsoft 365 supports real-time editing and project management, making it easier for teams to work together regardless of their physical locations.
- Data protection and backup: Office 365 offers robust data protection features, ensuring that critical information is backed up and protected.
- Simplified management: PST to Exchange 365 migration simplifies the management of emails and other data. Users can easily set up and manage their accounts.
- Always up to date: Office 365 users benefit from constant updates and improvements without having to wait for major releases. This ensures that users will always have access to the latest features and security enhancements.
Download MailsDaddy PST to Microsoft 365 Migration Tool and import PST to Outlook 365
- 100% safe & secure solution for PST file migration
- Allows unlimited data migration without restrictions
- Import PST file into Office 365 in few easy clicks
Import PST to Office 365 Using Network Upload Method?
Follow all step by step guide to Import PST to Microsoft 365 via Network Upload Method.
1: Login Office 365 Admin Account:
- Run https://login.microsoftonline.com/ on your browser.
- Provide put Admin email id and click on Next button.
- Now fill the password and click the Sign in button.
2: Assign the Mailbox Import Export and Mail Recipients Role:
After successfully login the admin account we have to assign the mailbox import export role to admin or that users who will perform the migration process. For this:
- In Office 365 click on Admin
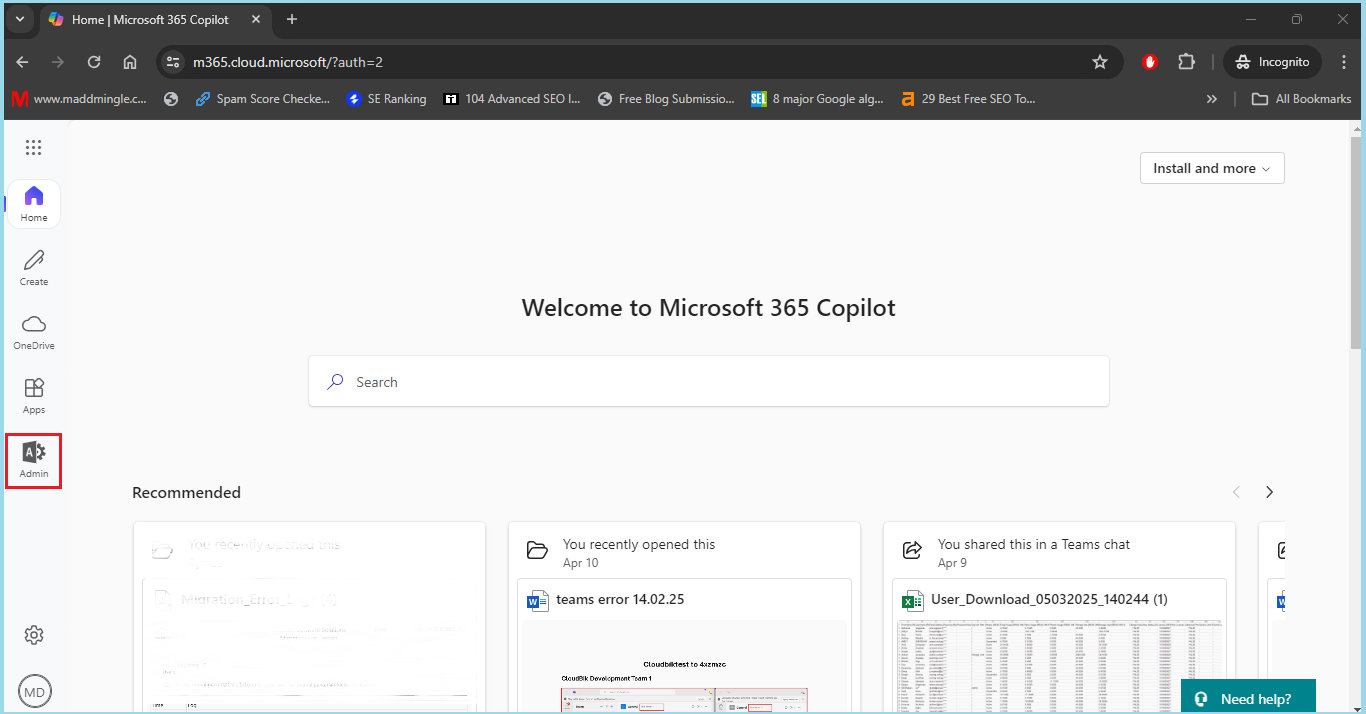
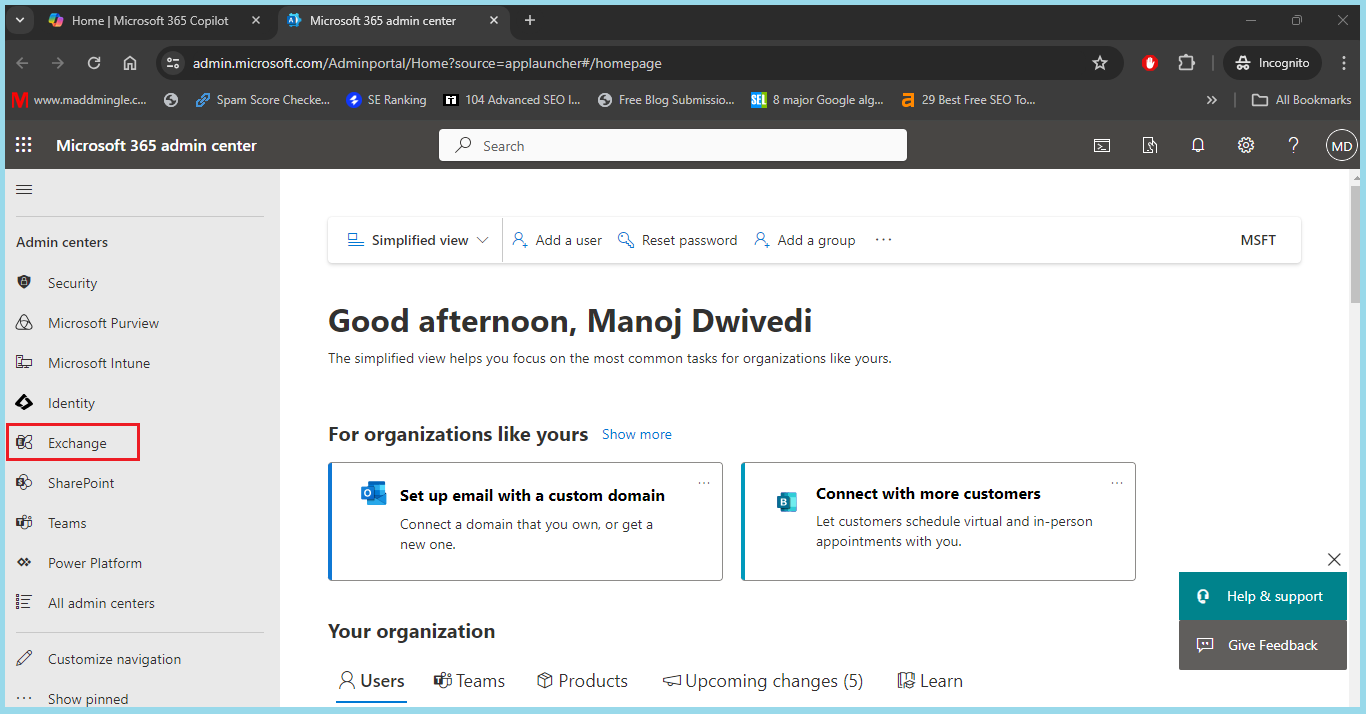
- In the Admin panel click on Show All and select Exchange to open Exchange Admin Center.
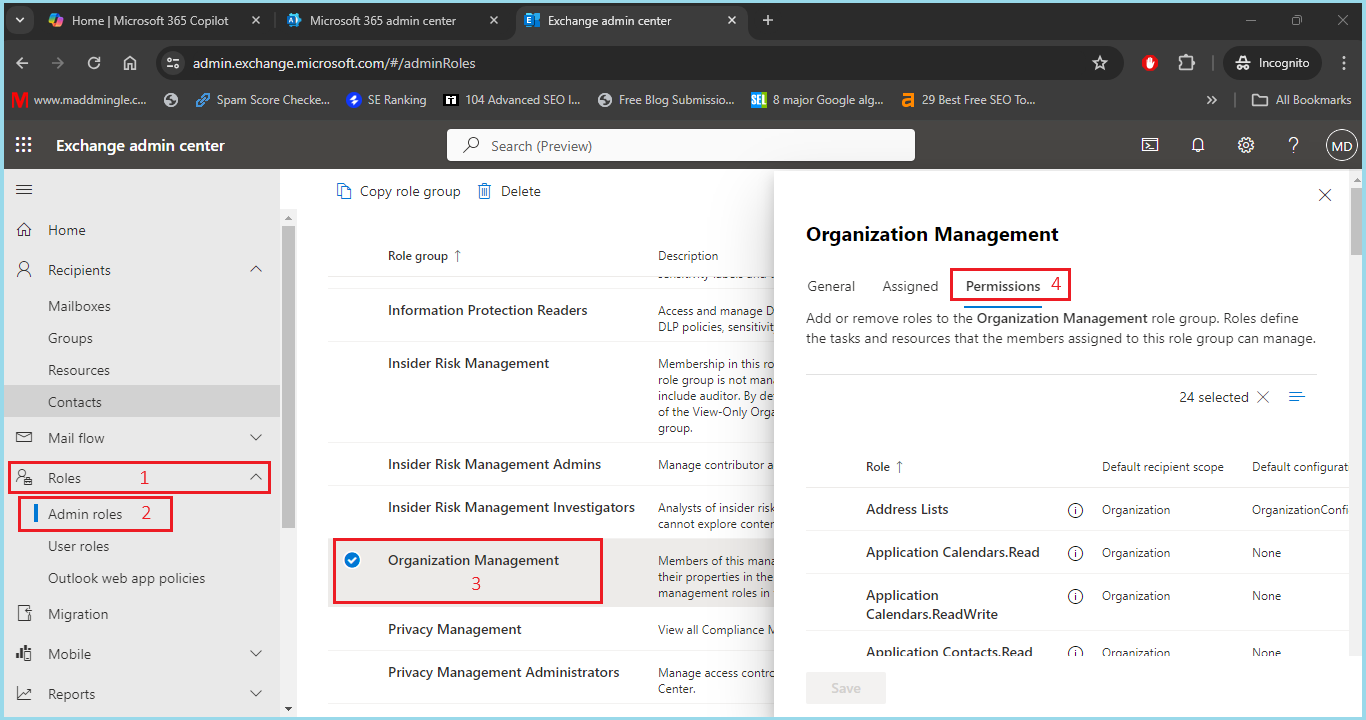
- Here click on Role and select Admin Role.
- Now select organization management and click on Permission.
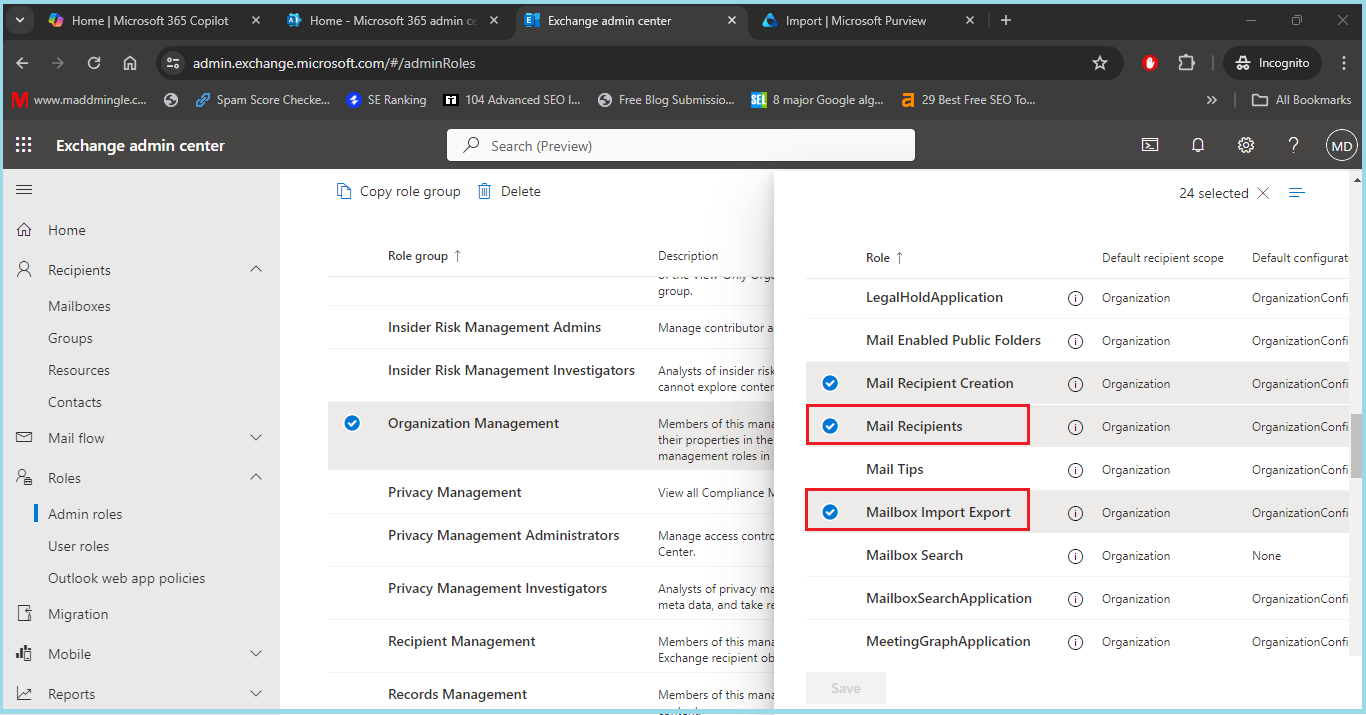
- Here find & select Mailbox Import Export and Mail Recipients and click on Save.
- Now click on Assign and select the Add option.
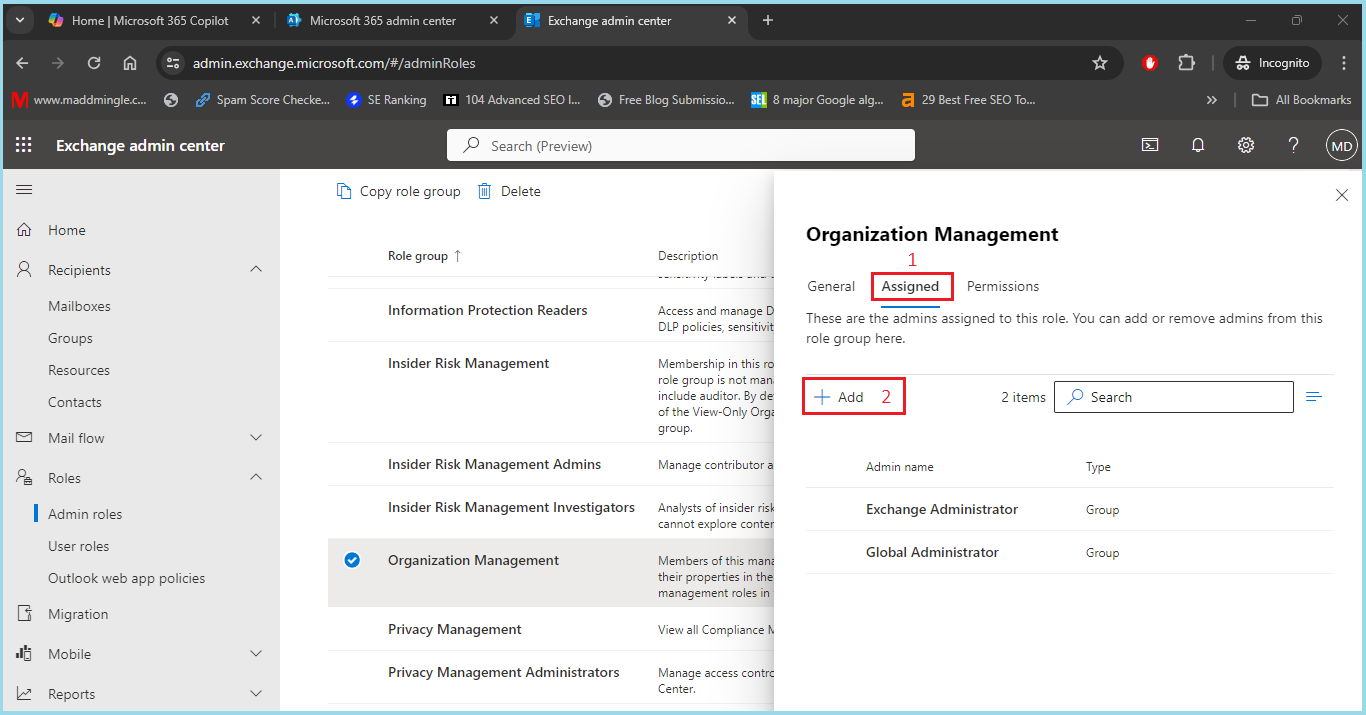
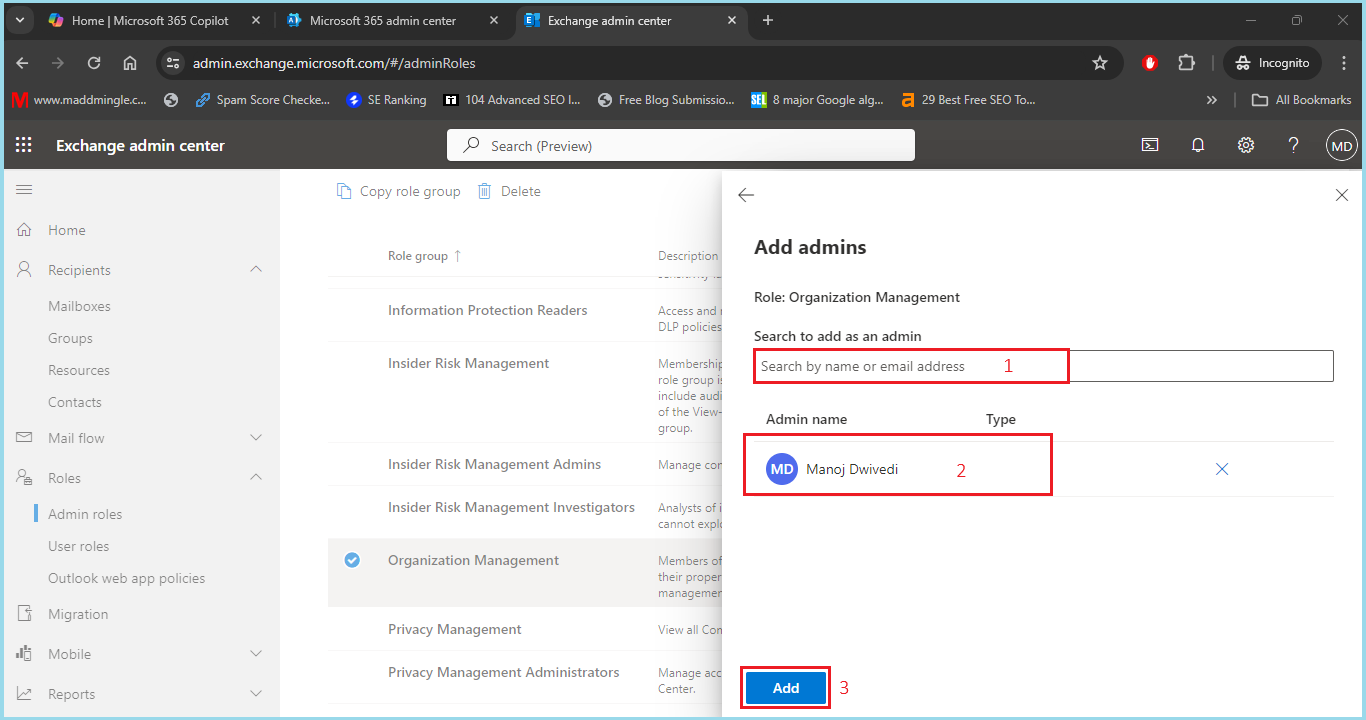
- Search and select Admin ID or select that users which you want to provide this Mailbox import Export access and click on Add button.
3: Create Import Job to Import PST to Office 365:
Before starting the migration process, we have to proceed the import job. For this
- Visit the Microsoft Exchange Admin Center, click on click Show All.
- Now Select Microsoft Preview to open Microsoft Preview panel.
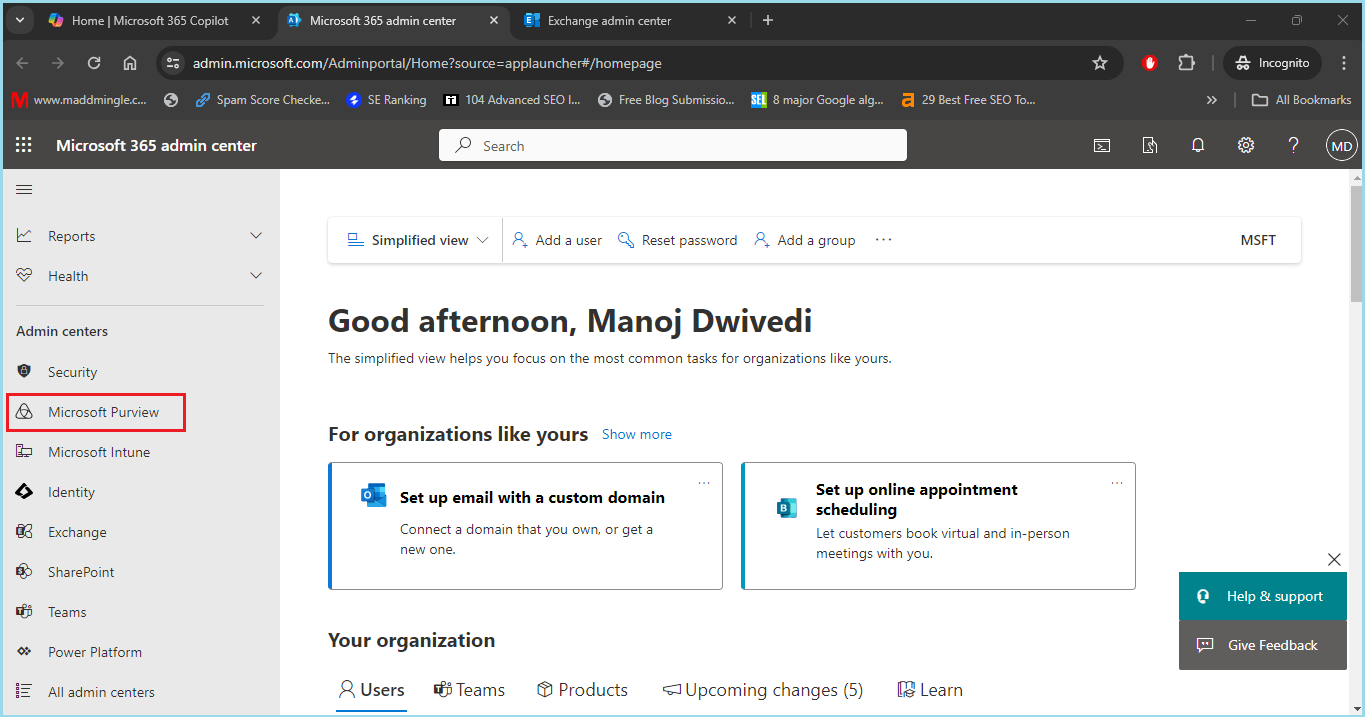
- Here select Data Lifecycle Management >> Select Import and click on New Import Job.
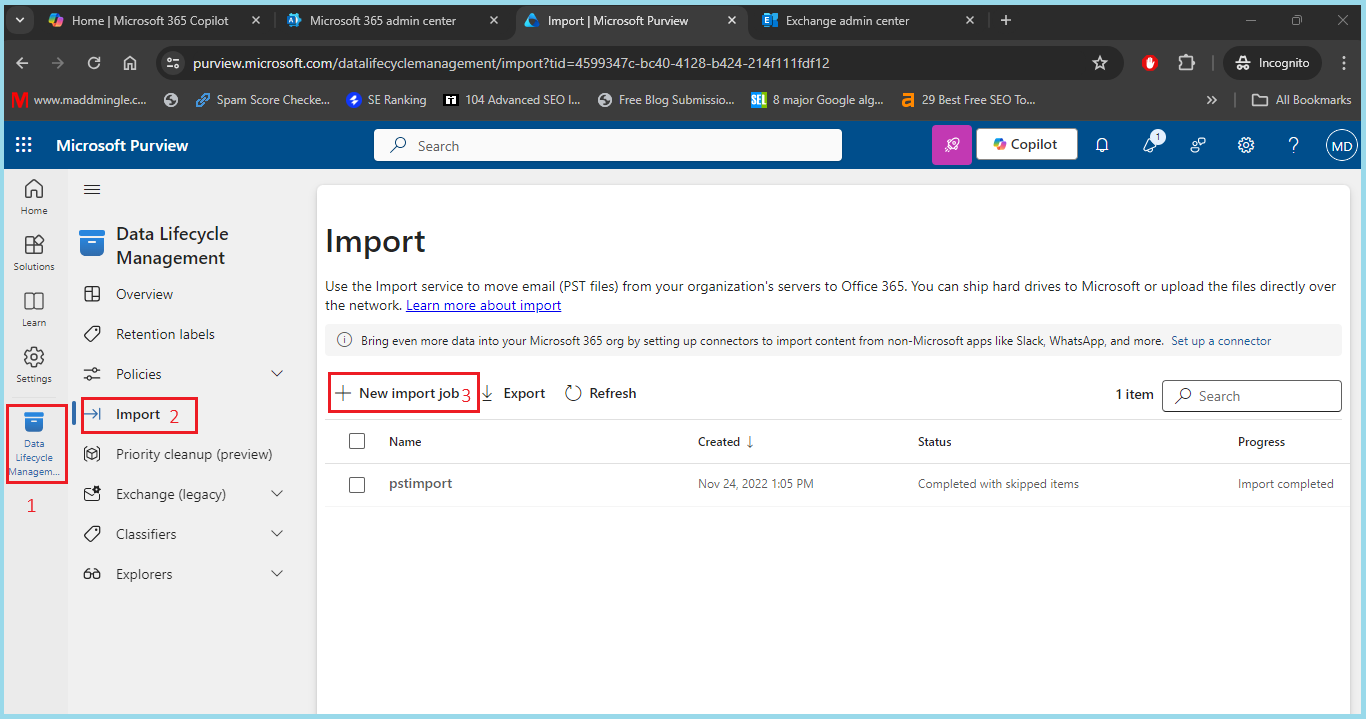
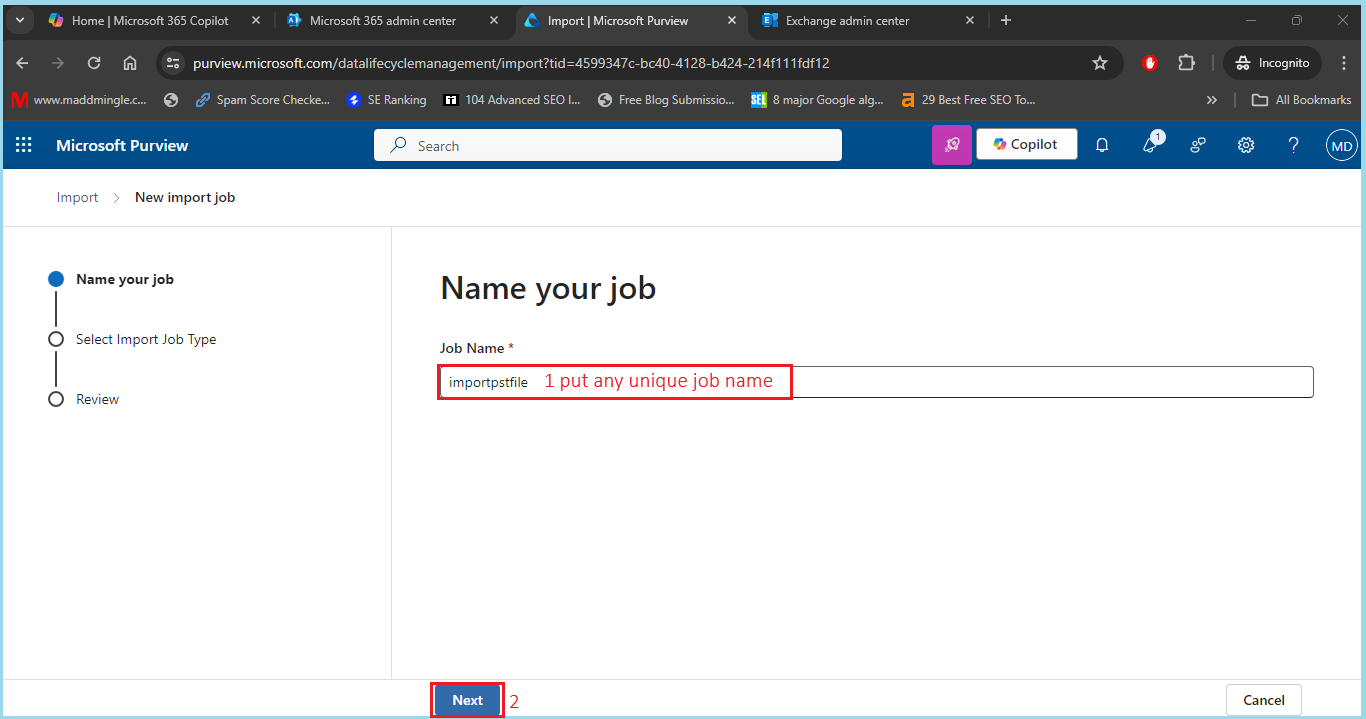
- Now After that Provide a unique Import Job Name and press the Next button.
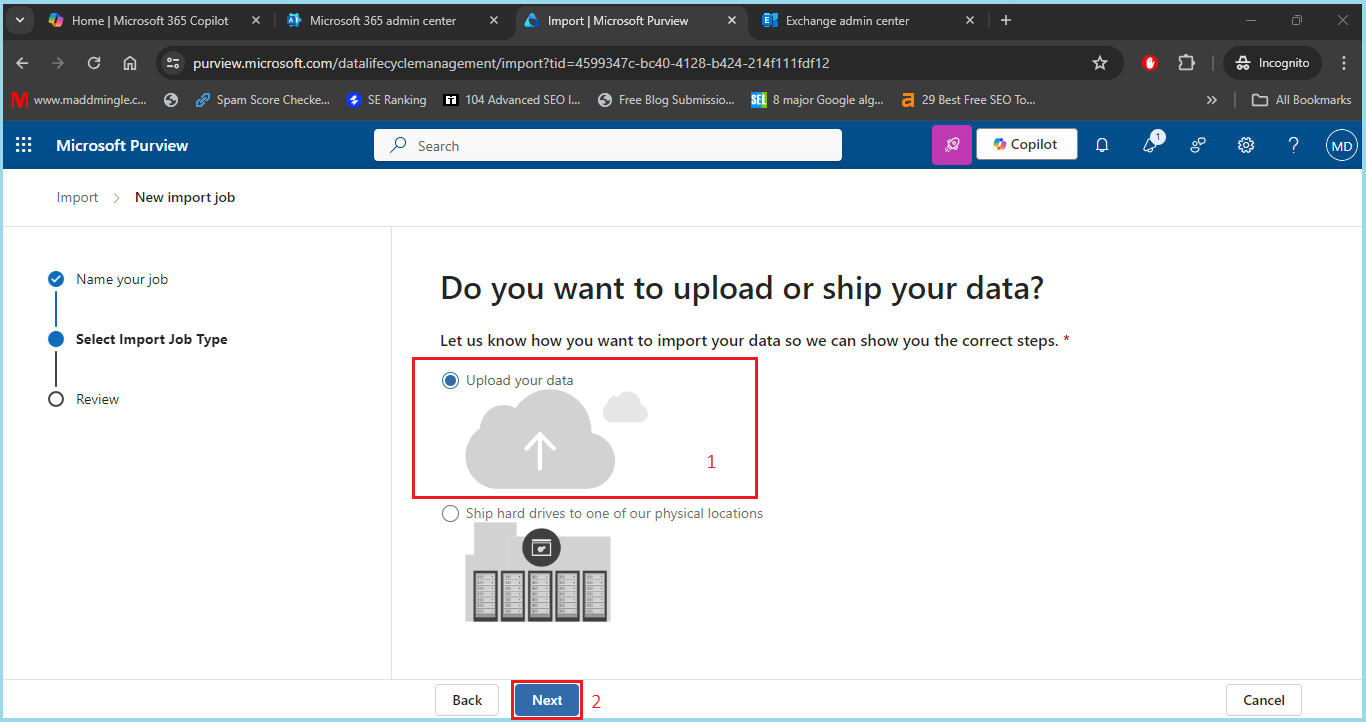
- Now select Upload your data and click the Next button.
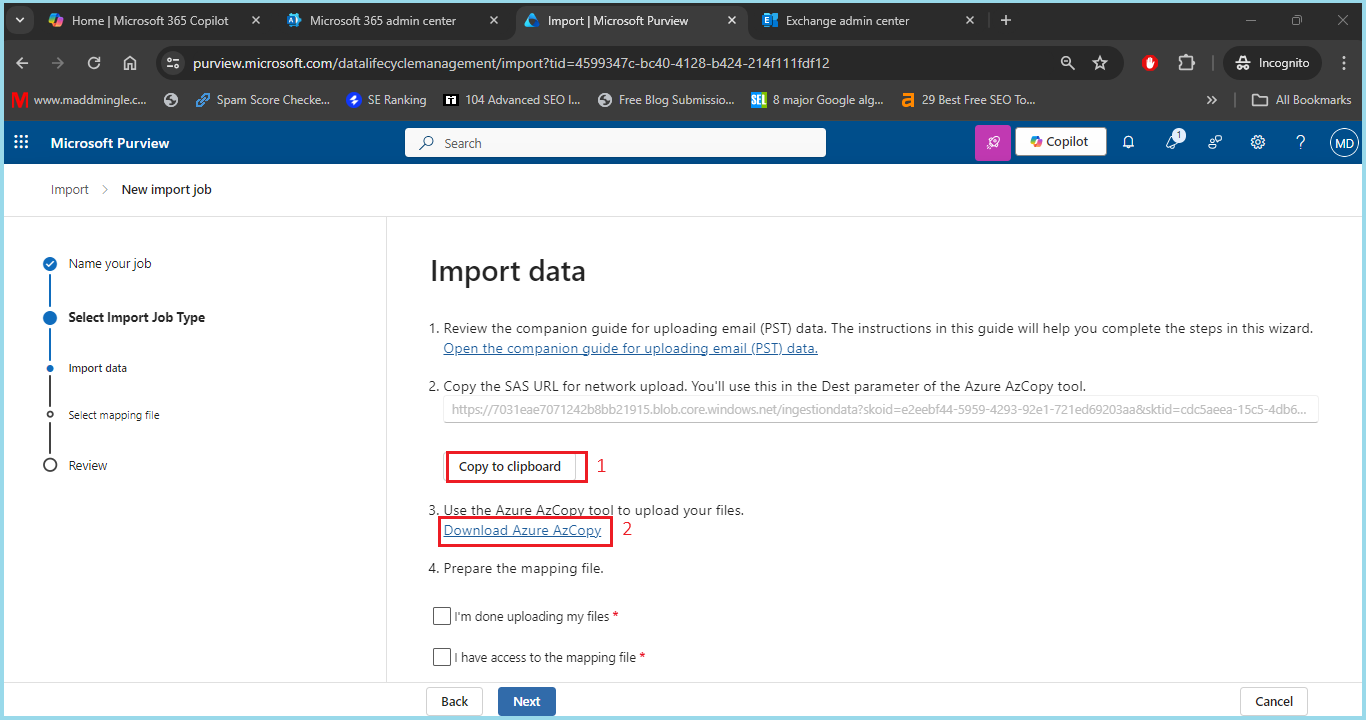
- Now click on show network Upload SAS URL. Now copy the SAS URL and click on Download Azure AzCopy.
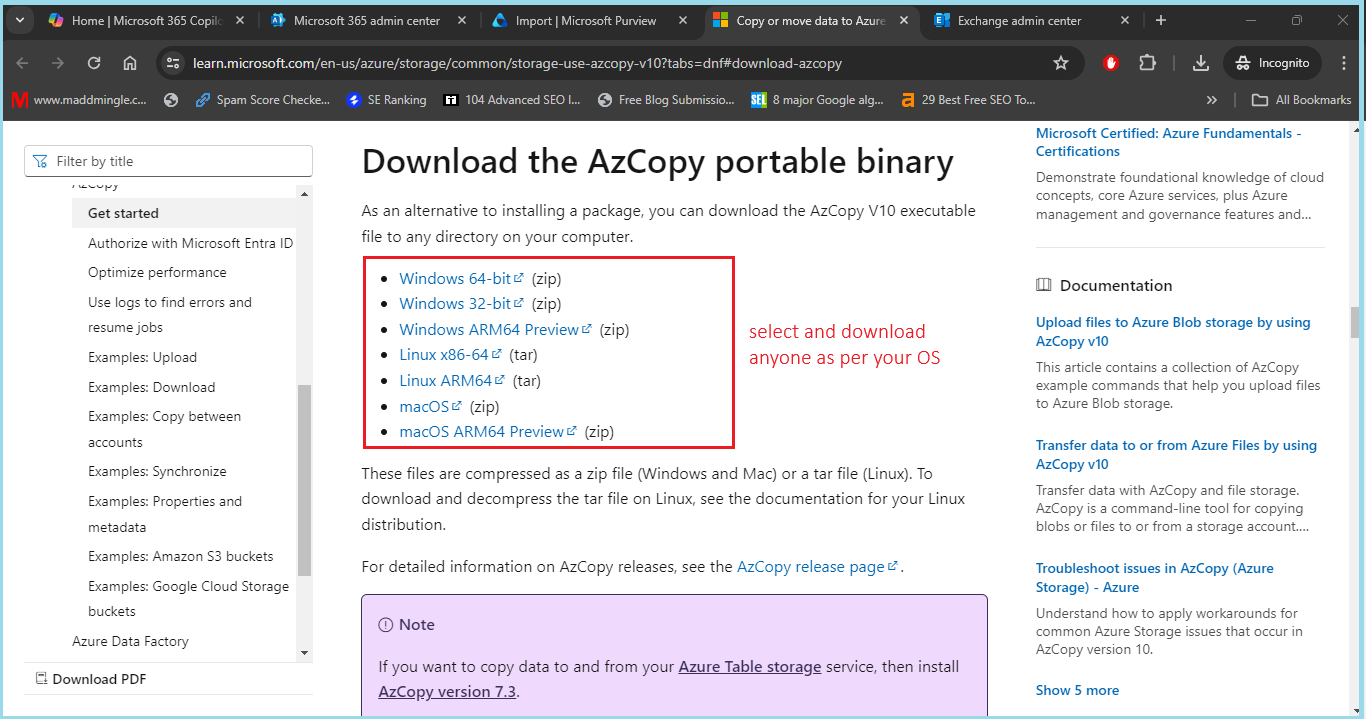
- Select and download that AzCopy portable binary which is suitable for your system.
- Now unzip the file and click on the downloaded unzip folder. Now Copy and save the path of this file location.
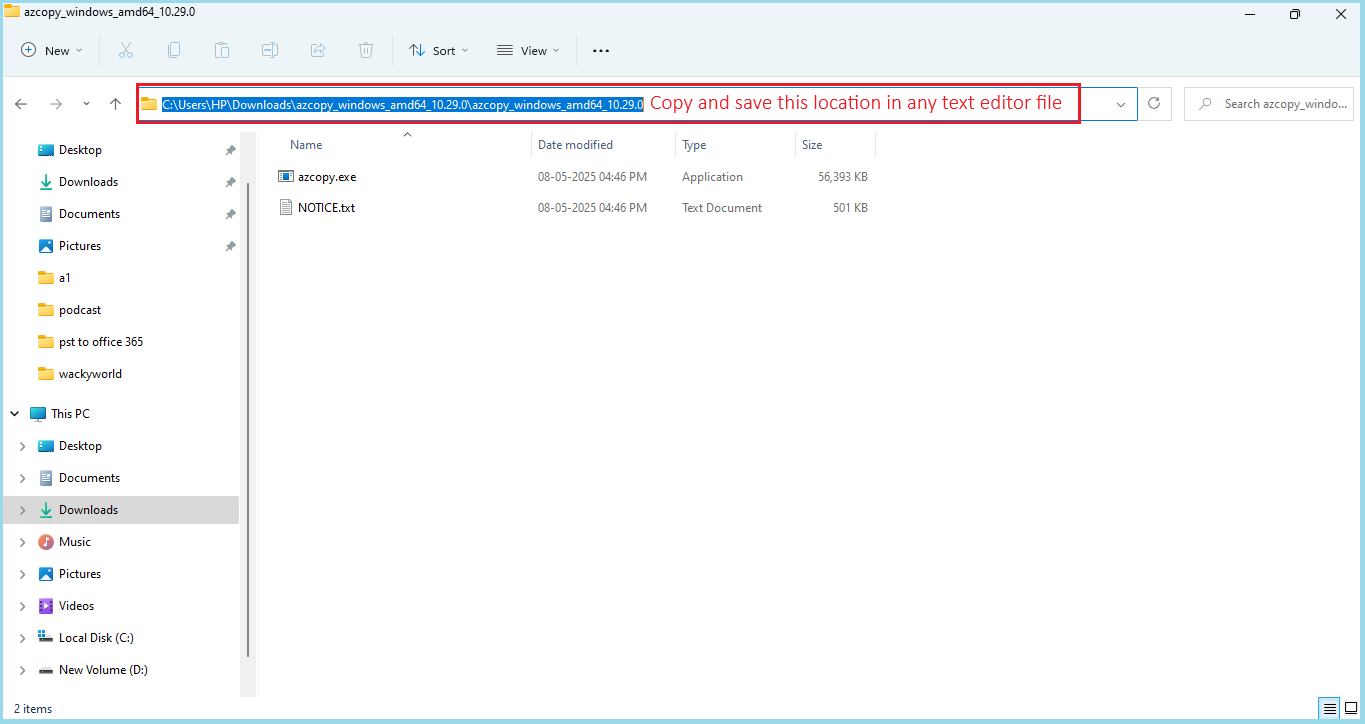
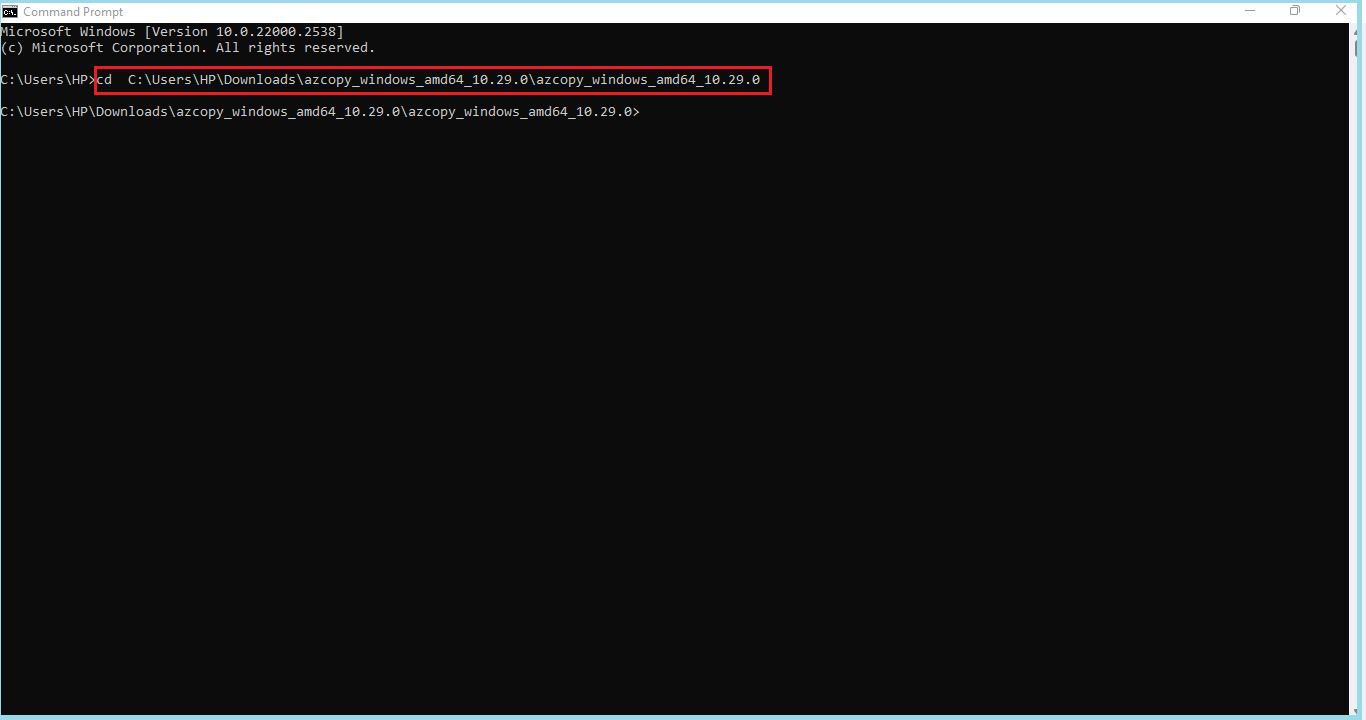
- Now open the command prompt and run the copied path as a screenshot.
- Now visit the location where your PST file located. Right click on that PST file which you want to export and click on Properties and copy the PST file path and update as a screenshot.
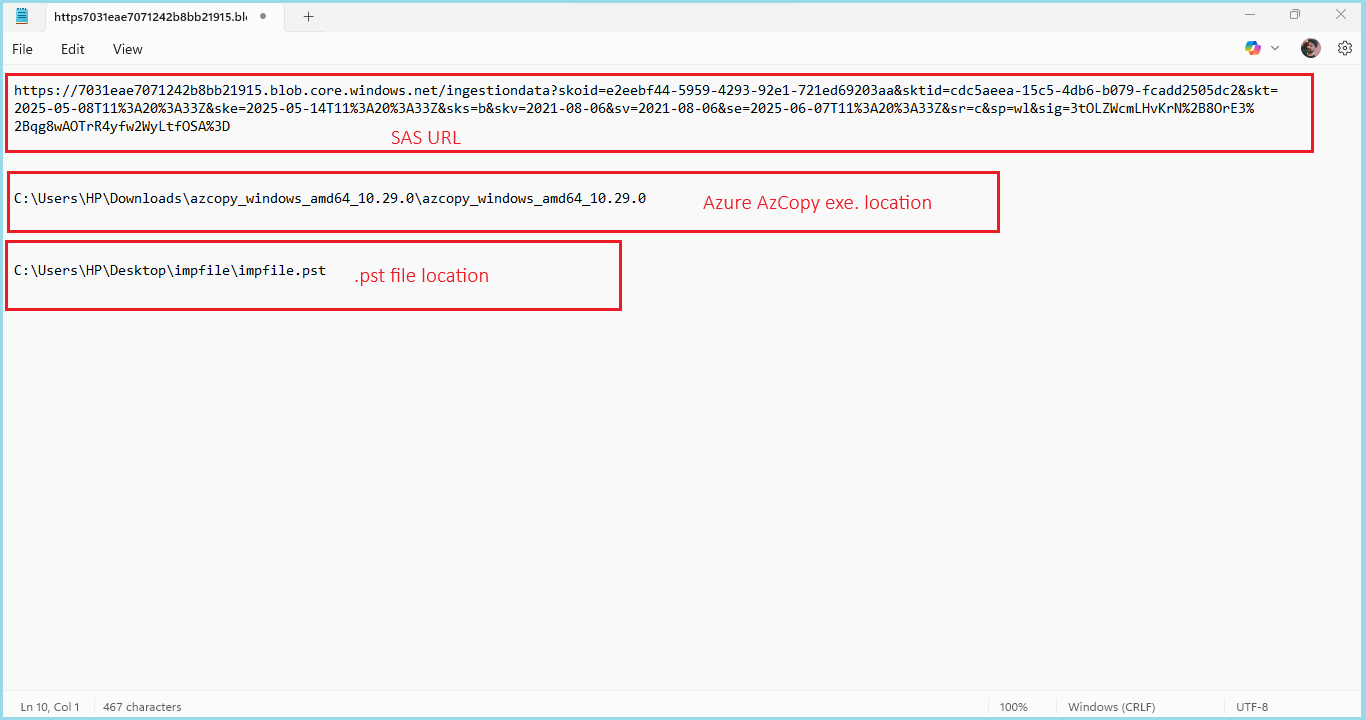
- Now copy and update the below command. Put the copied Source Location of PST file and SAS URL.
exe copy "<Source location of PST files>" "<SAS URL>"
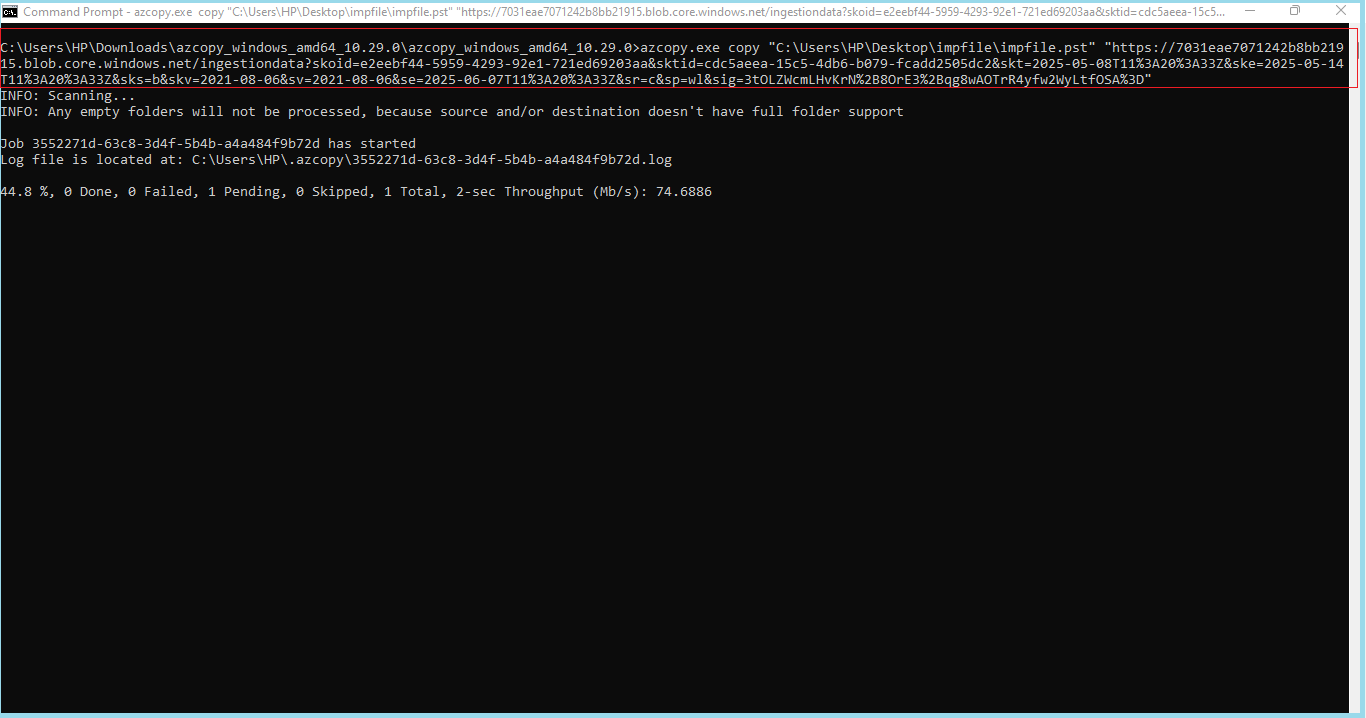
- Now copy and run the command on command prompt. Here wait till the file load.
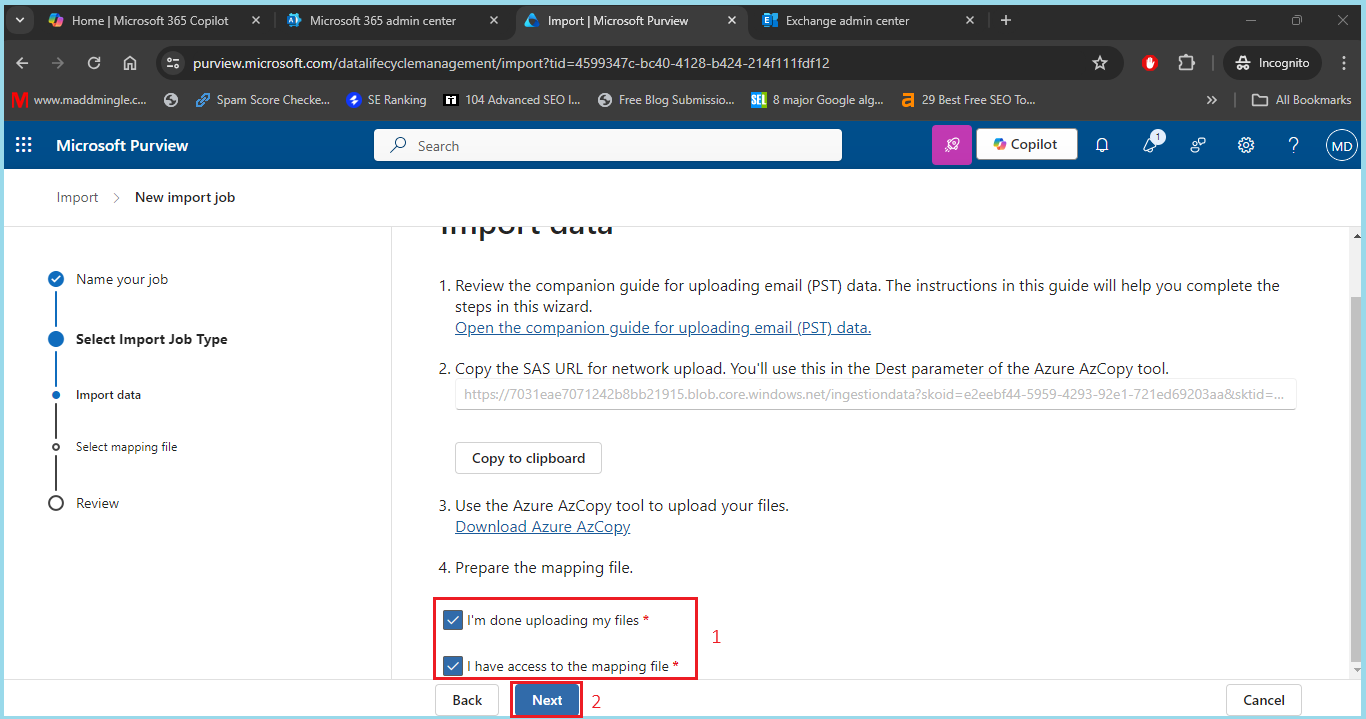
- Now back to Exchange Preview. Enable check box (I’m done uploading files and I have access to the mapping file). Now click on Next button.
- Now here we have to import the CSV file. Click on below given link to download the sample CSV file.
https://go.microsoft.com/fwlink/p/?LinkId=544717
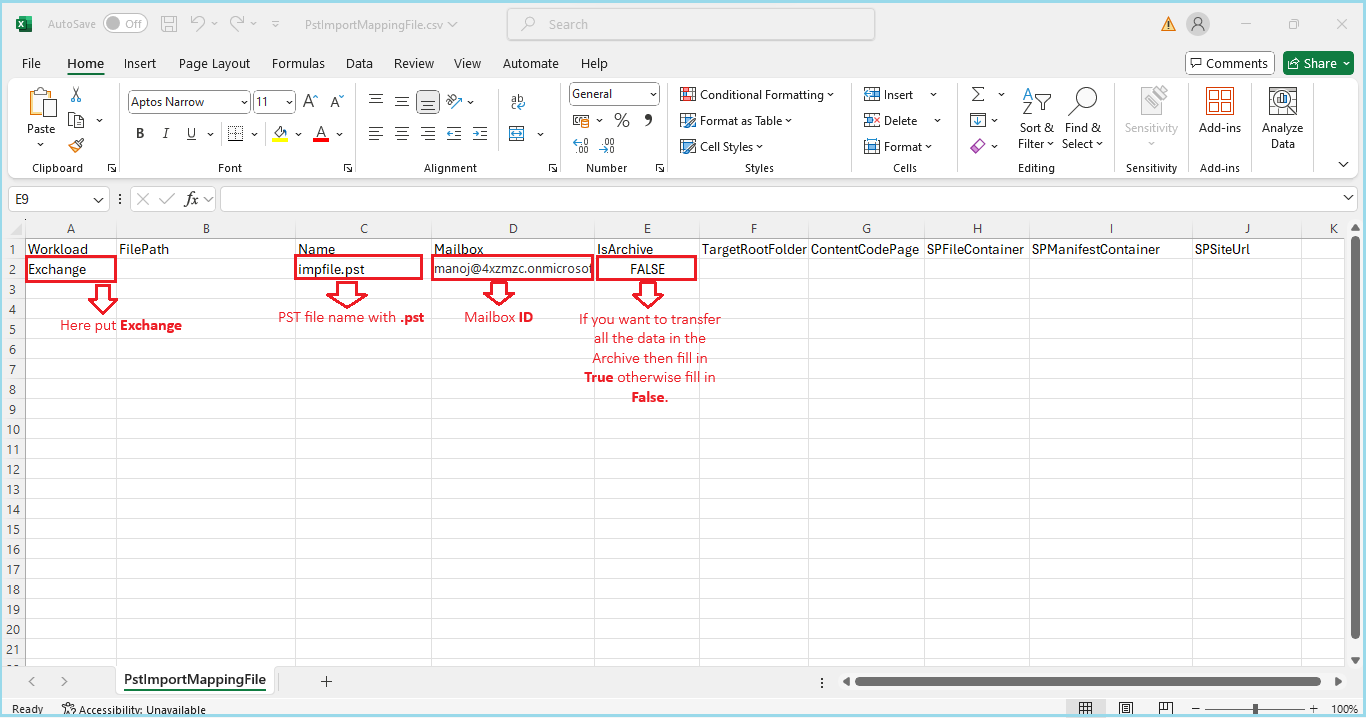
- Now open the CSV file and update like a screenshot.
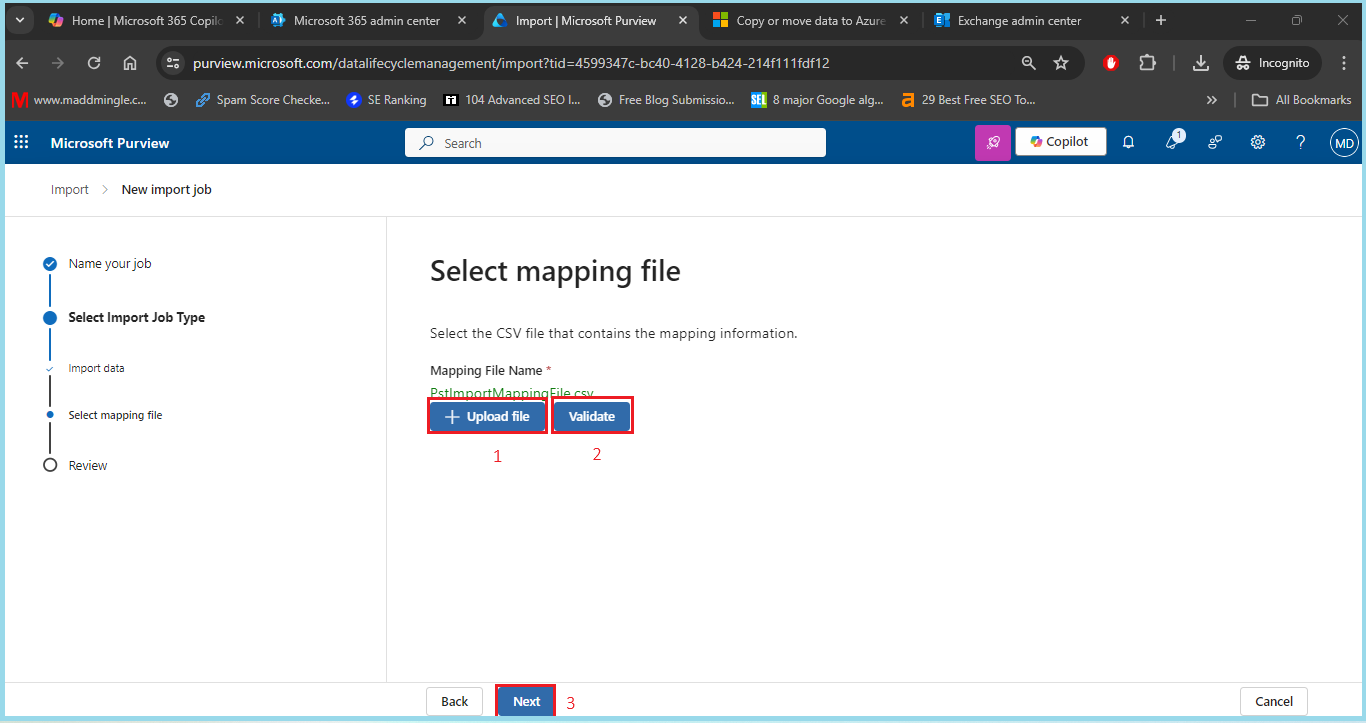
- Now click on Upload file and add the updated CSV file. Validate it and press the Next button.
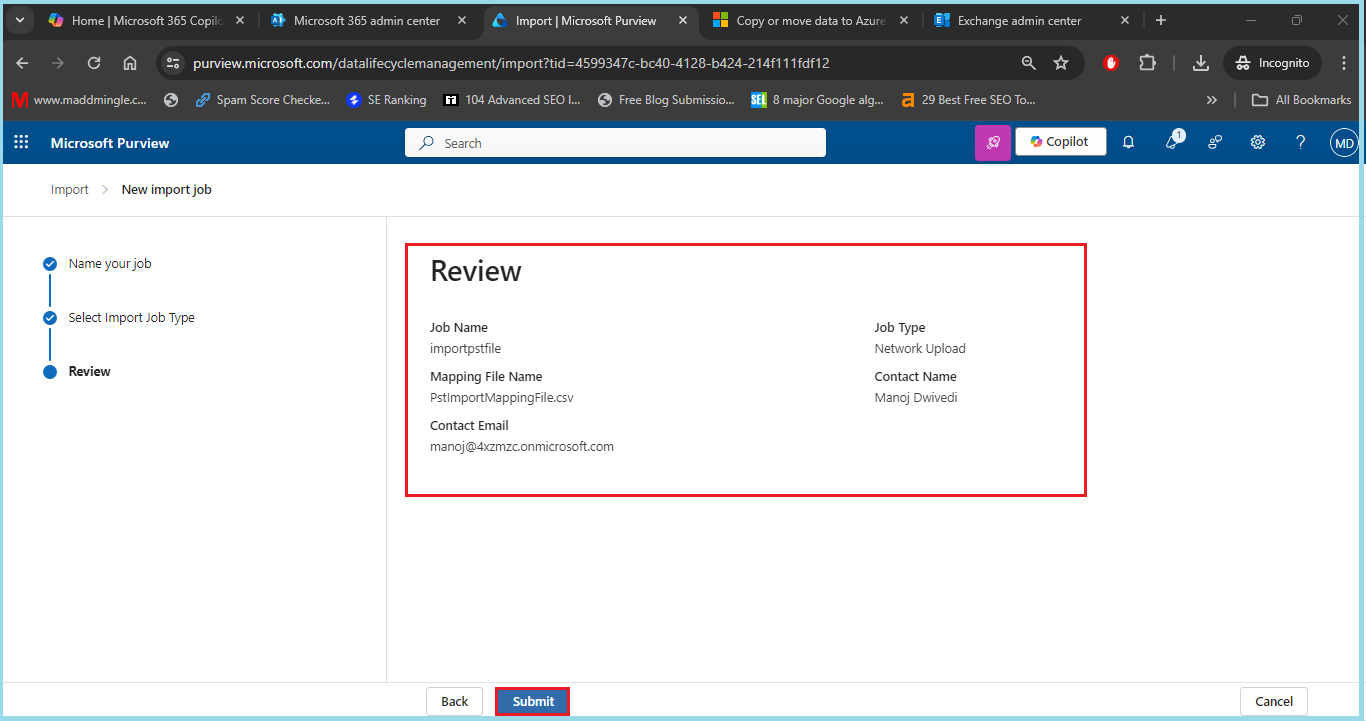
- Now verify all details and press the submit button Next button.
- Now the file will be upload on cloud. After uploading click on Done.
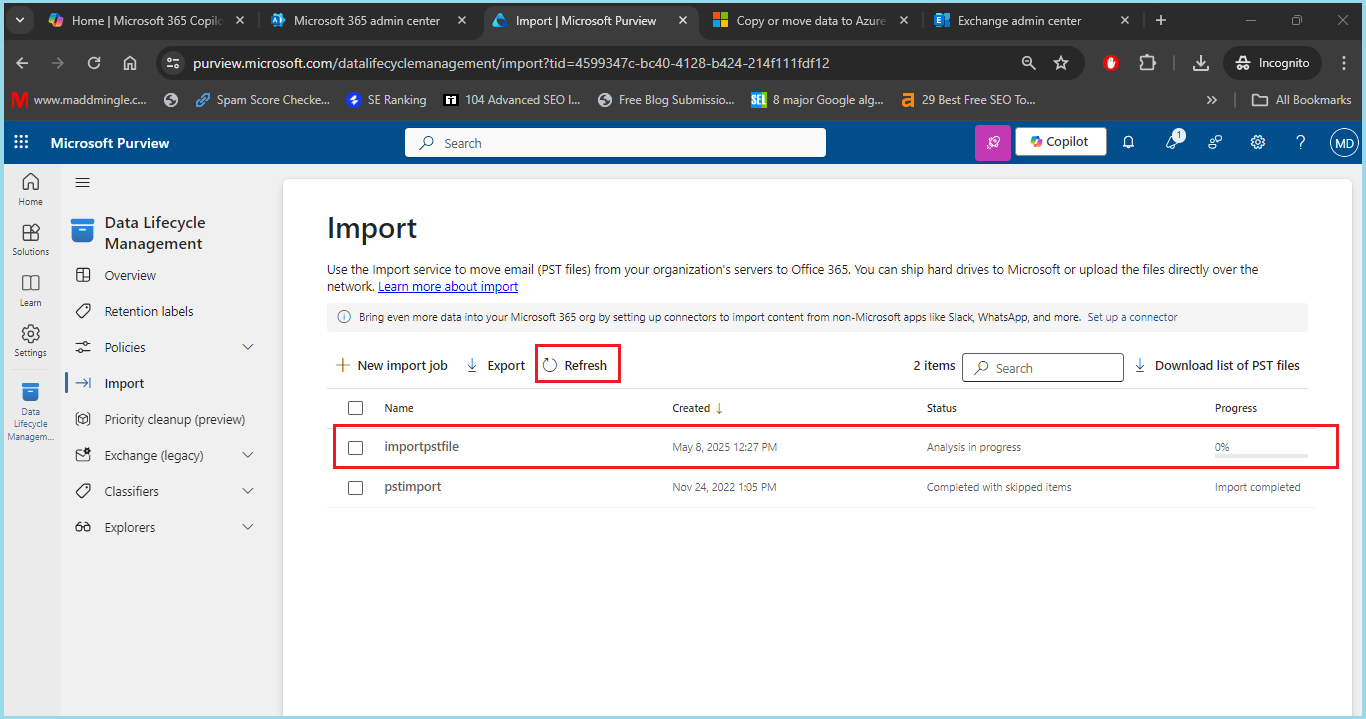
- The Import Job has been created. Here wait till the import job process in not complete. Clicking on refresh button you can check the current progress status.
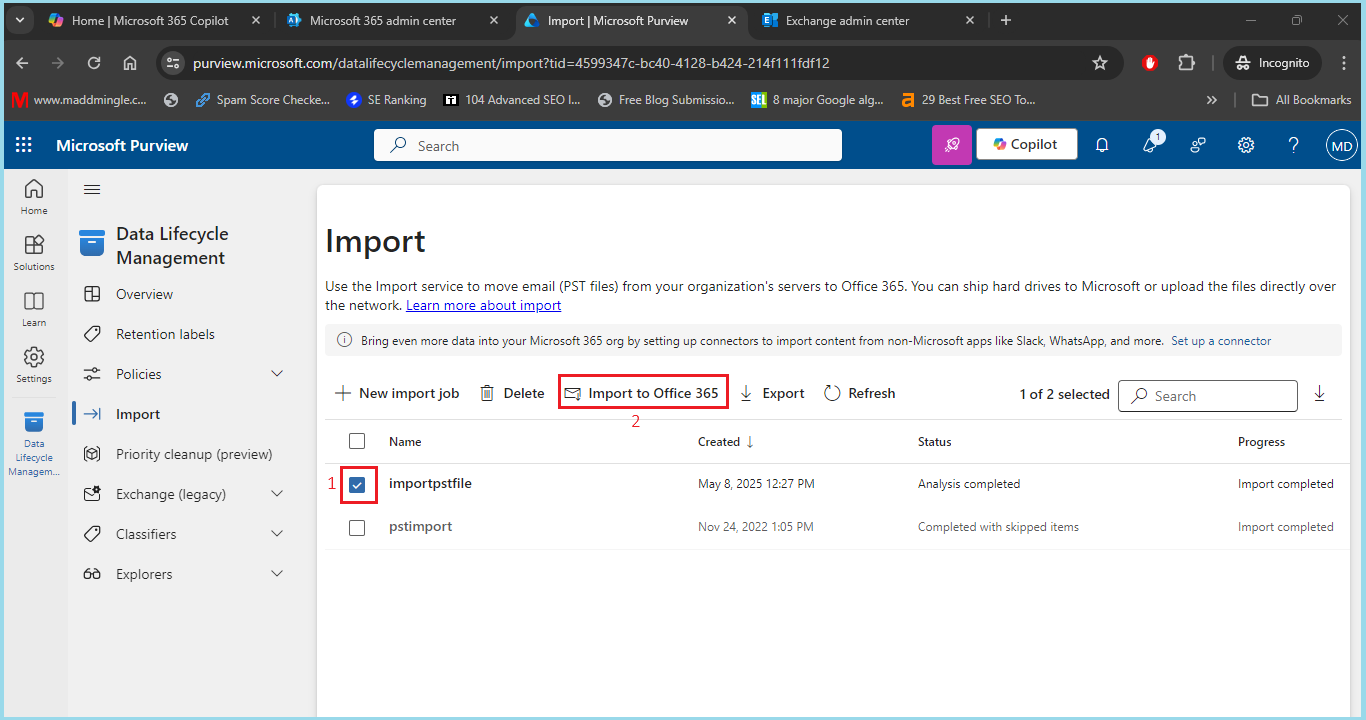
- After the import process is completed, select the created job and click on Import to Office 365.
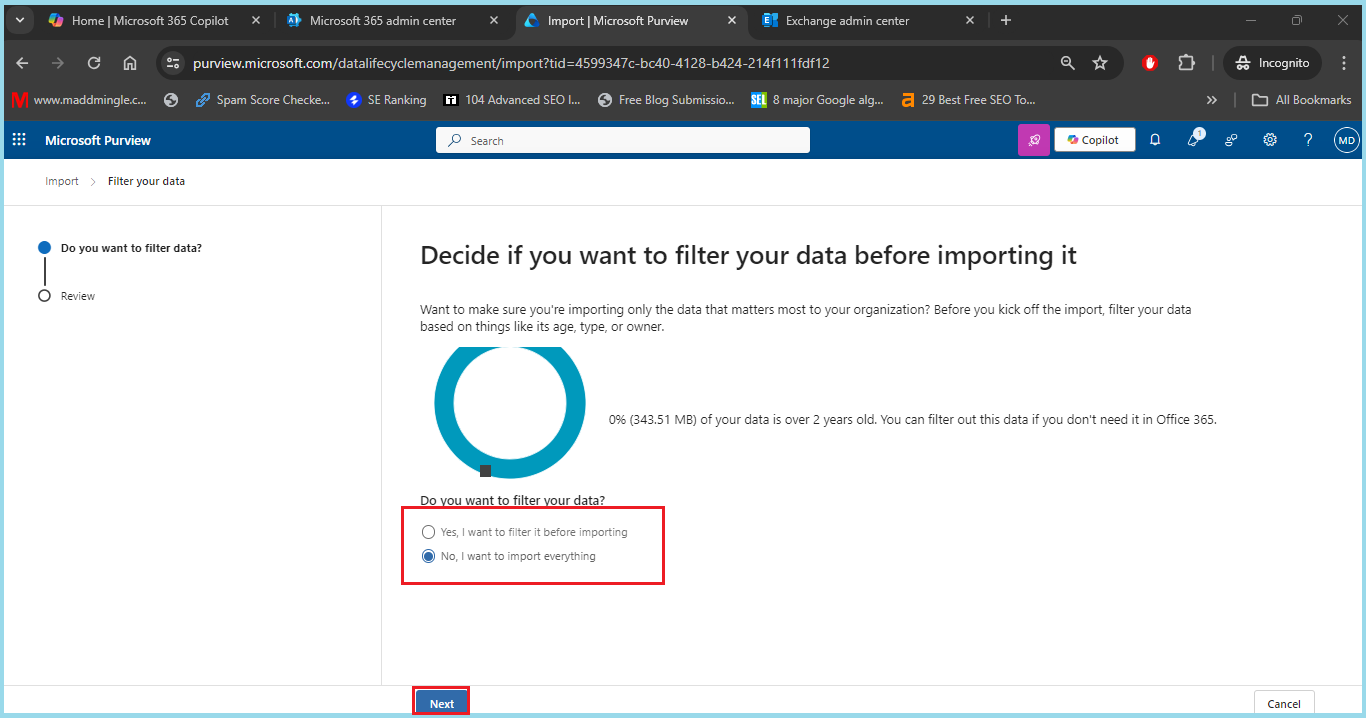
- If you want to apply any filter select I want to filter it before importing or select No, I want to import everything and press the Next button.
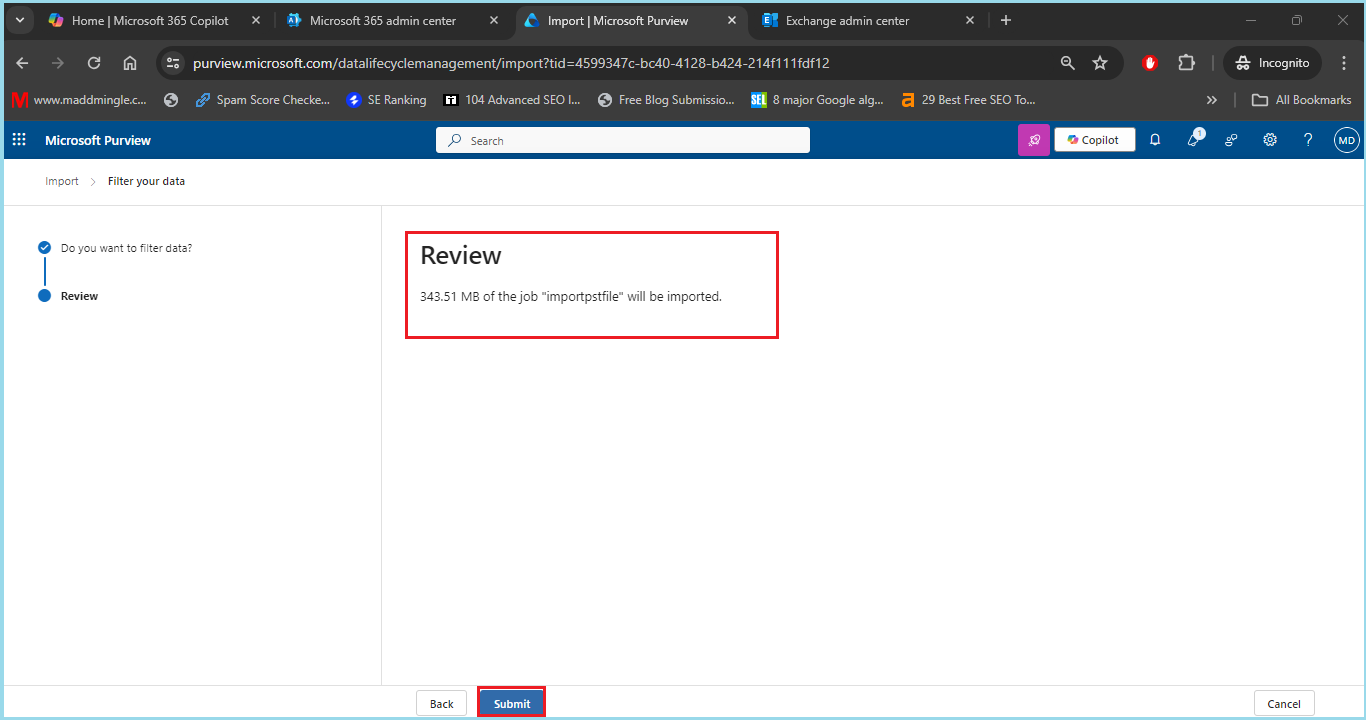
- Now you can see the data size. Here directly click in Submit.
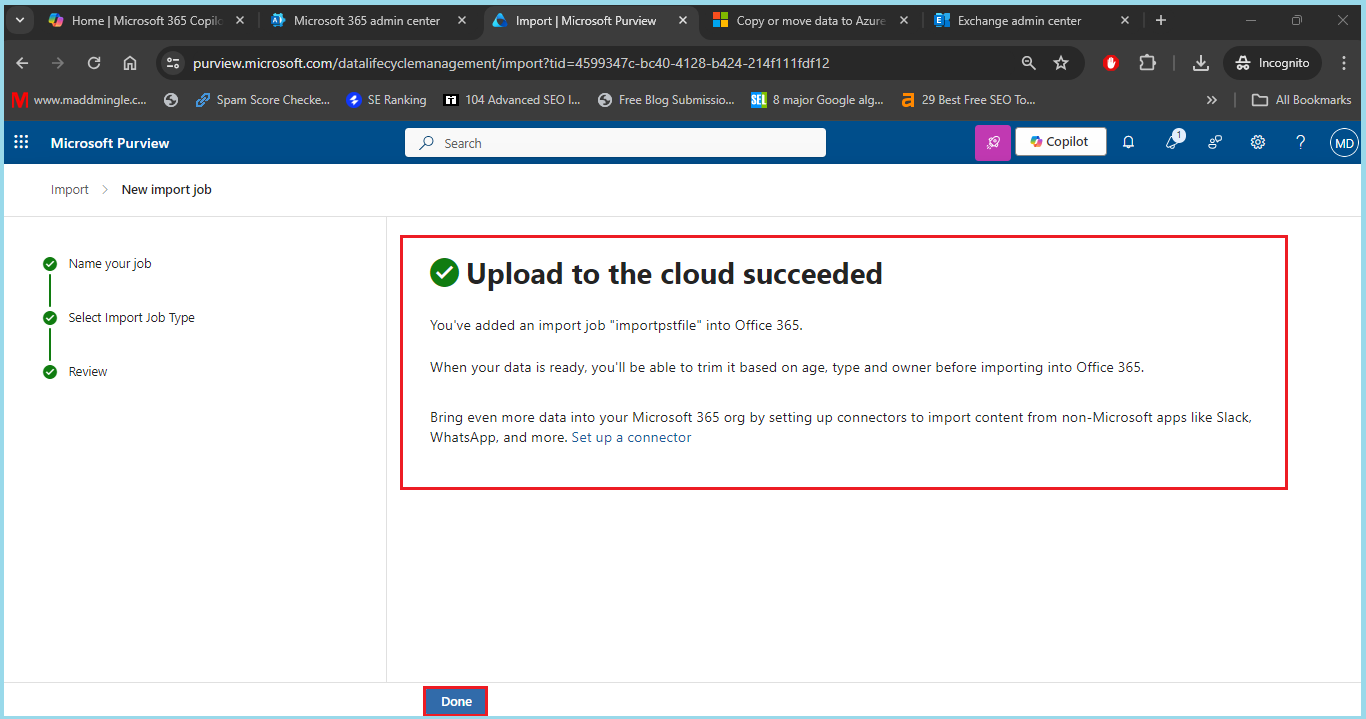
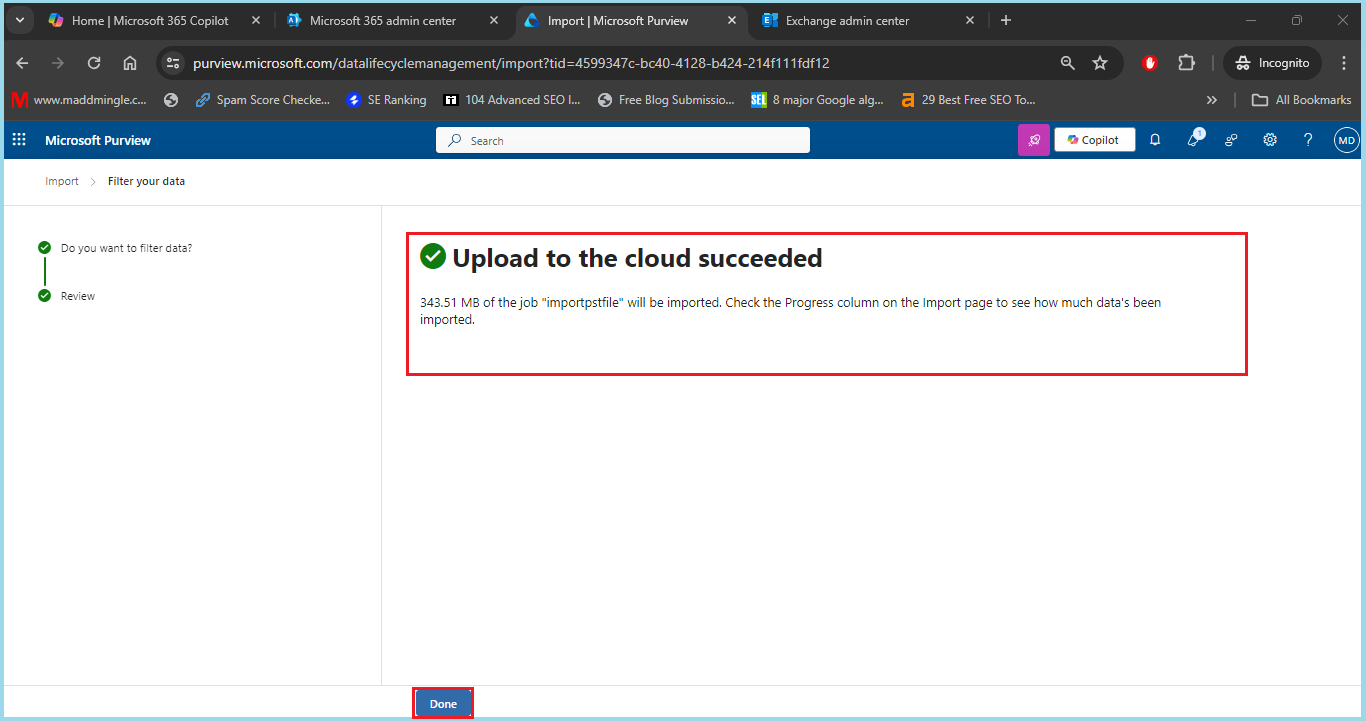
- Now upload to the cloud is successfully done. Here press the Done button.
- Click on the Refresh button. Now the Import process has been started.
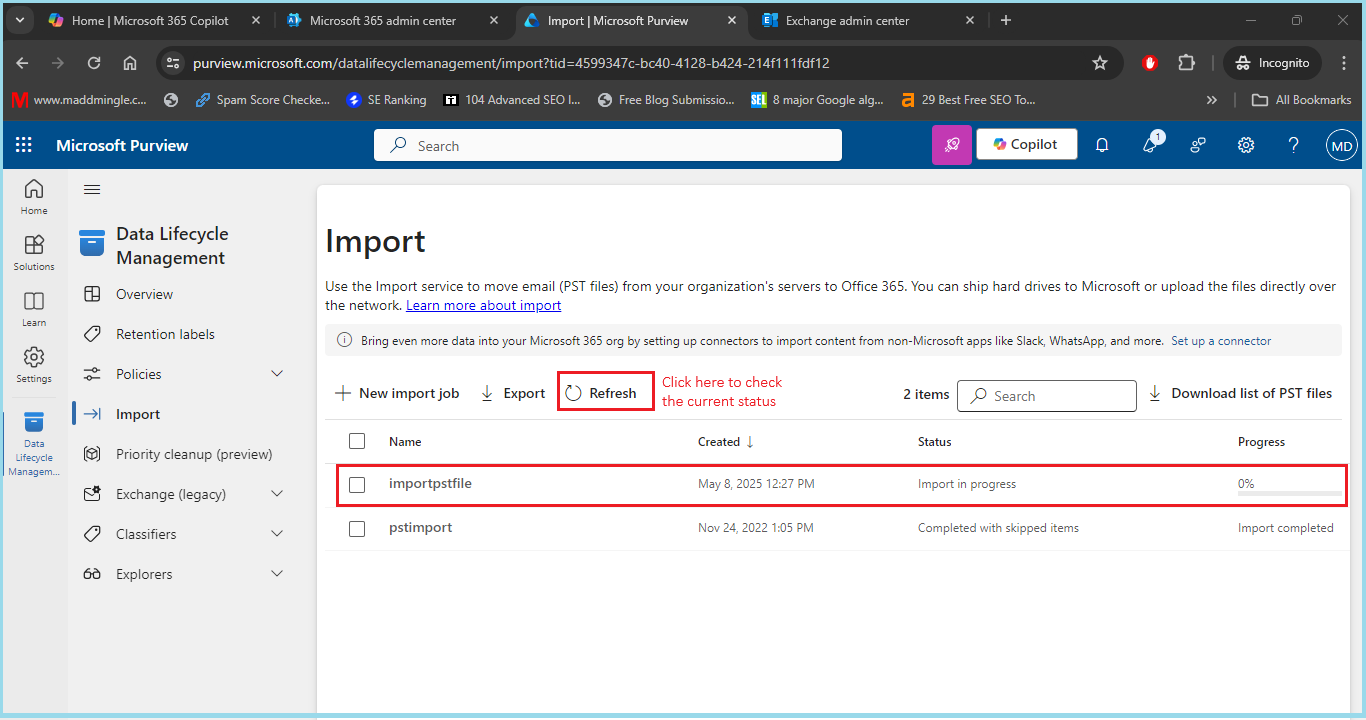
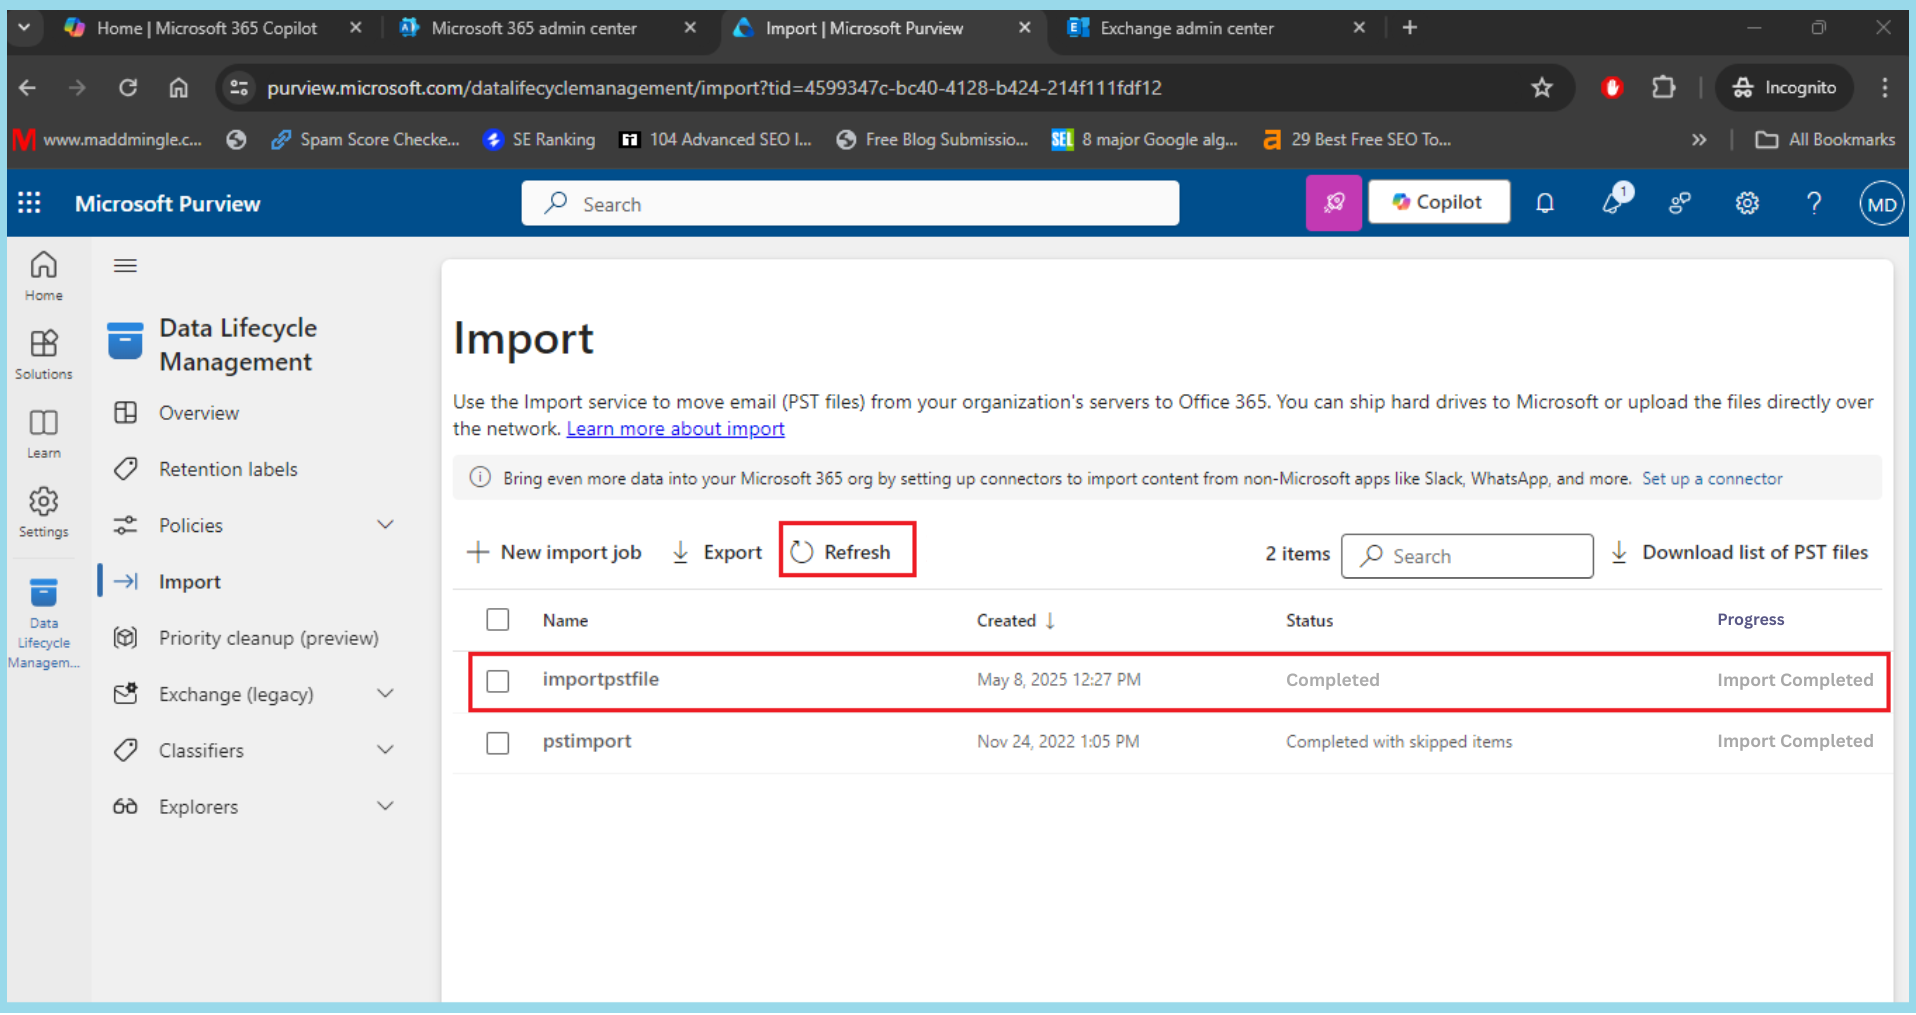
- Here wait till the process in not Over. Clicking on refresh button you can check the current progress status.
Conclusion:
So, this is the process of importing PST to Microsoft 365 Using Network upload Method. I believe after following all the step s you can successfully import PST to Office 365. If you need any help, you can contact us. Moreover, if you do not want to follow all these steps and looking for a direct method you can select the powerful solution MailsDaddy PST to Office 365 Migration Tool. Using this software, you can upload PST file into Microsoft 365 at minimum time and you can also save yourself with data loss risk.
Also Read: Get Shared Mailbox Usage Report With or Without PowerShell