Working Guide of the MailsDaddy MBOX to Office 365 Migration Tool
Working Guide of the software
How to migrate MBOX to Office 365? (6 Steps)
Click on any screenshot to view full resolution.
Download, install, and launch the application
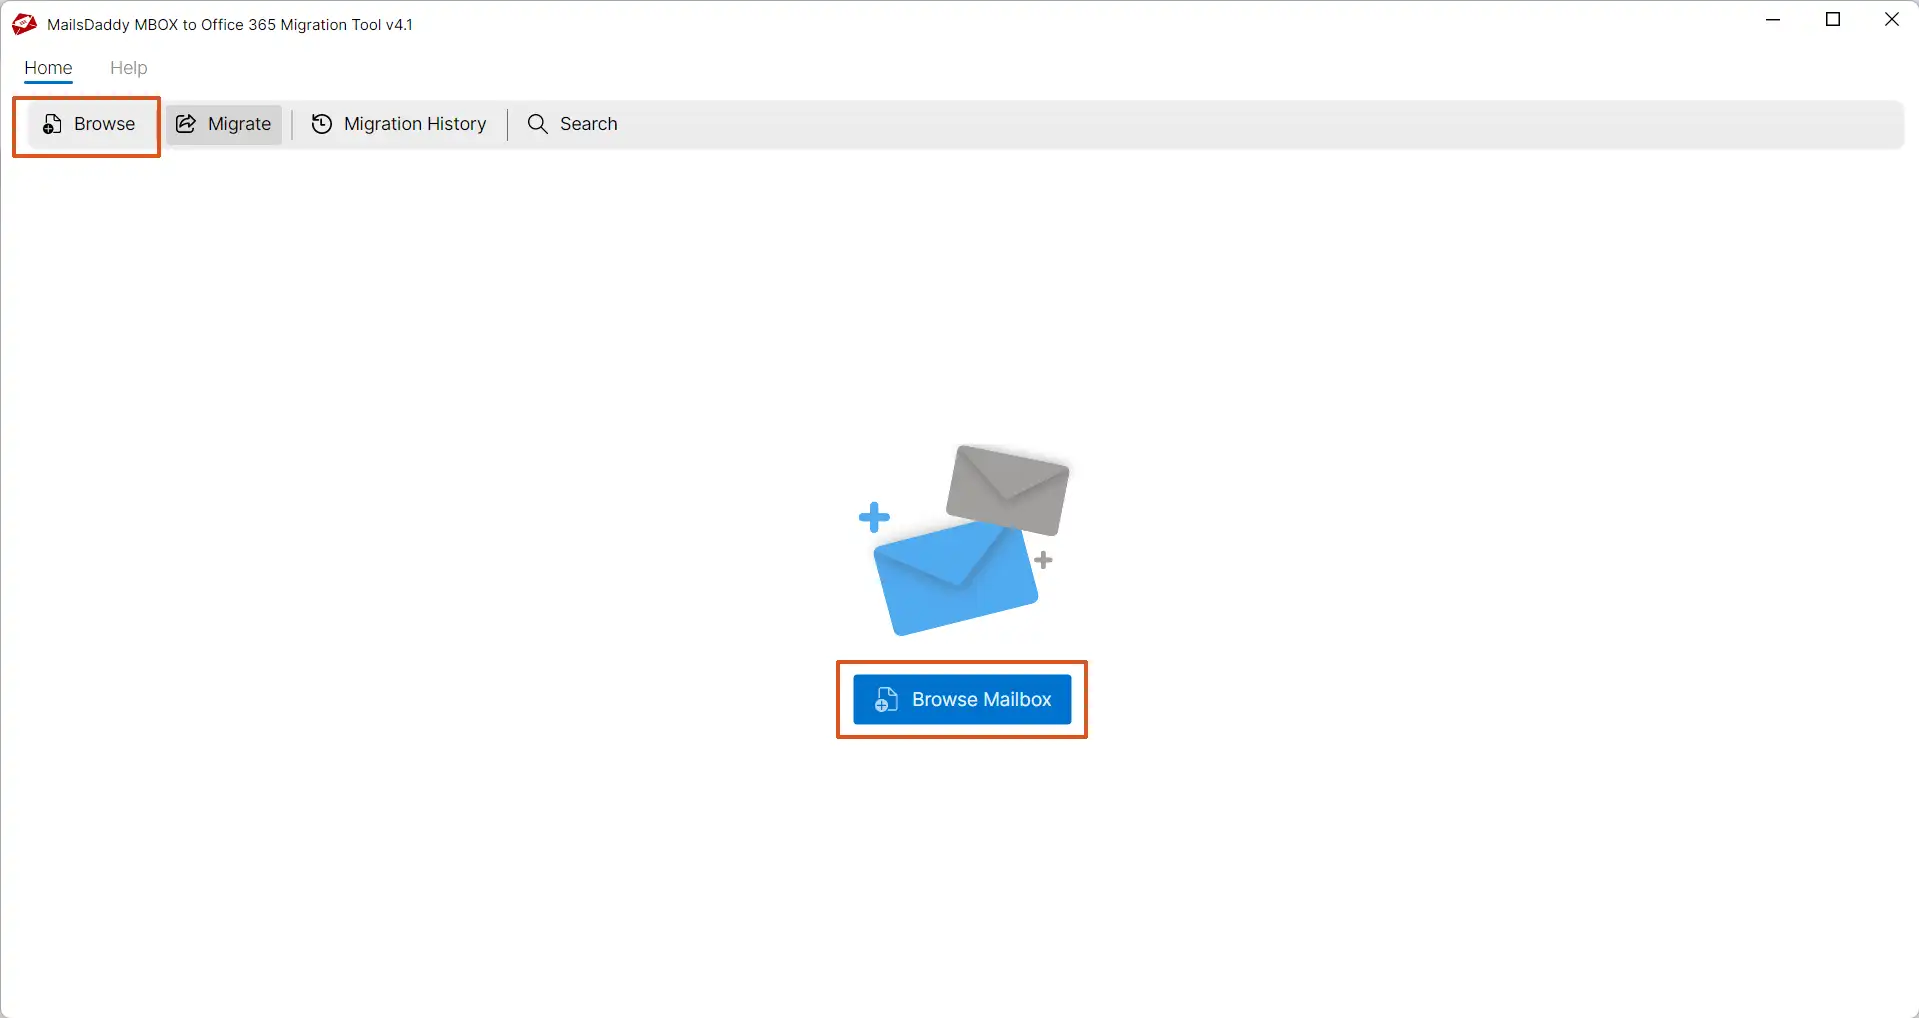
Download, install, and launch the application. Click on the Browse mailbox button. A new window will pop up. Now browse to the folder that contains MBOX files . It is recommended to choose Mozilla Thunderbird and Apple Mail for the best output from these two email clients.
Step 2: Complete Operation
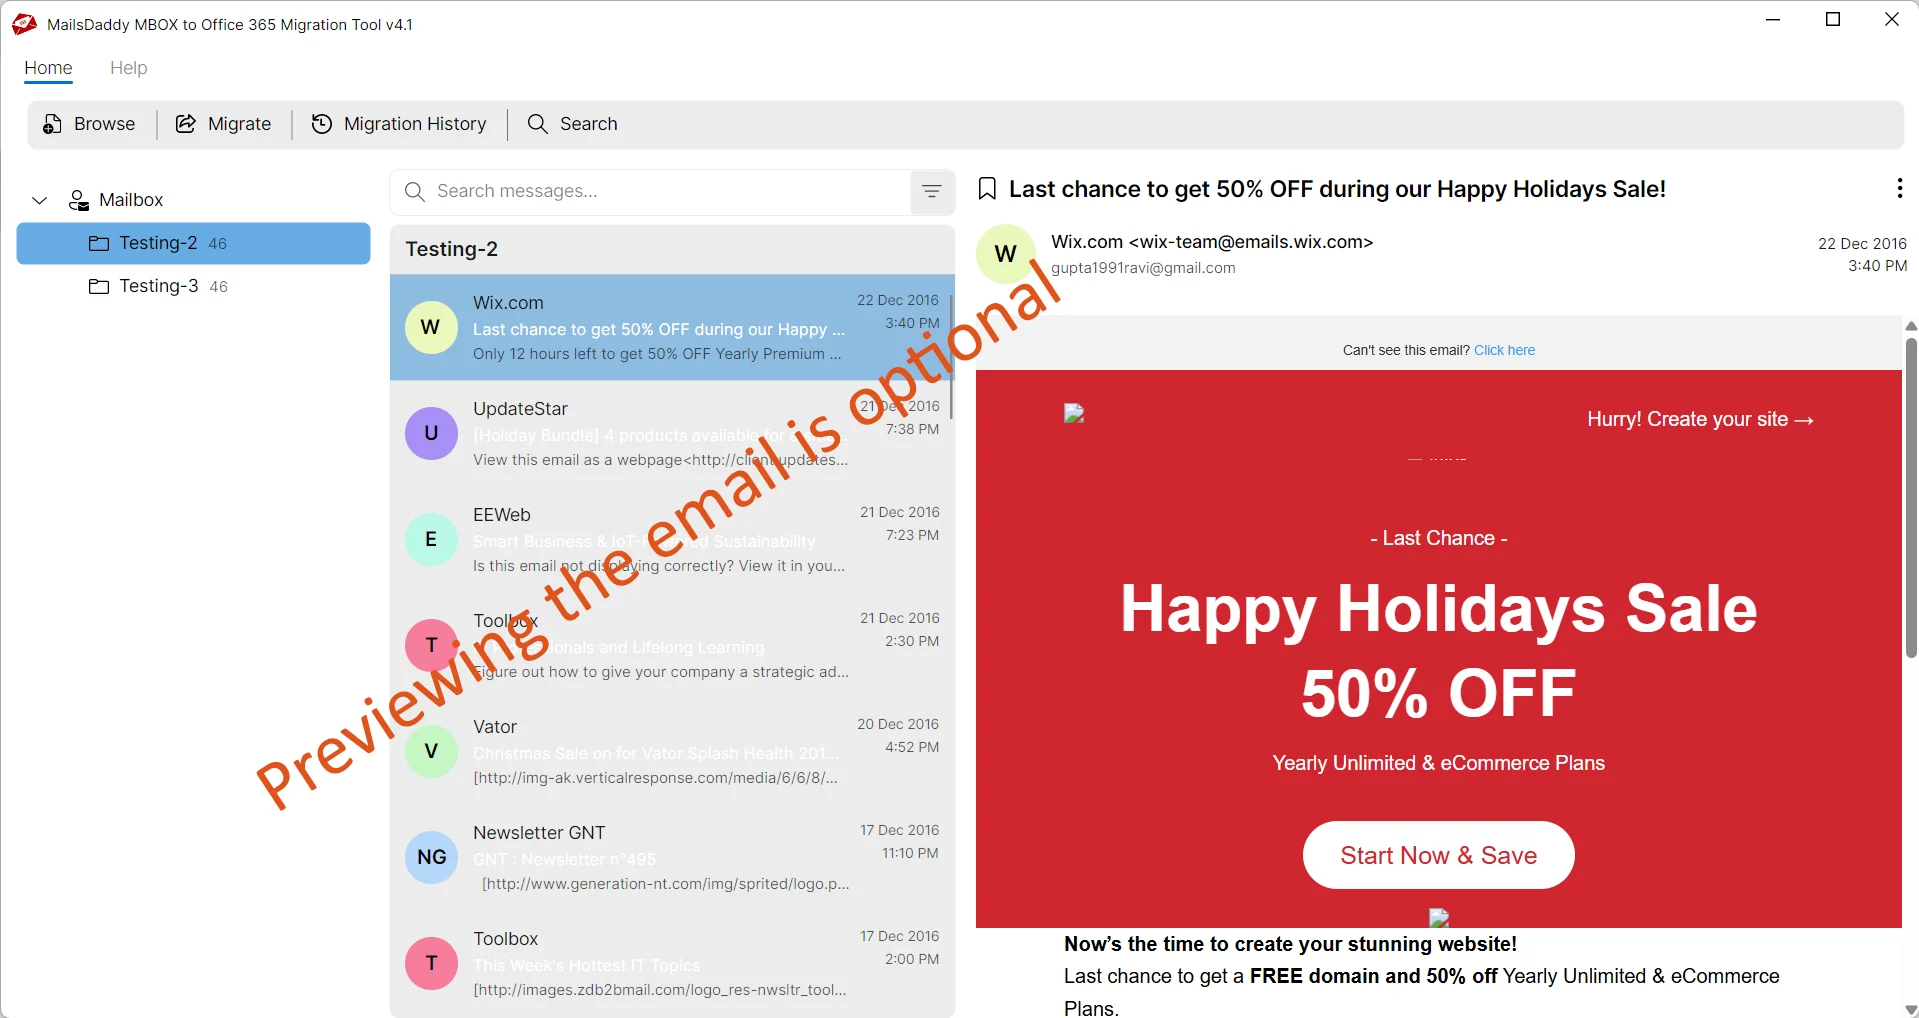
After loading the mailbox, the software generates a preview of the selected email on the right side of the pane. Users can skip the preview and move ahead to export the mailbox into Office 365.
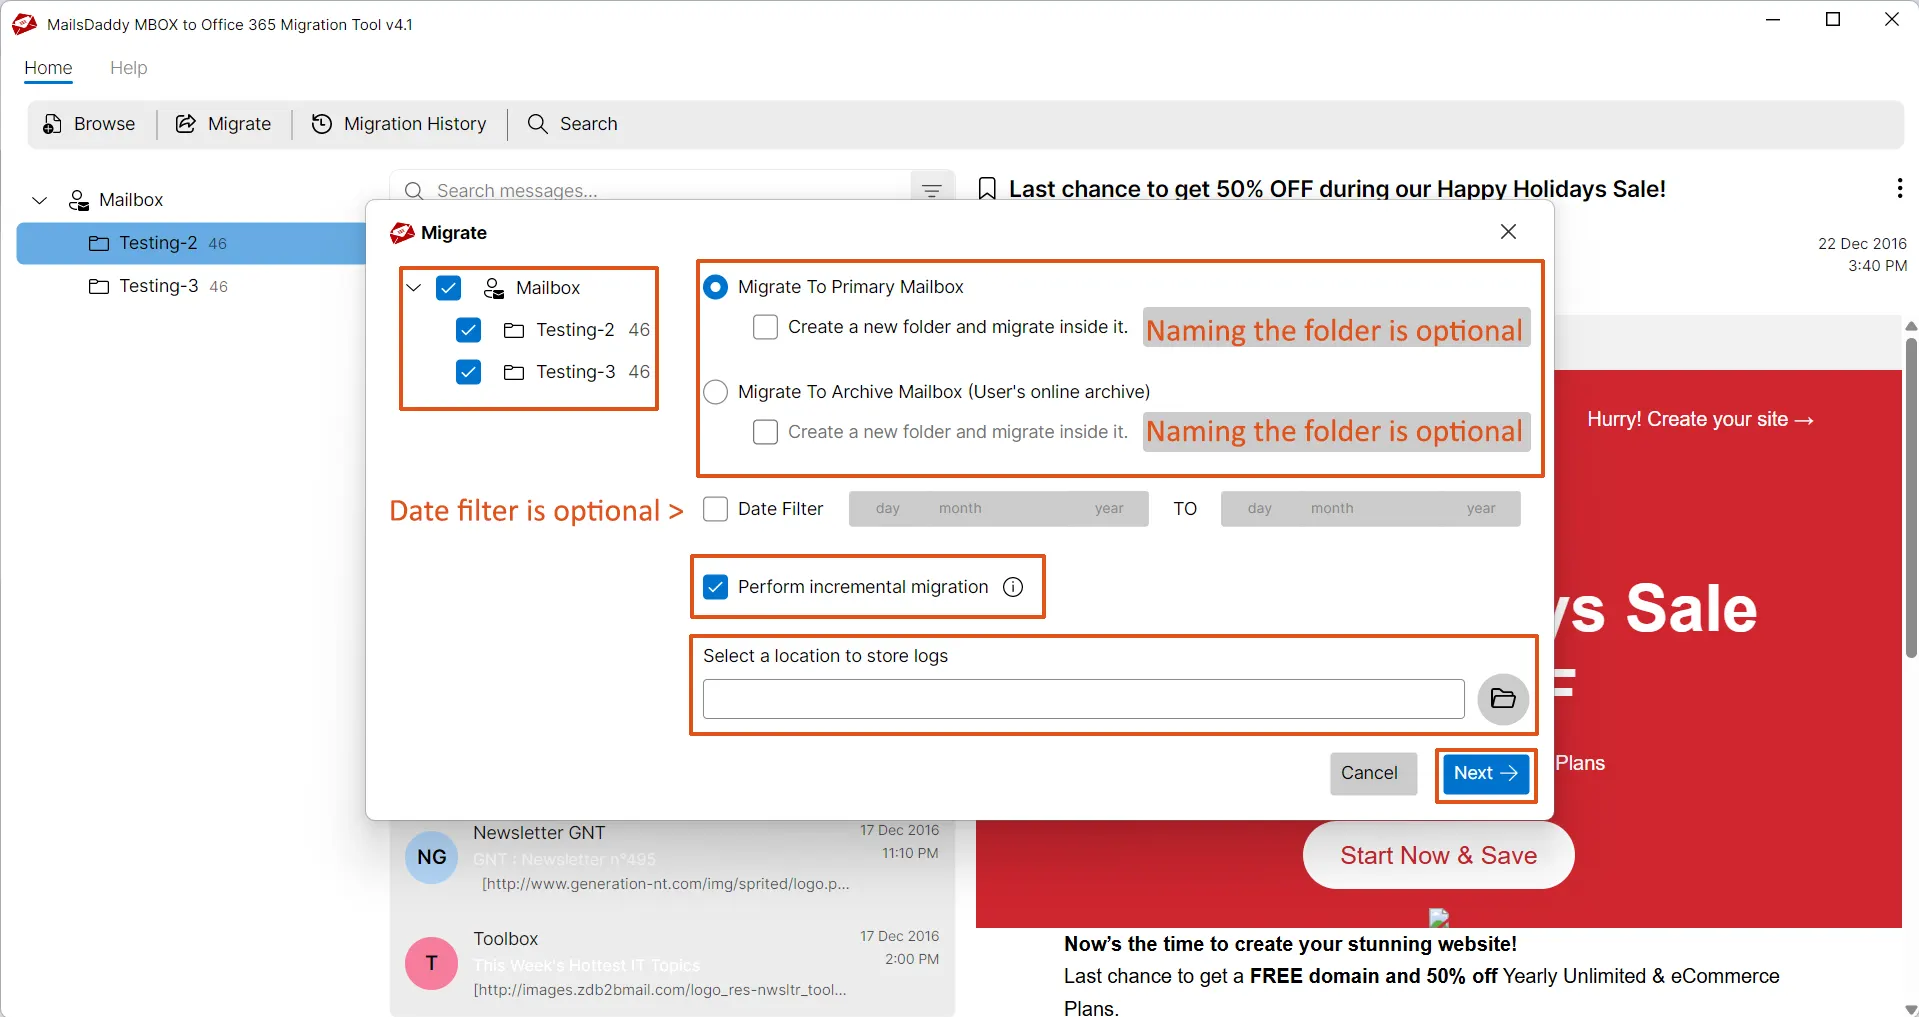
Choose mailbox types: Primary , In-Place Archive , Shared , or Group
Choose mailbox types: Primary , In-Place Archive , Shared , or Group . Users can migrate data to the root folder or assign a new folder for the migration. Folder naming is optional. You can also enable or disable incremental migration and specify the log file location before authenticating the Office 365 account.
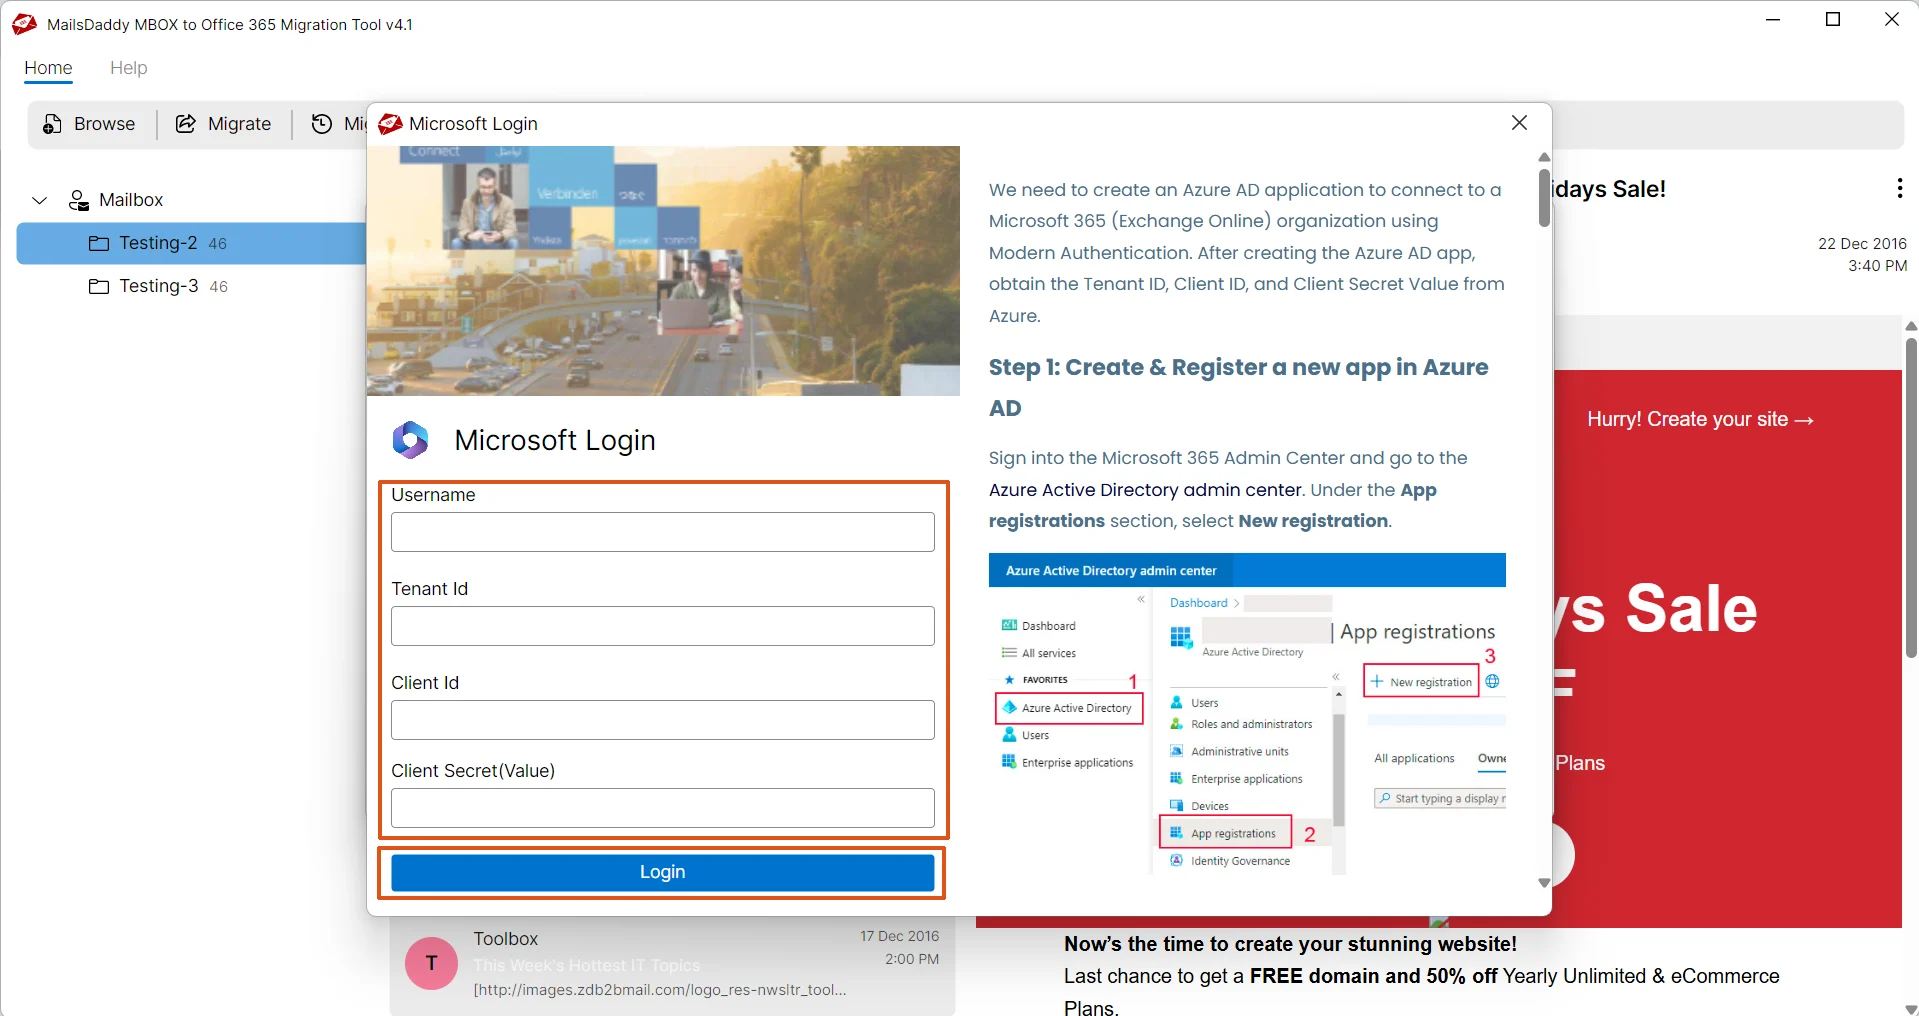
Choose an authentication type: Automated or Manual
Choose an authentication type: Automated or Manual . Both are safe options for authentication and migration to the Office 365 cloud.
After successful authentication, provide the target email address to start the migration
After successful authentication, provide the target email address to start the migration
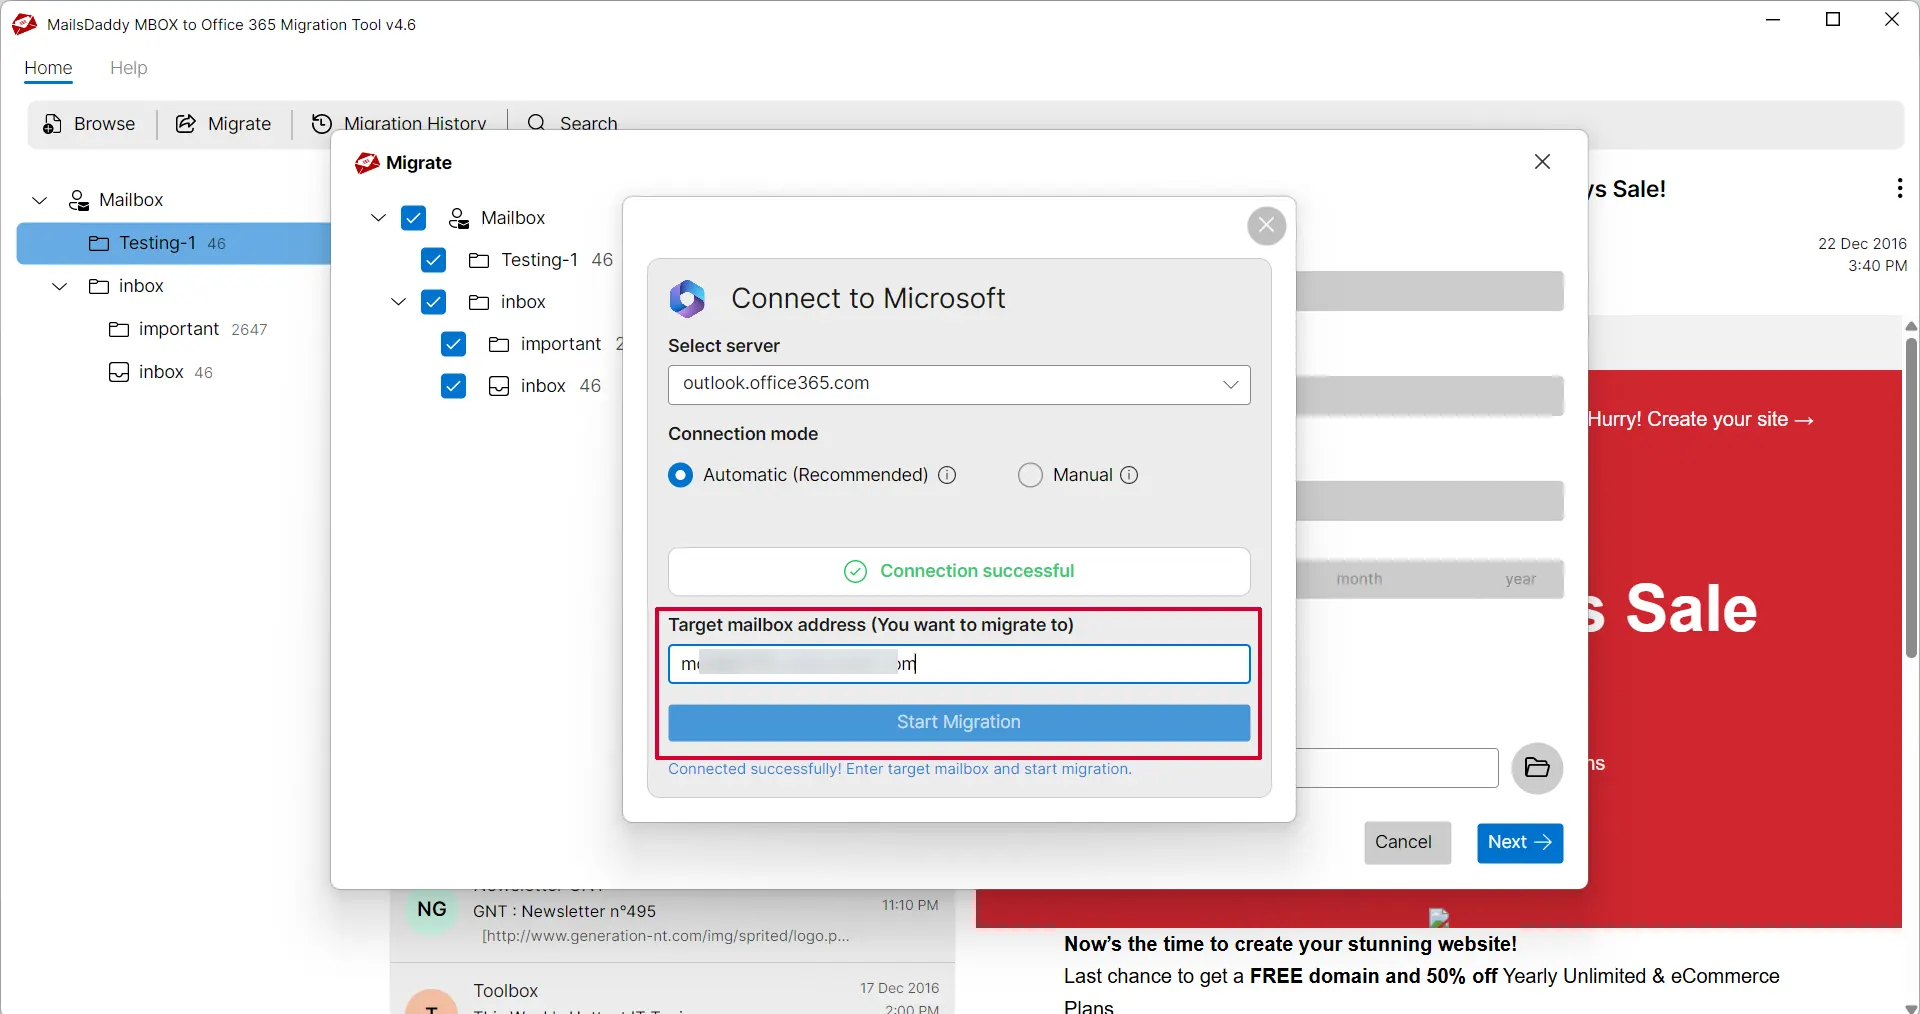
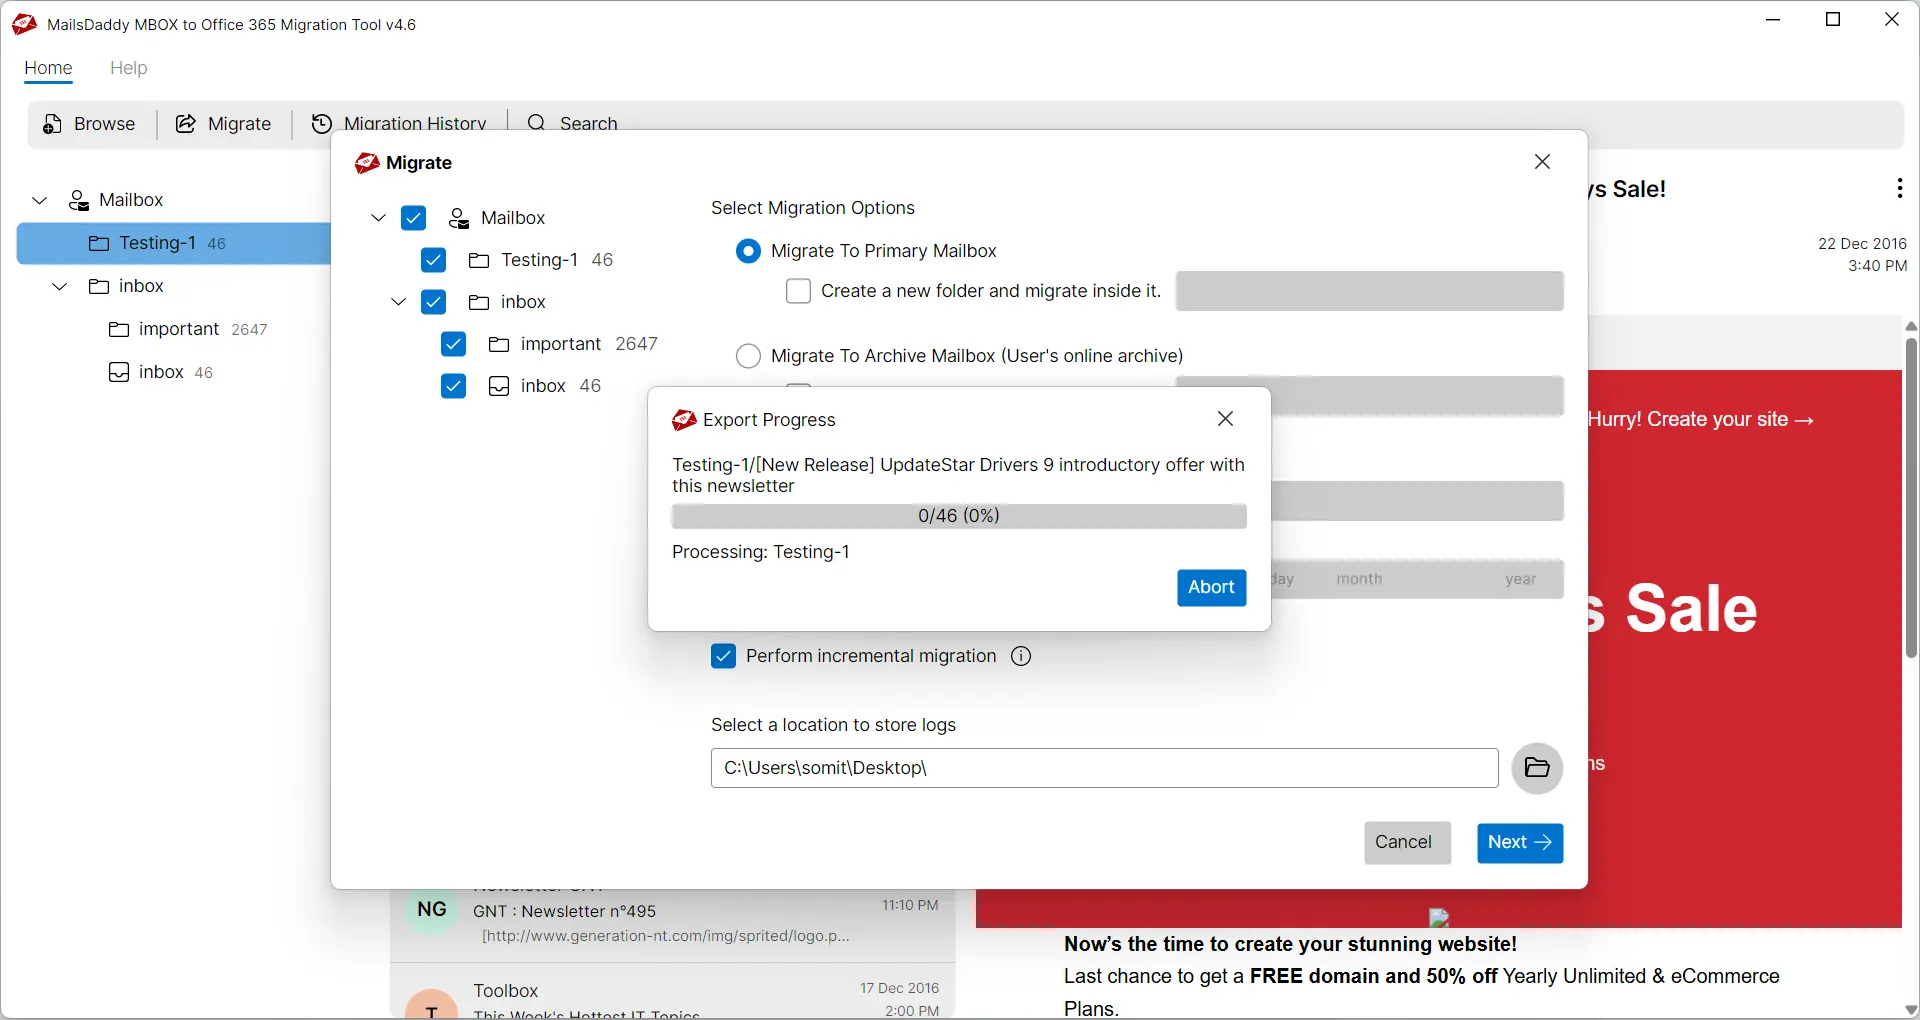
Now you will see the migration window, so wait until the process is complete
Now you will see the migration window, so wait until the process is complete. That's it. Wait for the confirmation window.
Ready to Start with MBOX to Office 365 Migration?
Download the free trial version to preview all mailbox items or buy the full license for unlimited conversion.