Step1- Download and install the MailsDaddy Free OST Viewer software, then activate the application using a valid license key.
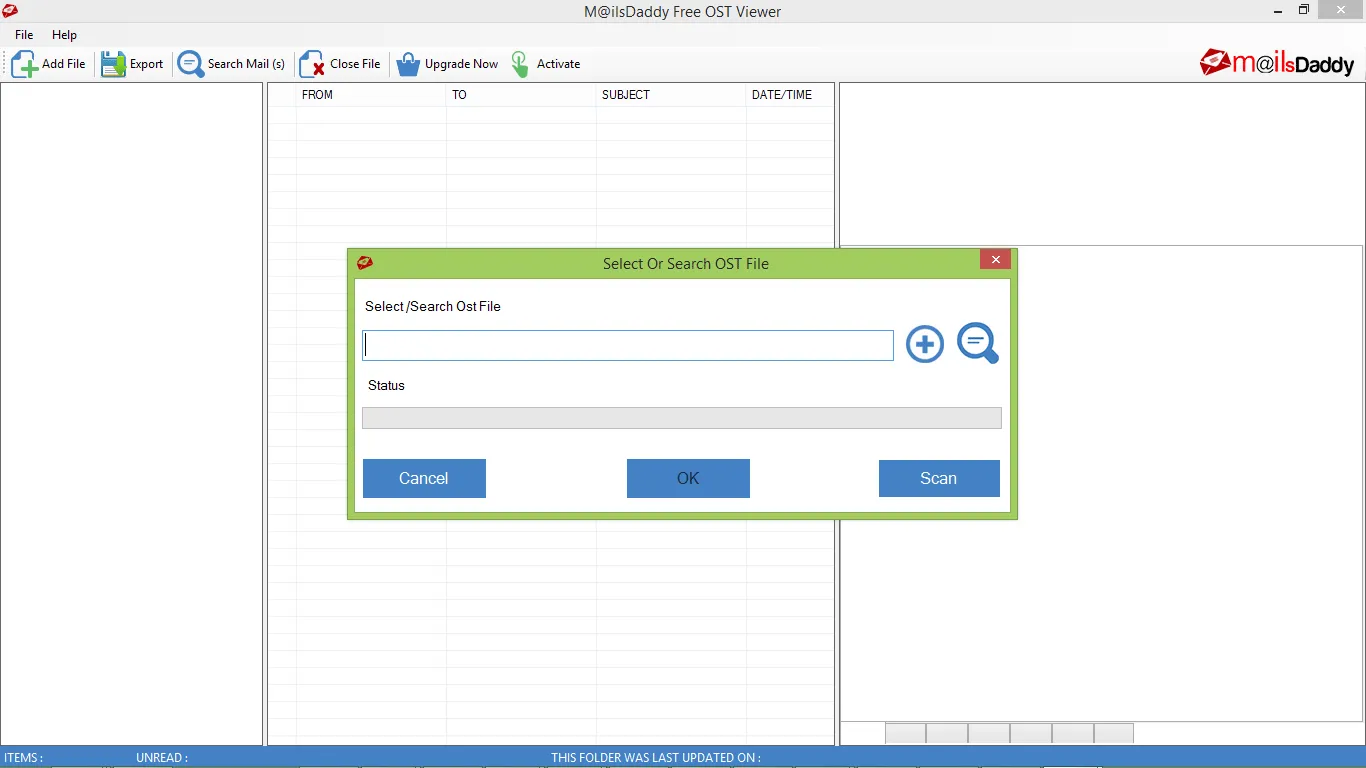
Step2- Start the software and click the "Open File" button to add the OST file for viewing.
Step3- Browse and select the OST file, then click the "Open" button to load the OST file into the viewer.
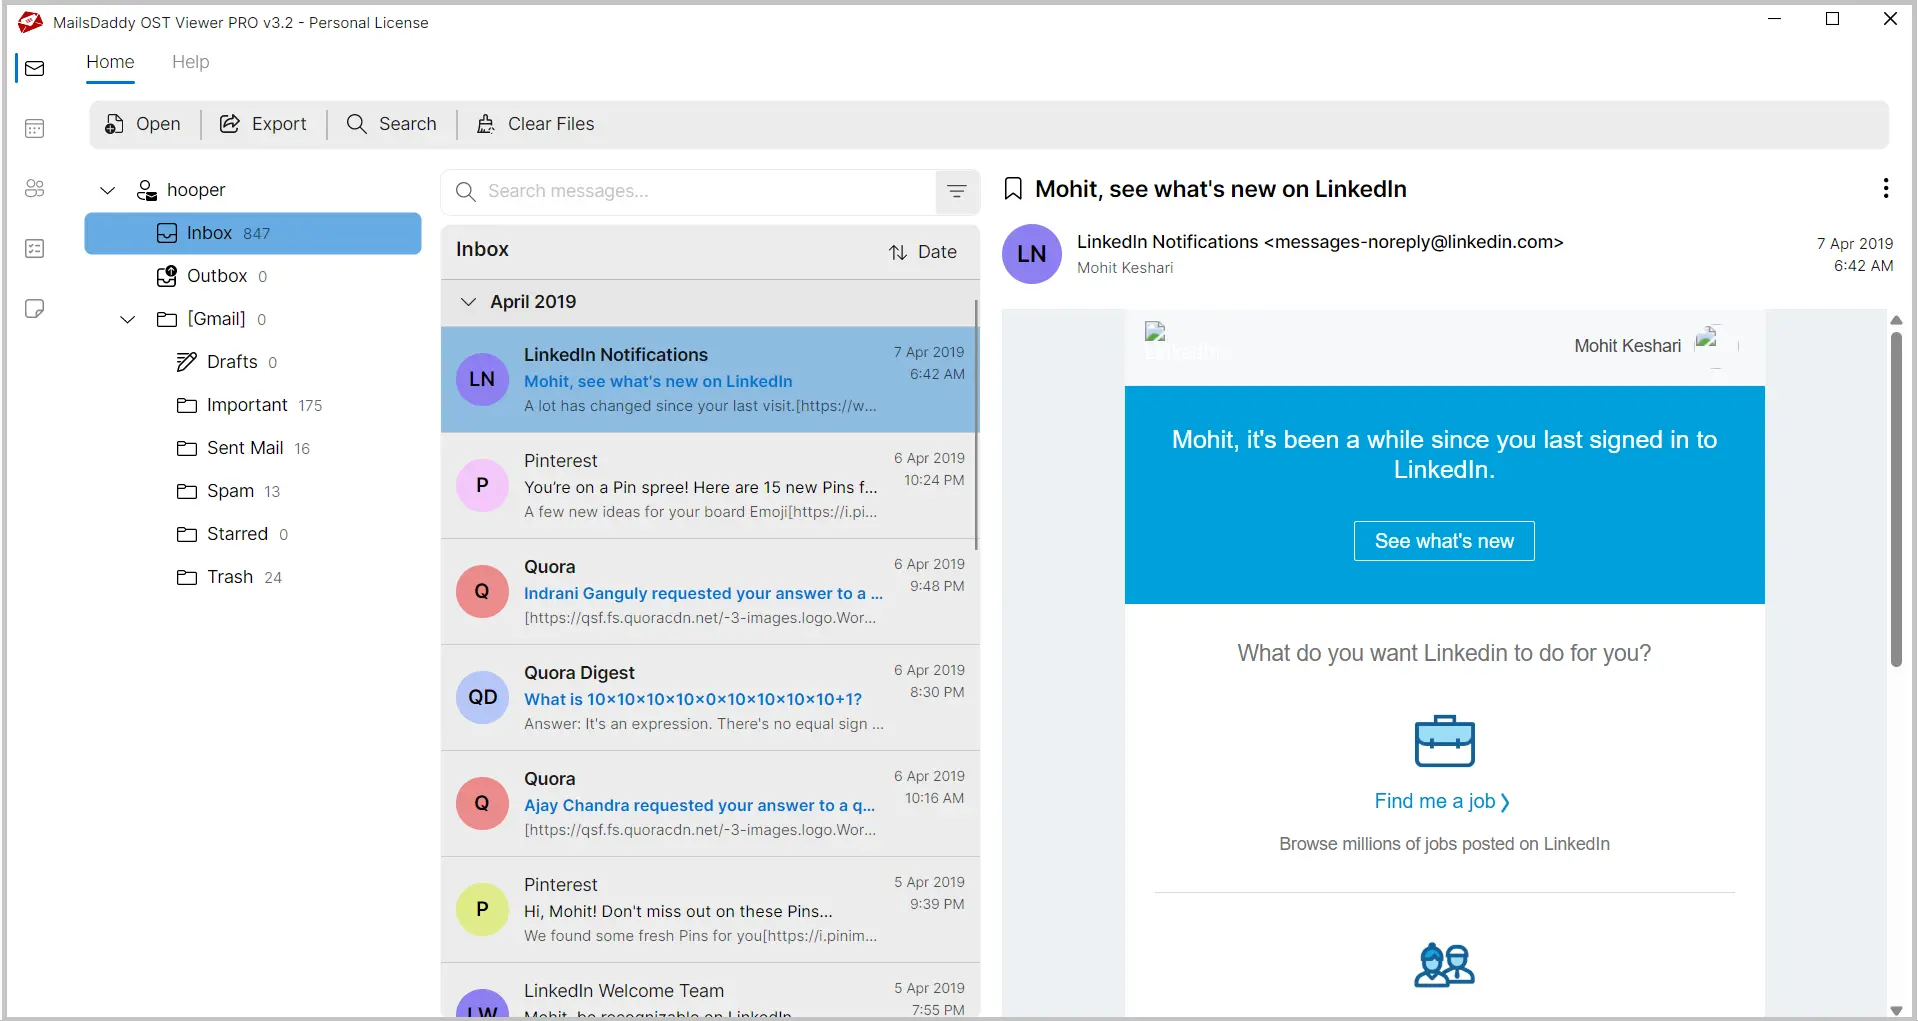
Step4- MailsDaddy Free OST Viewer software displays a complete mailbox preview while preserving the original folder hierarchy and email structure.
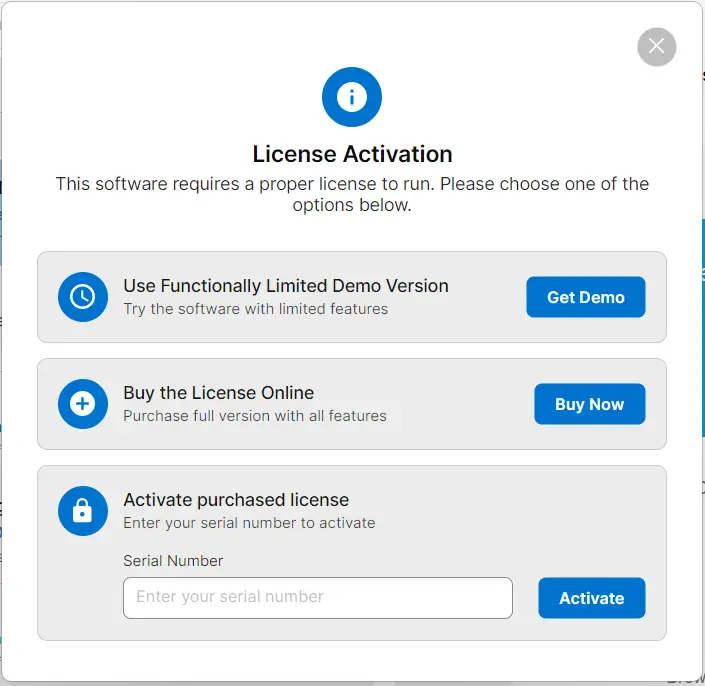
To export OST mailbox data into PST, MSG, EML, MBOX, or MHTML file formats,Upgrade the software using a valid Personal License, Business License, or Enterprise License.
Step1- Click the Export option from the menu bar and select the desired export file format. Choose the date filter or other export options according to your requirements. Specify the destination path and click the Export button to start the export process. The user can also export contacts and calendars separately.
Step2- A OST file conversion process window will appear, displaying the current export progress and status details.

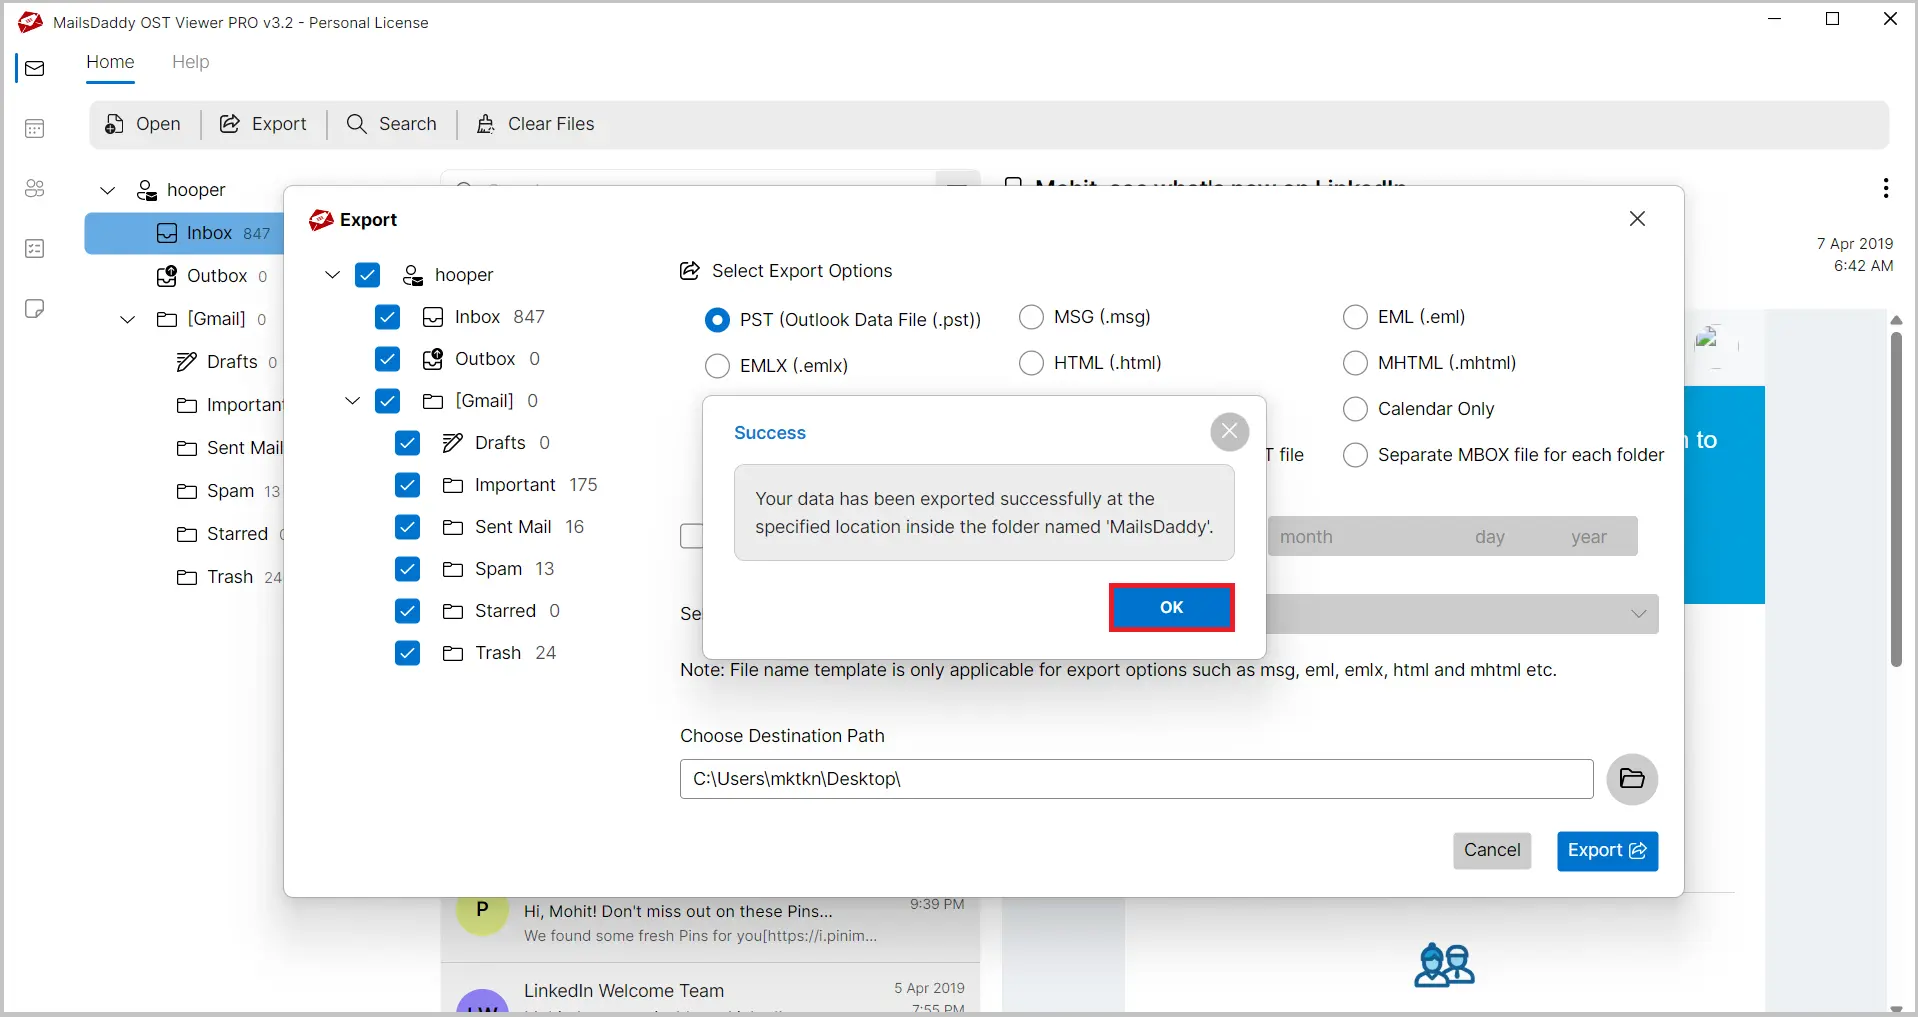
Step3- After the OST file conversion is completed successfully, a confirmation message will appear on the screen. Close the software after verifying the successful export process.
The software also allows users to filter, find, and convert specific email database items into OST and other supported file formats. Follow the steps below to perform selective email conversion easily and efficiently.
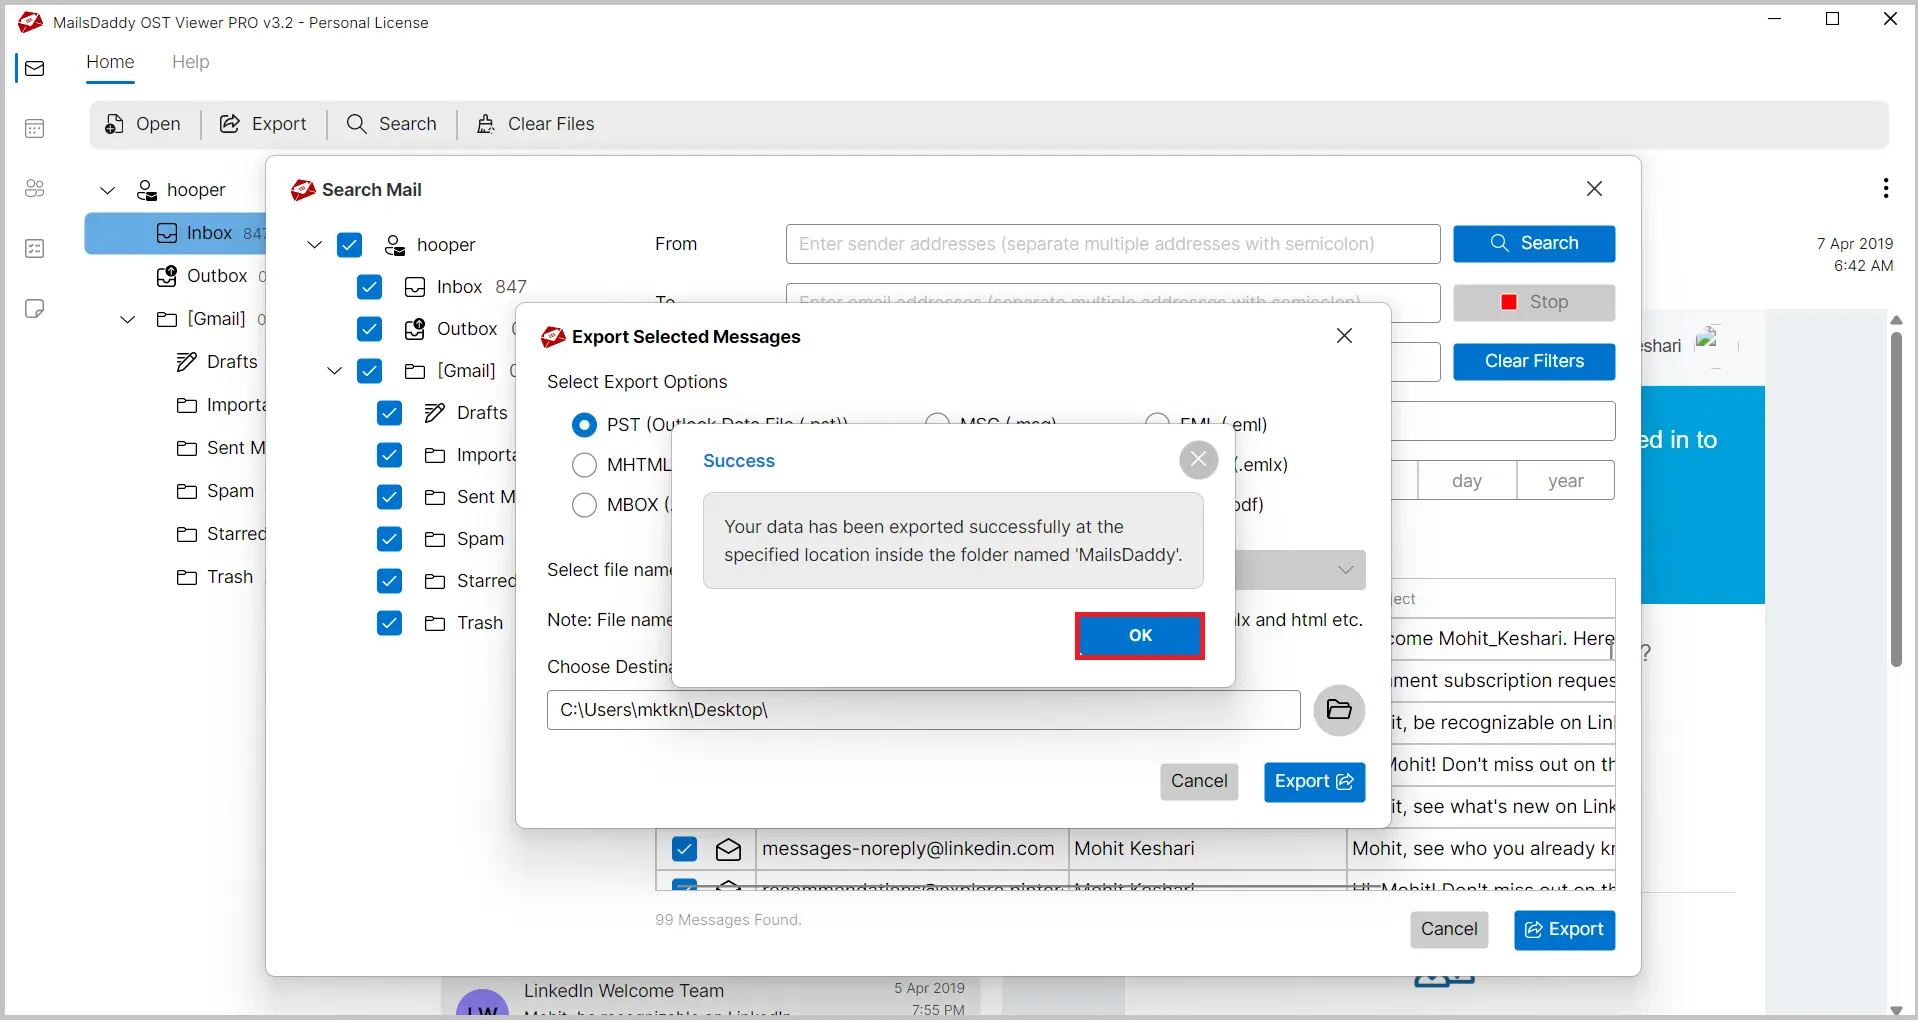
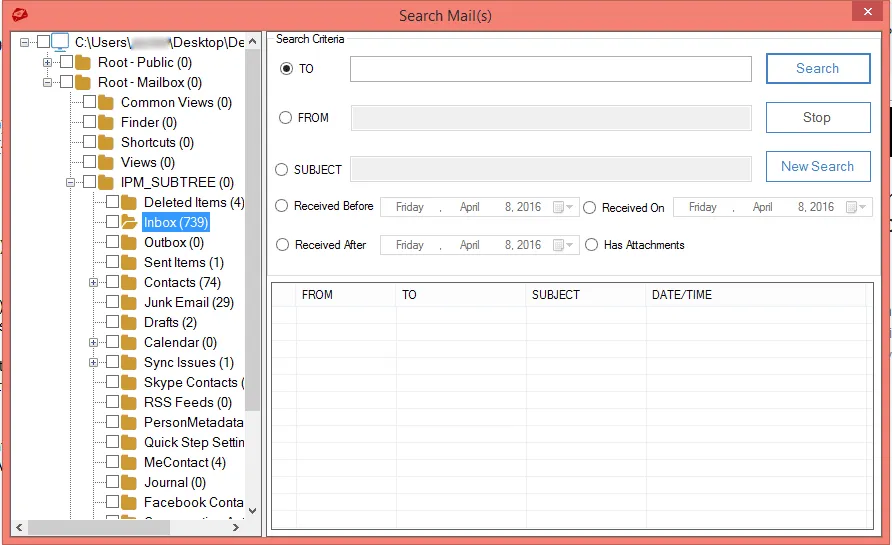
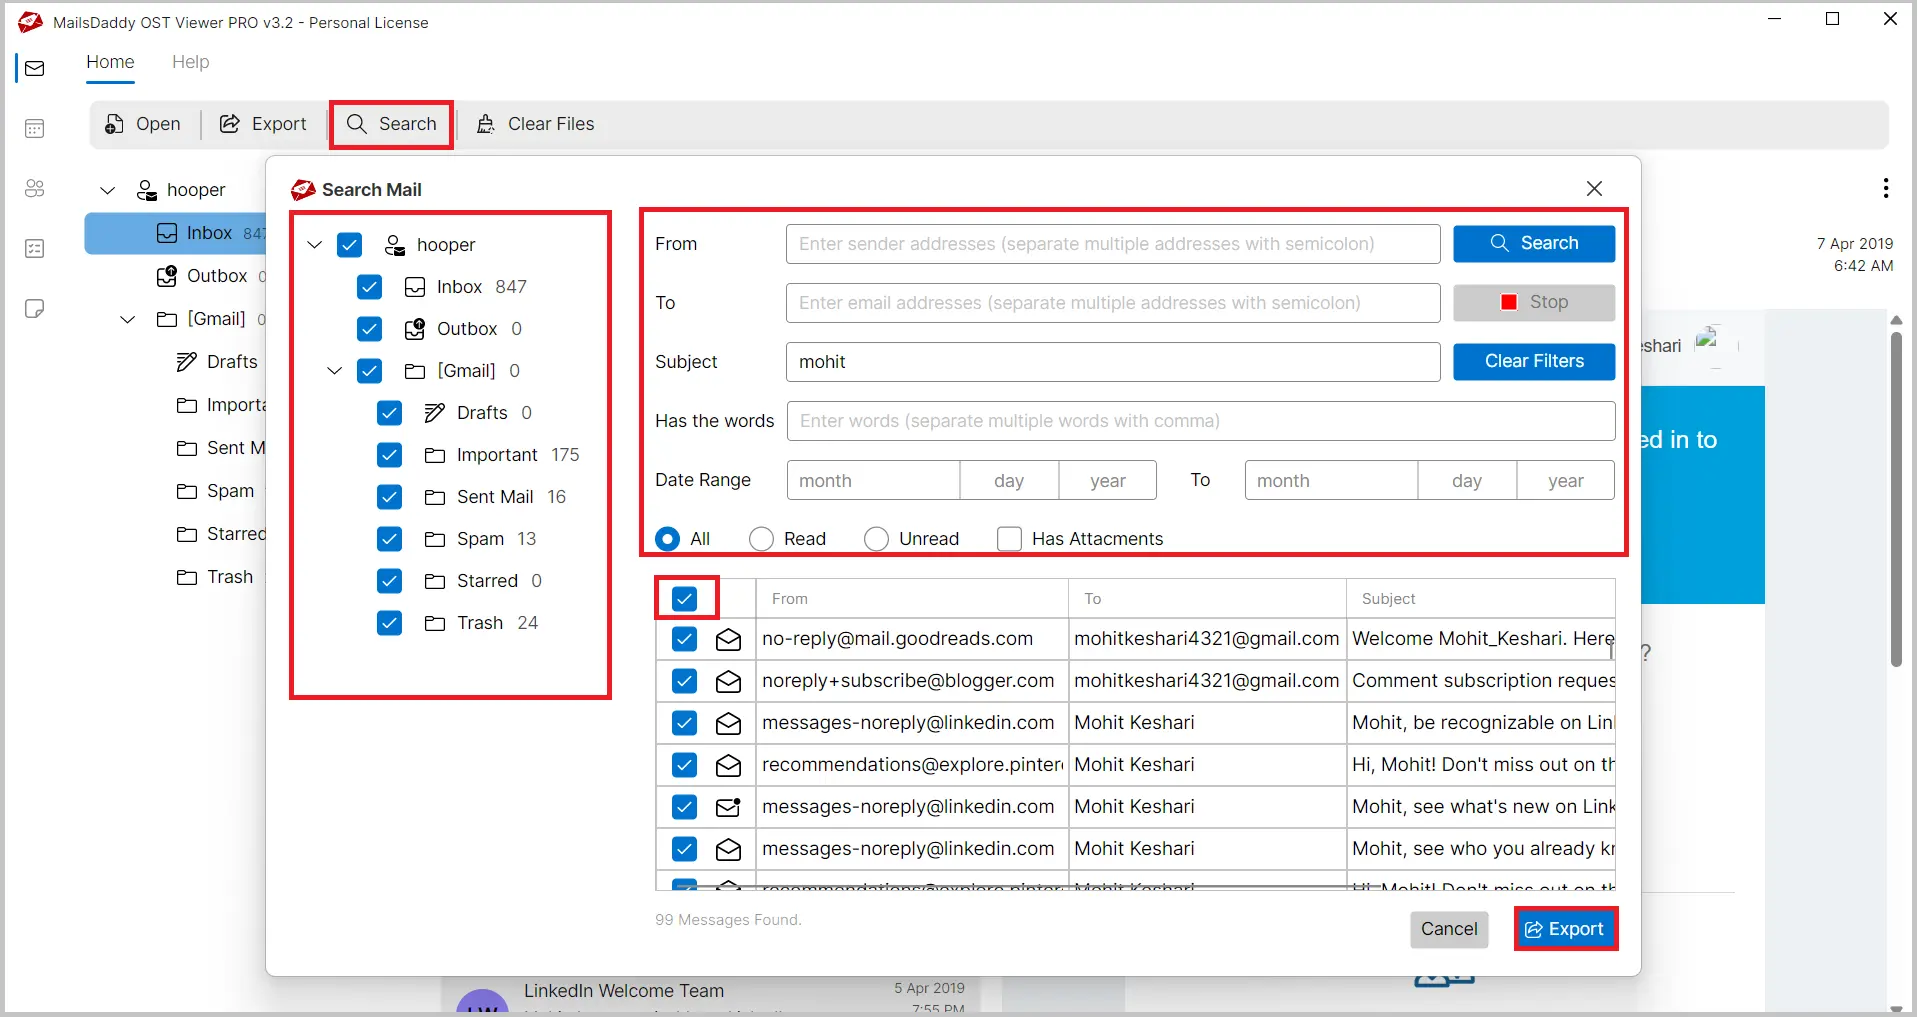
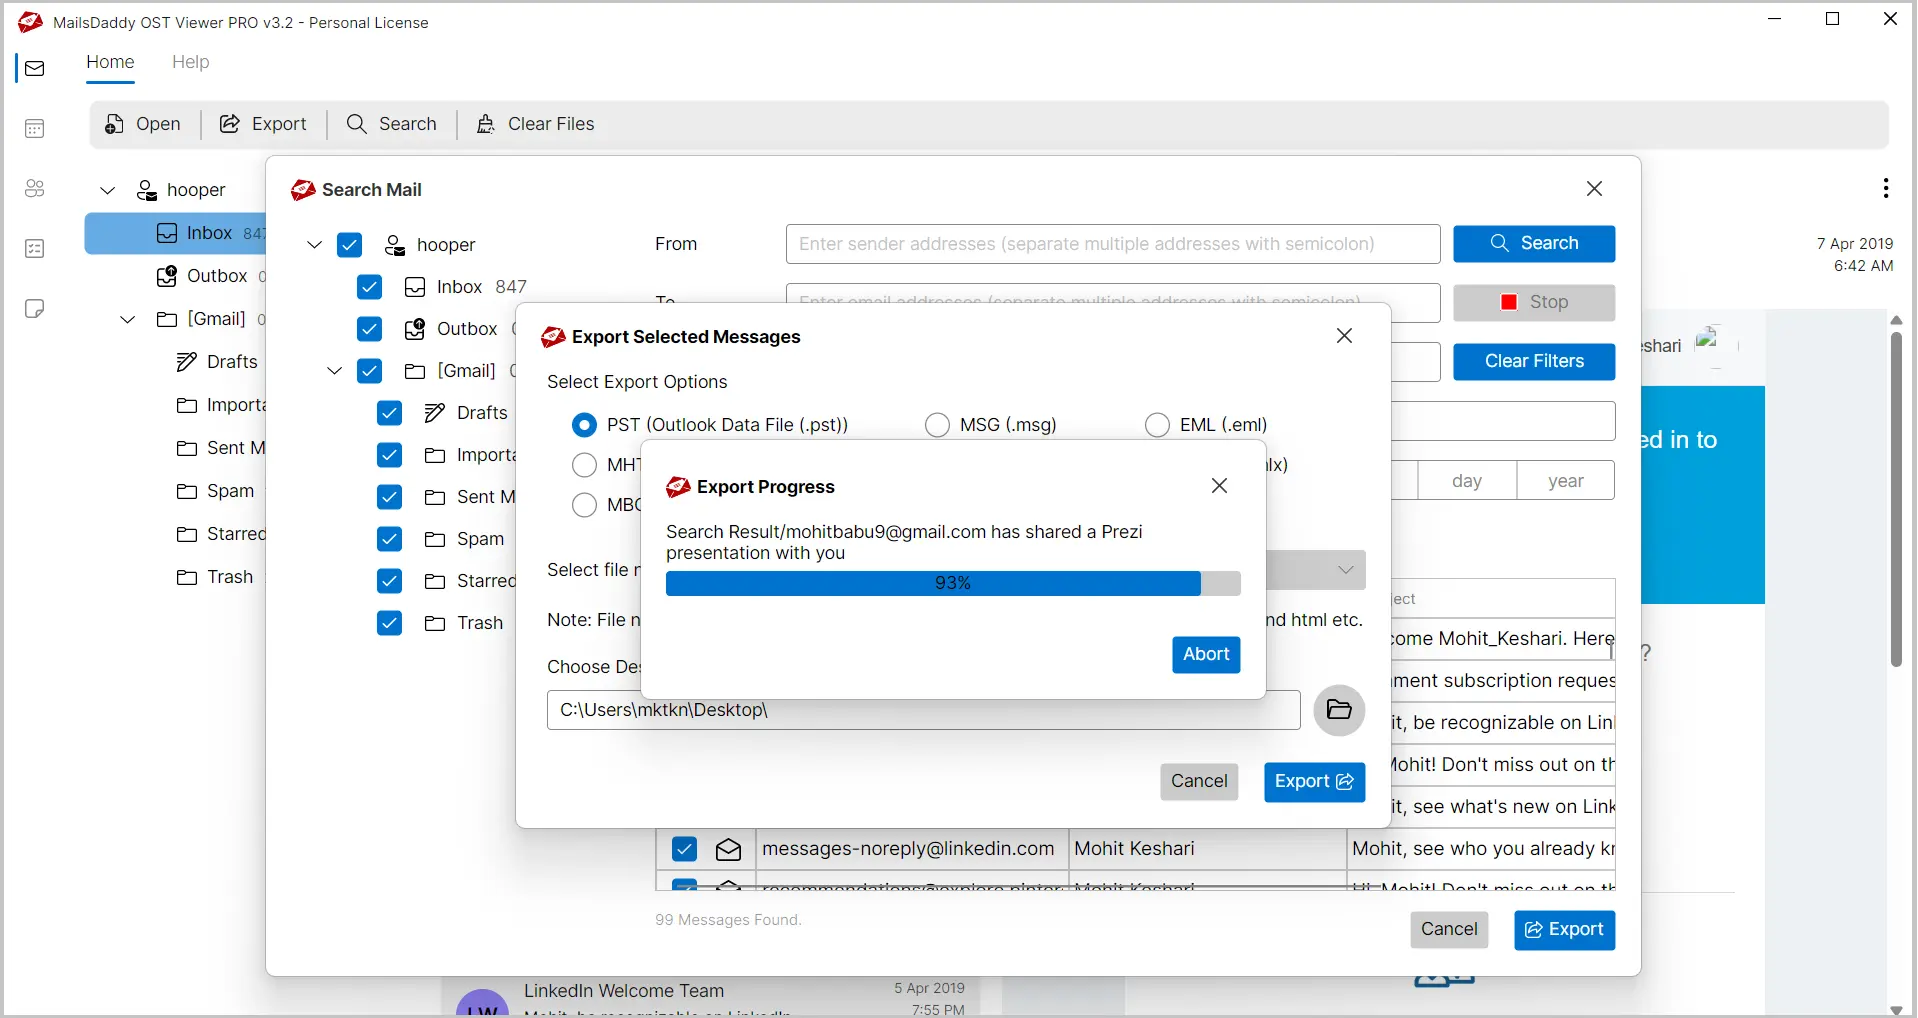
Step1- Click the "Search(s)" option to find specific emails from the OST mailbox without requiring MS Outlook installation. Select the mailbox folder to search emails, then enter the required search criteria to find specific messages. Choose the emails you want to export and click the "Export" button to continue.
Step2- Now select the file format in which you want to export the filtered database items. Confirm the destination location for the exported file and press the Export button to begin the process.

Step3- The conversion process has started. Please wait until the process is completed successfully.
Step4- The filtered data has been converted successfully. Click on OK and close the software.