NSF to PST is an efficient solution to operate for novice and professional users. Here get the complete process details about the tool's working process in a systematic manner. The operating process of this NSF Converter tool is quite simple as further listed, have a quick glance over it.
Step 1: Download the NSF to PST Converter tool form the official website and after completion of the downloading process, run the executable file of the tool.
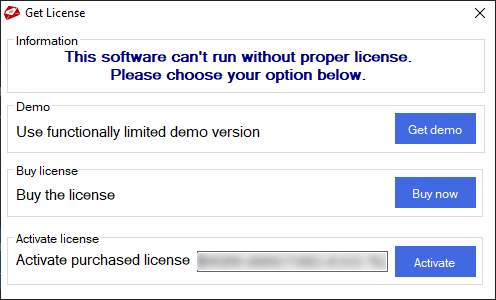
Step 2: As you run the .exe file, a popup window will appear to the confirmation about the license you have. From here, you can proceed to get the demo license of the tool or activate your license by inserting the license key already purchased as per your requirements.
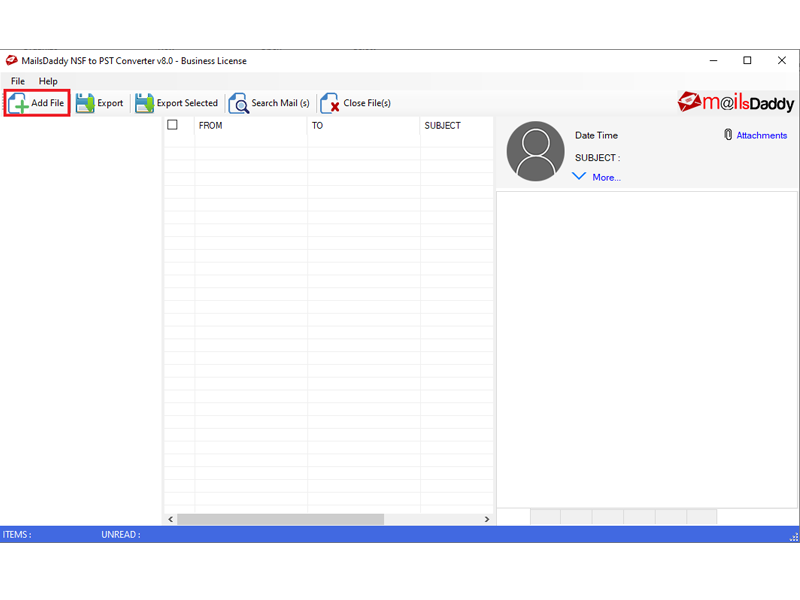
Step 3: Now from the first appeared window of the tool, click on the Open button to add the NSF file in the software.
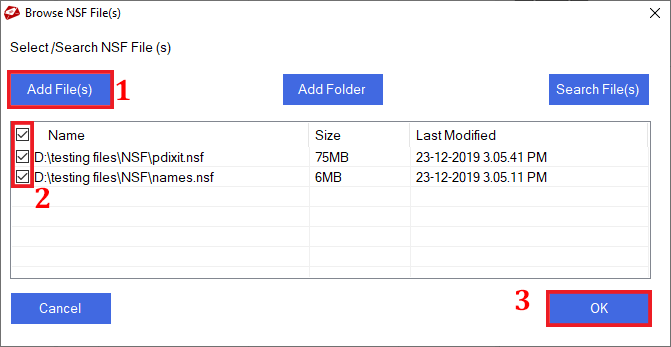
Step 4: Now select the NSF file that you want to convert from NSF to PST file format and click on Open button.
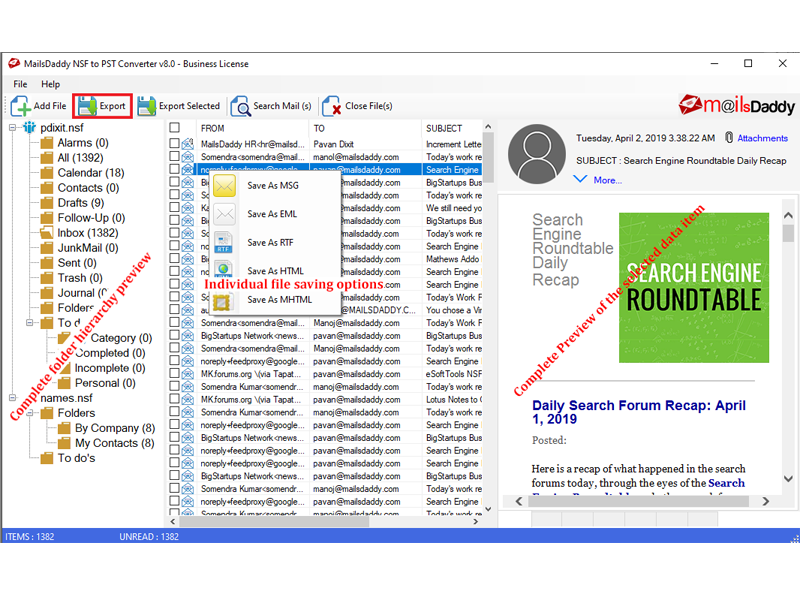
Step 5: Here, you can see the preview of the data items, folder hierarchy. After seeing the complete information of the NSF files, click on the Export option.
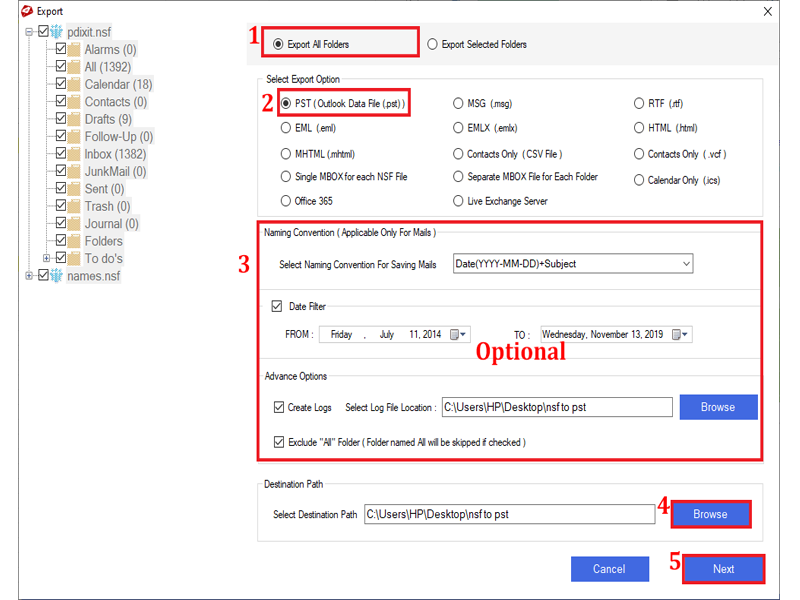
Step 6: From left side panel, select those mailbox items which you want to export. After then choose Outlook data file (.pst) option and apply the available filter (if required). Suggest a PST file saving location form the Browse button and click on the Export button.
Step 7: From the next window titled Export to PST, choose an option to create a PST file (Single or Separate), and split the large PST files according to the size.
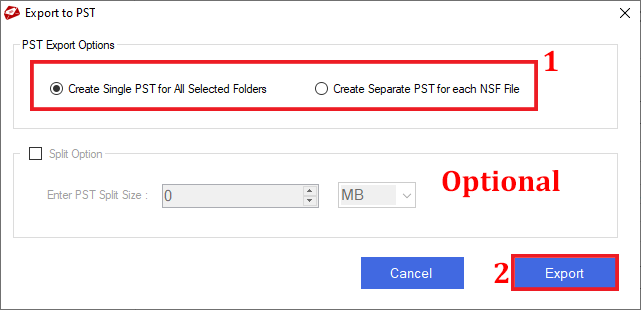
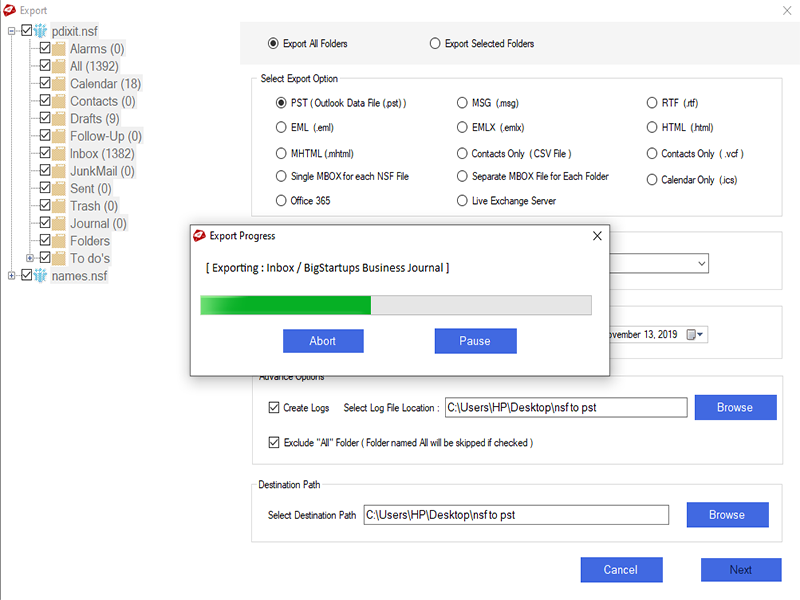
Step 8: Now click on the Next button to start the NSF to PST conversion process and wait until the process finishes.
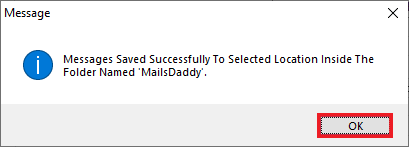
Step 9: After completing the process, click on the Ok button in the confirmation window to finish the process.
Importing the data from Lotus Notes to Exchange Server is possible only if you are a Business License or Enterprise License user because it is enabled only for the Business license and Enterprise license.
Step 1: From the main screen of the tool click on the Add option to choose the NSF files from the local storage.
Step 2: After that select all those NSF files which you want to migration from HCL Notes (.nsf) to Exchange Server. Now click ok an Add to import NSF file in the software.
Step 5: Now form the main screen of the tool, see the preview of the selected NSF data item, and check its folder hierarchy, attachments, etc. In the last, click on the Export option.
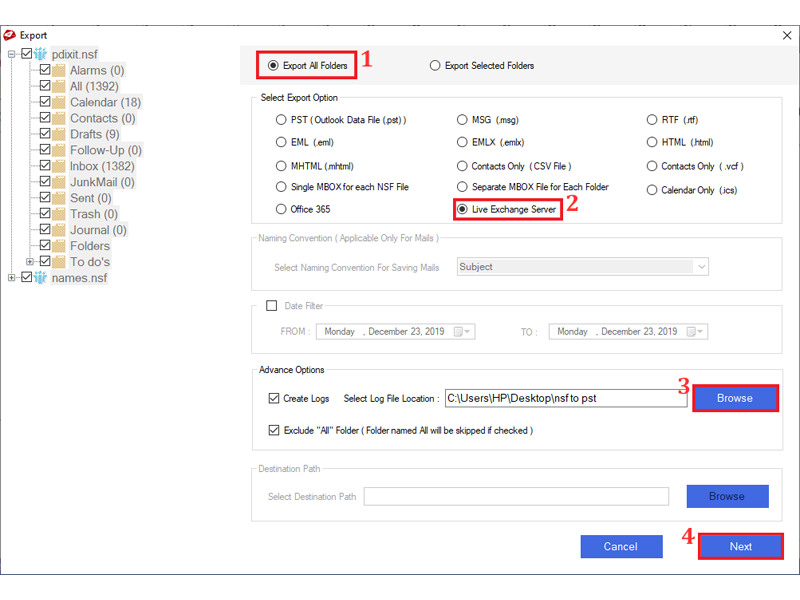
Step 6: Now select the required or comolete mailbox itemsd, then select the Live Exchange Server option. Choose Date Filters option if required and click on the Export button.
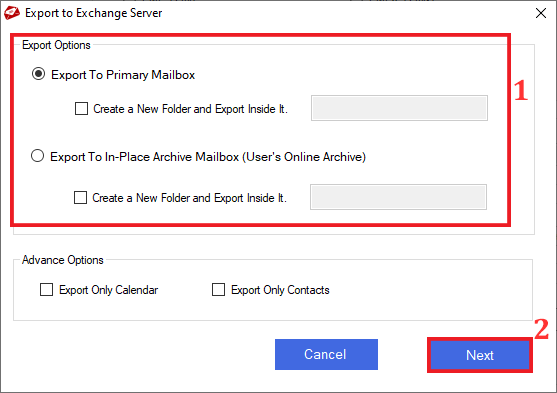
Step 7: From the next Export window, choose the option from the Primary folder or Archive folder to import the data in the live exchange server and click on the Next button.
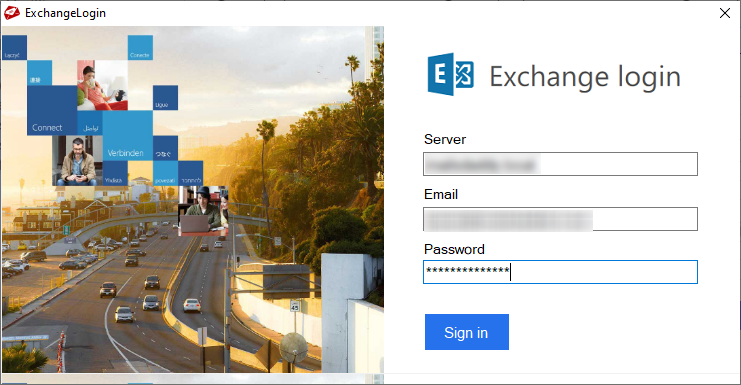
Step 8: Provide the login details for the Live Exchange server account and wait until the process completed.
Step 9: Now click on the Ok button from the confirmation window to finish the process.