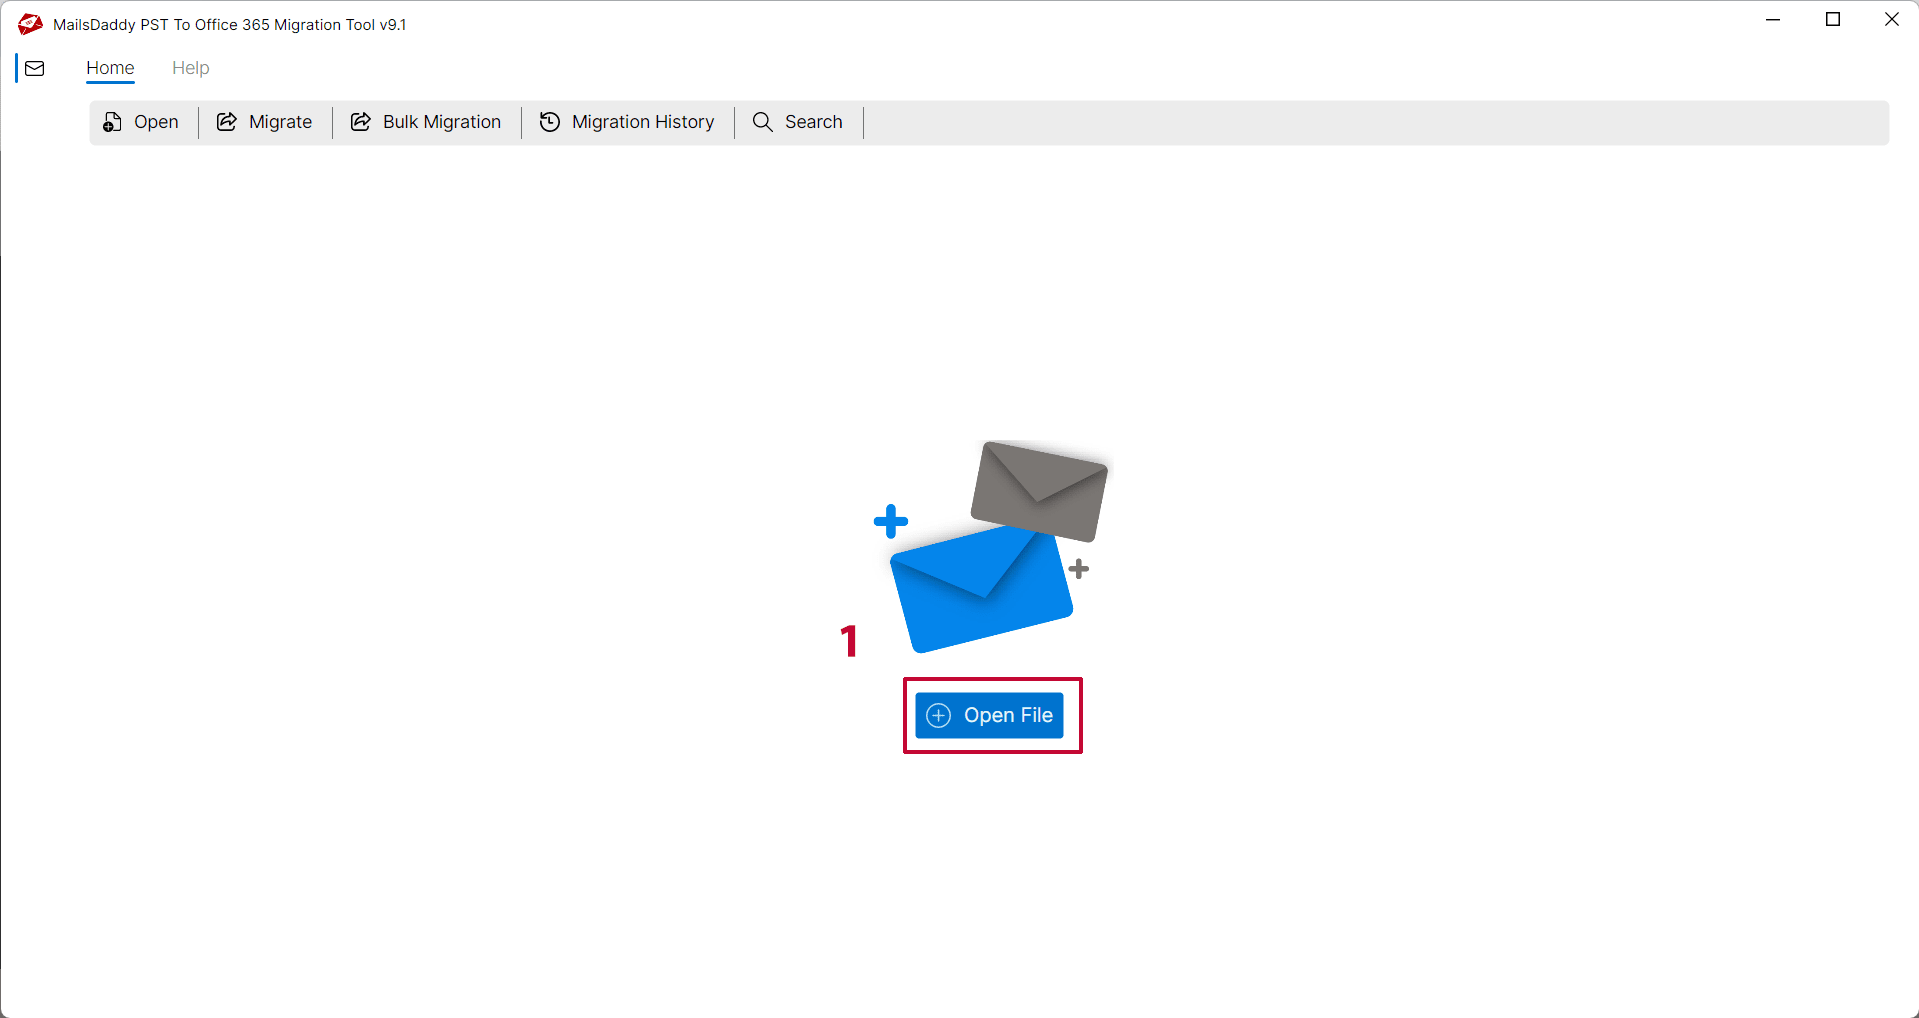
Step 1: Launch the software and click on Open mailbox button to browse the Outlook PST file. You can also search Outlook PST file from a specific folder/drive by clicking on Search icon.
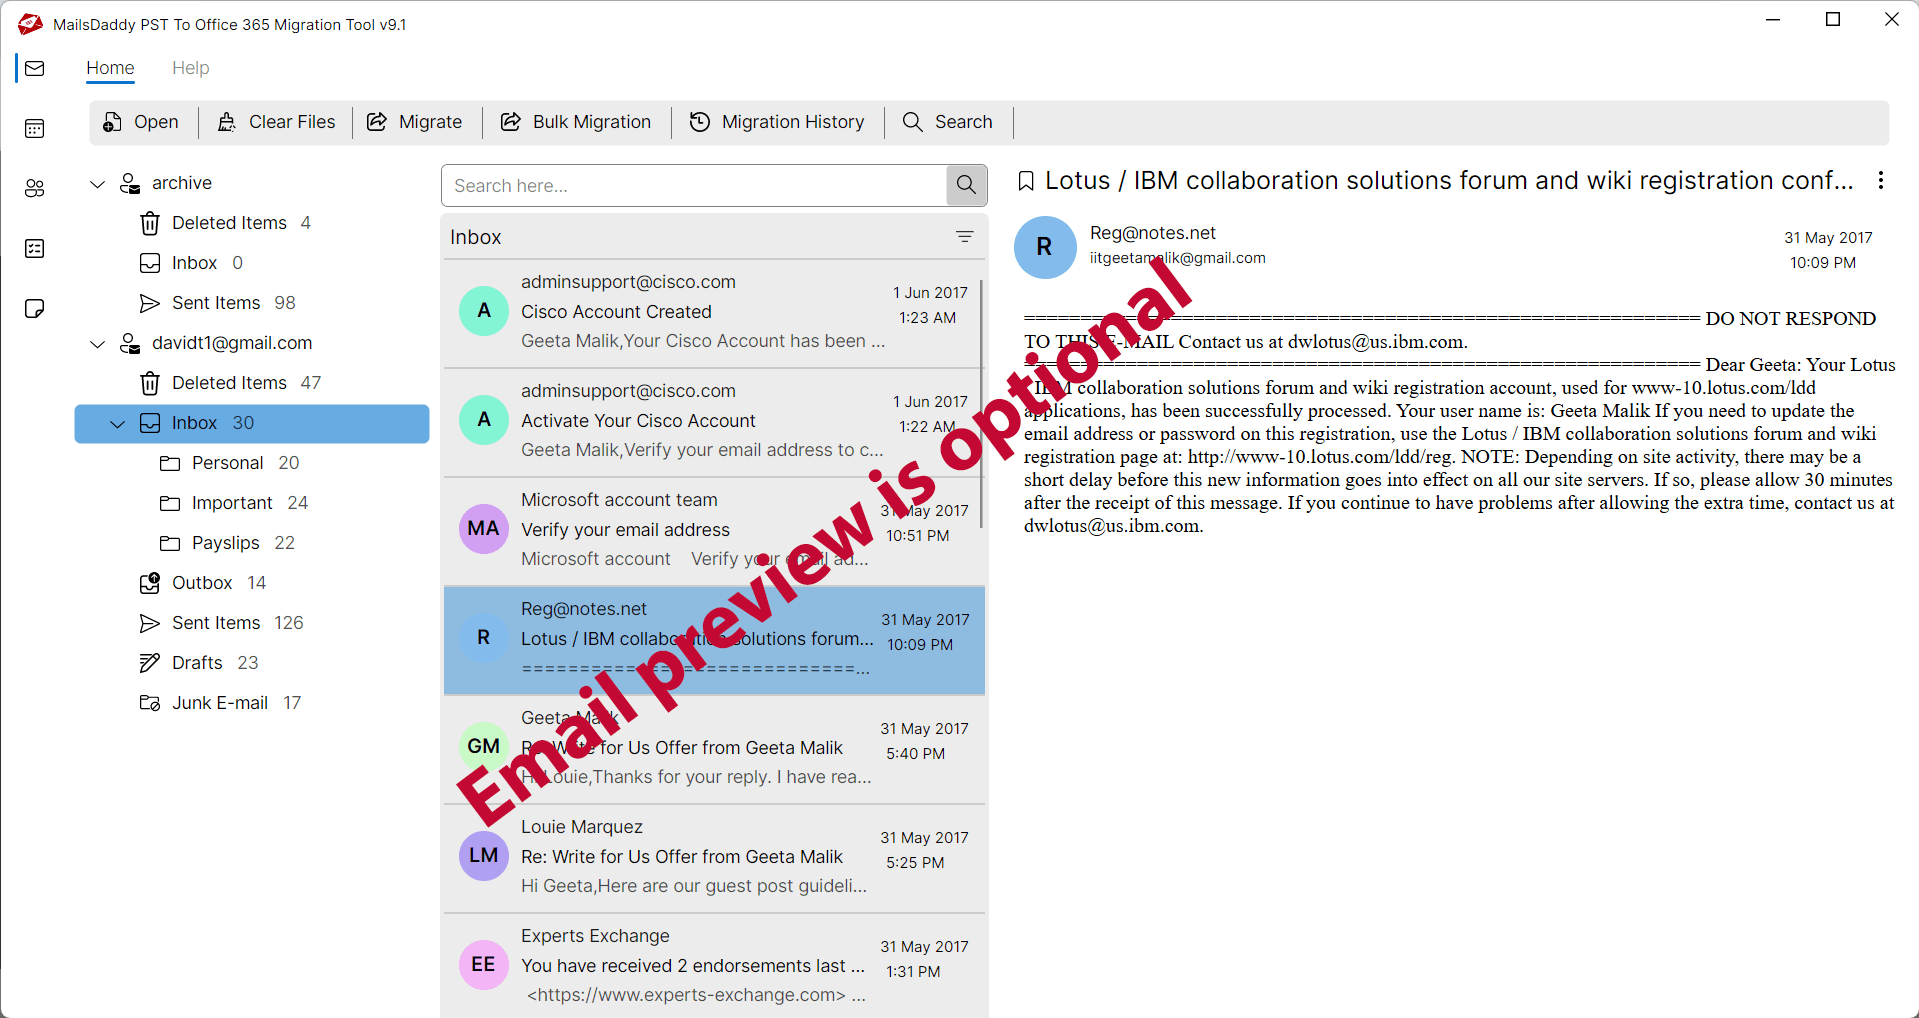
Step 2: The application will generate preview of entire PST file items including attachments.
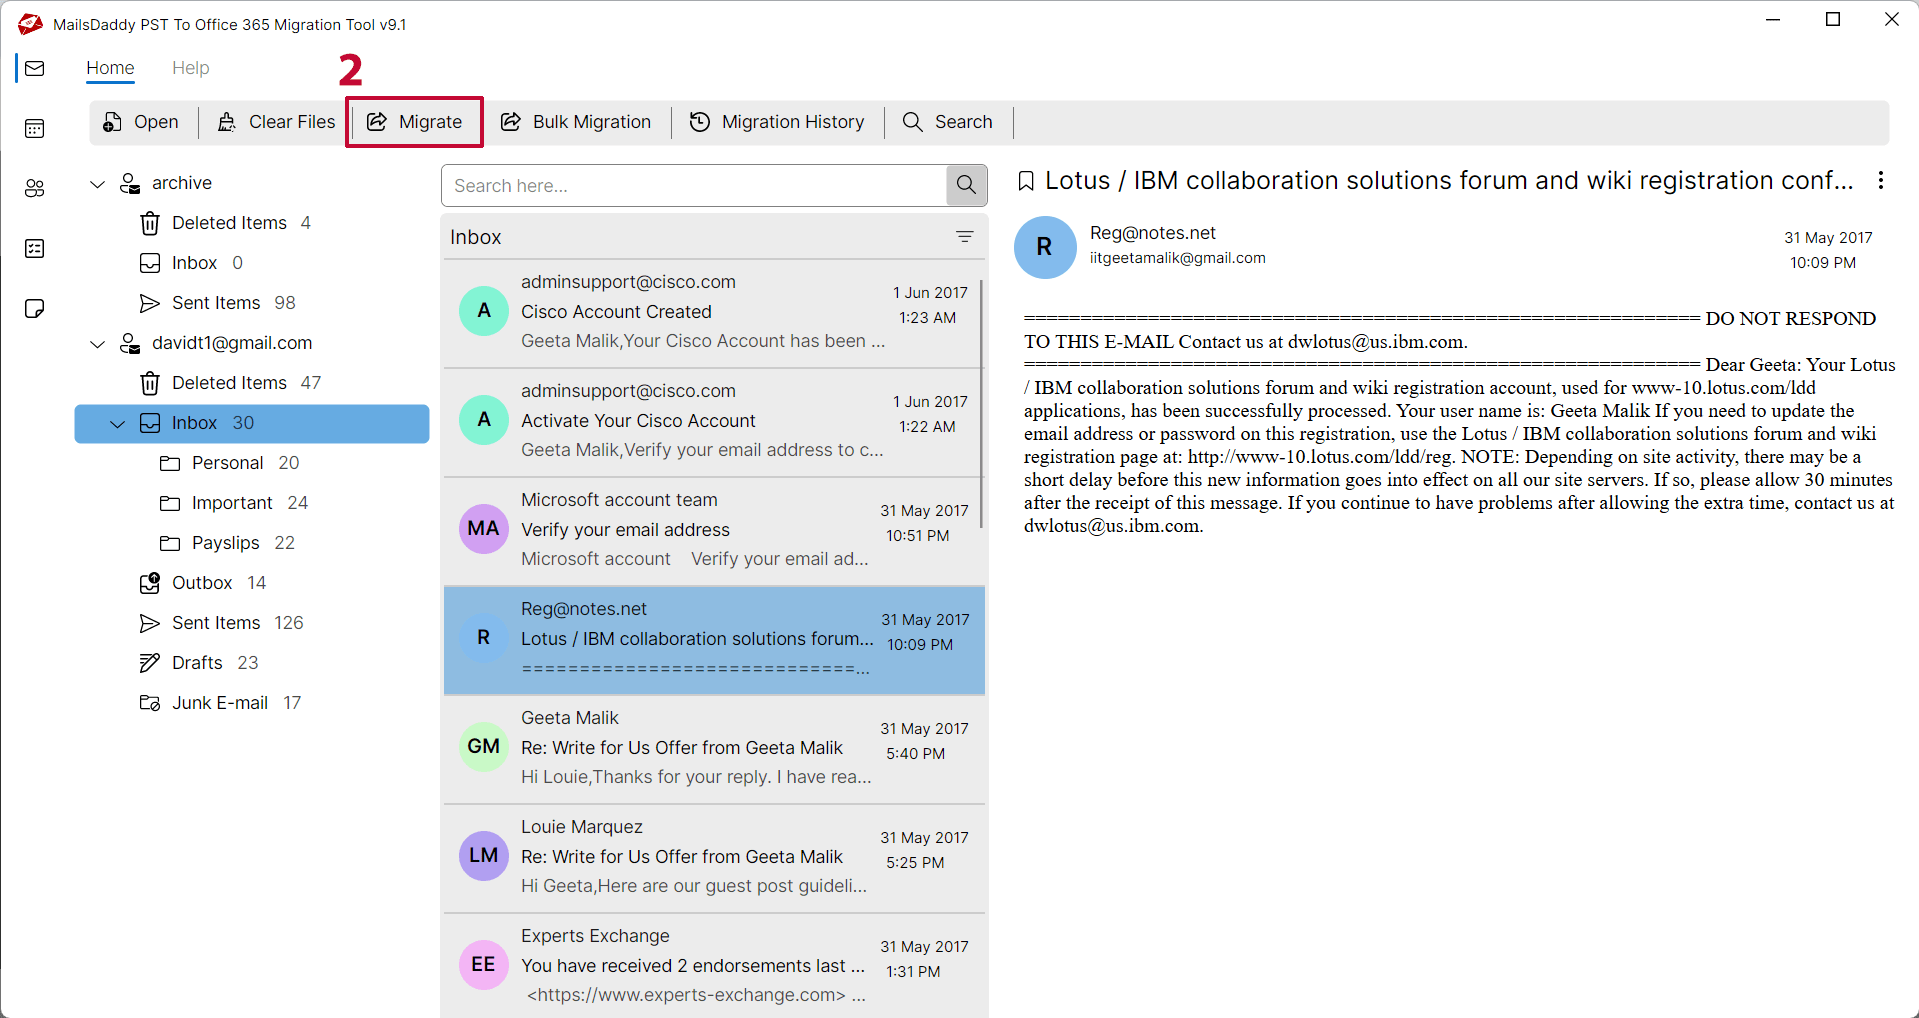
Click on Migrate Button. (Previewing data is optional so you may skip the above step if not required)
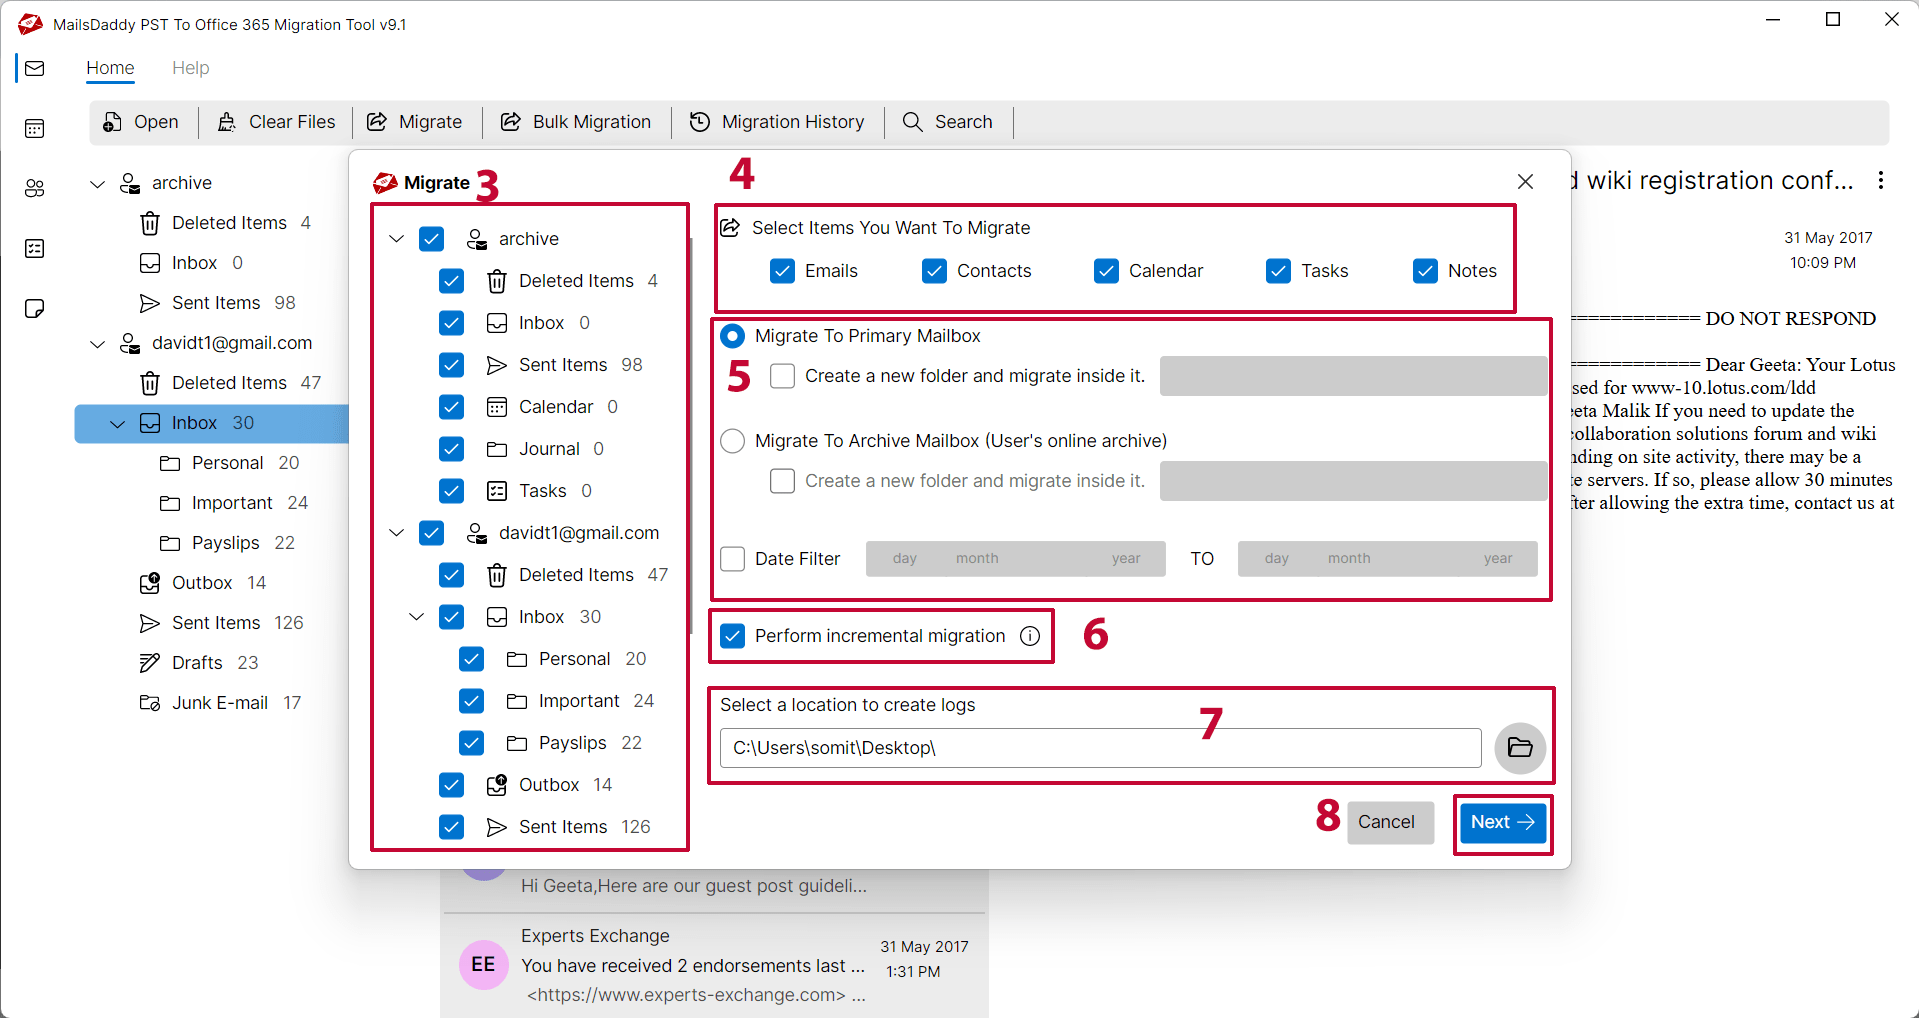
Step 3: Select all folder and subfolders which you want to migrate into Office 365 account.
Choose Office 365 Primary mailbox. You can also create a folder inside the mailbox and import all data in it.
Enable/Disable incremental migration and Save the log file location then hit on "migrate" button.
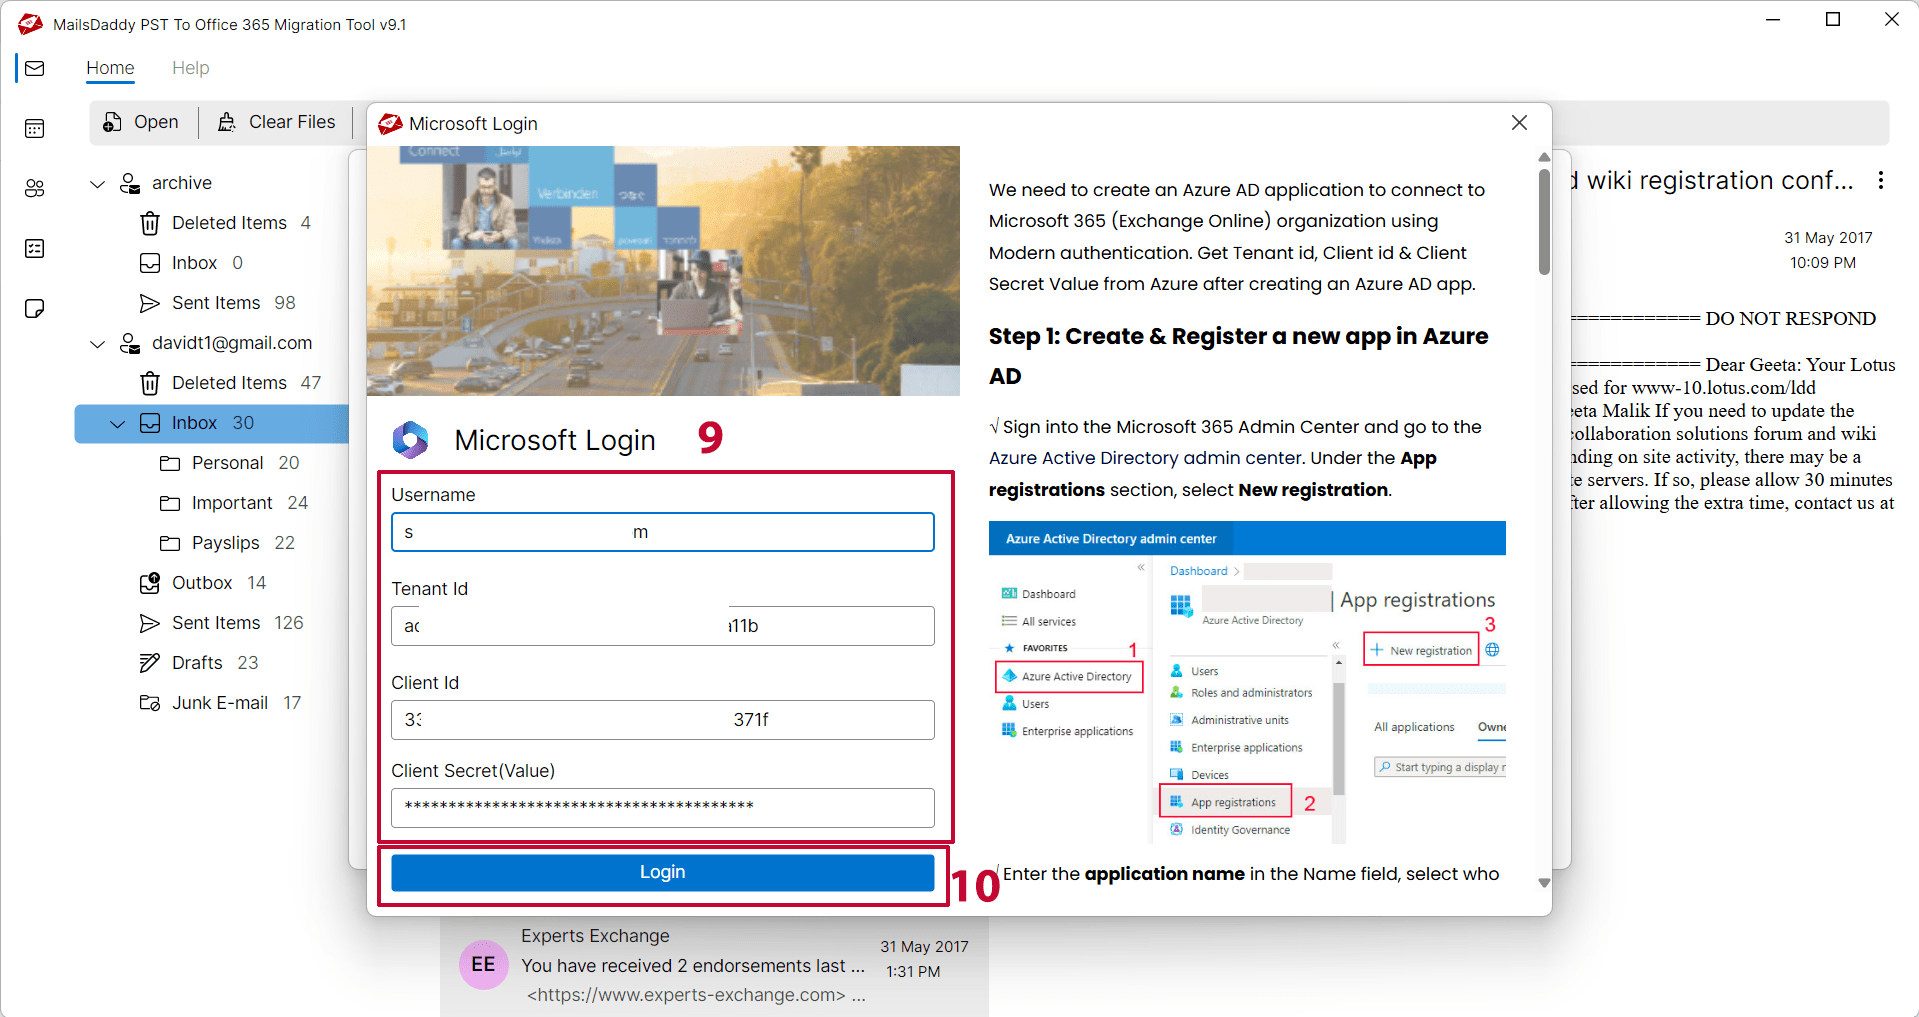
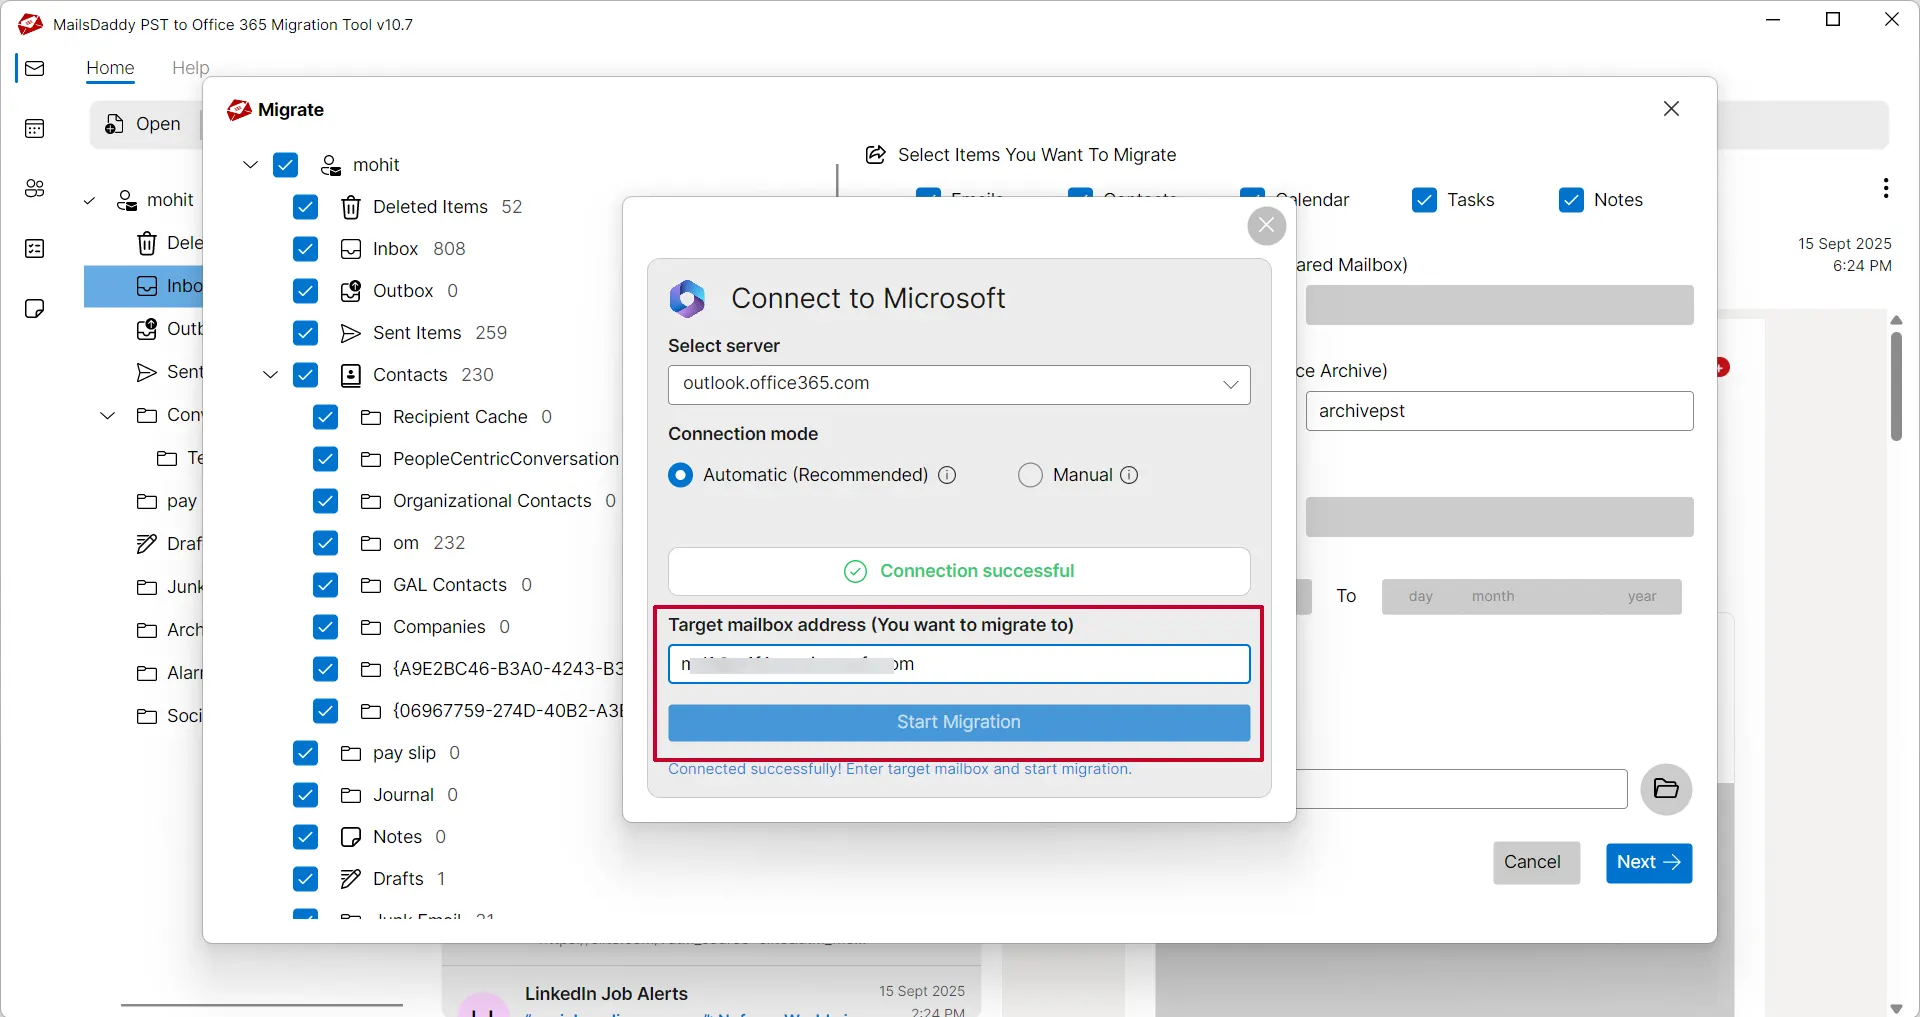
Step 4: Now choose the verification method: Automate or Manual. With manual verification, you have to create Office 365 Tenant id, Client id & Client Secret Value by following our guide. Check how to create?
Automate method automatically create these verification steps for you after login. Both are safe method to connect with Microsoft 365.
Step 5: Once you have successfully verified then type target email address then click on Start Migration button.
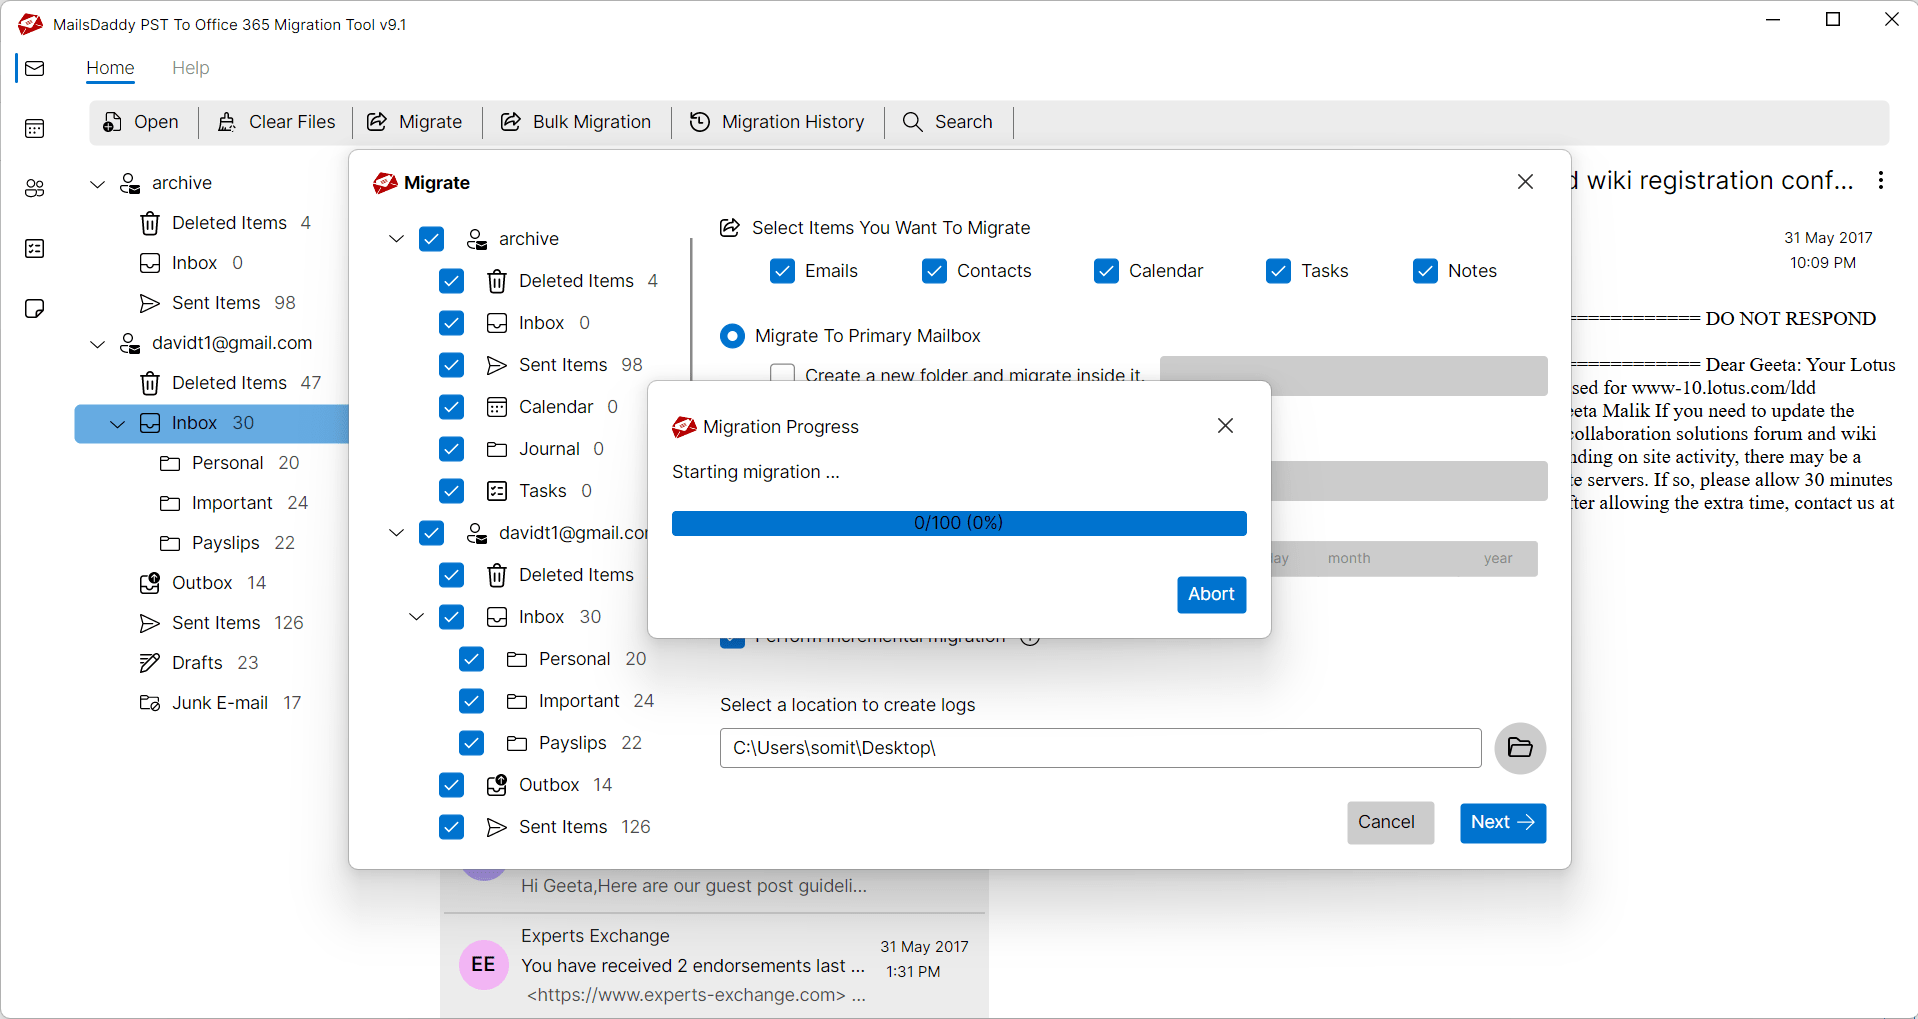
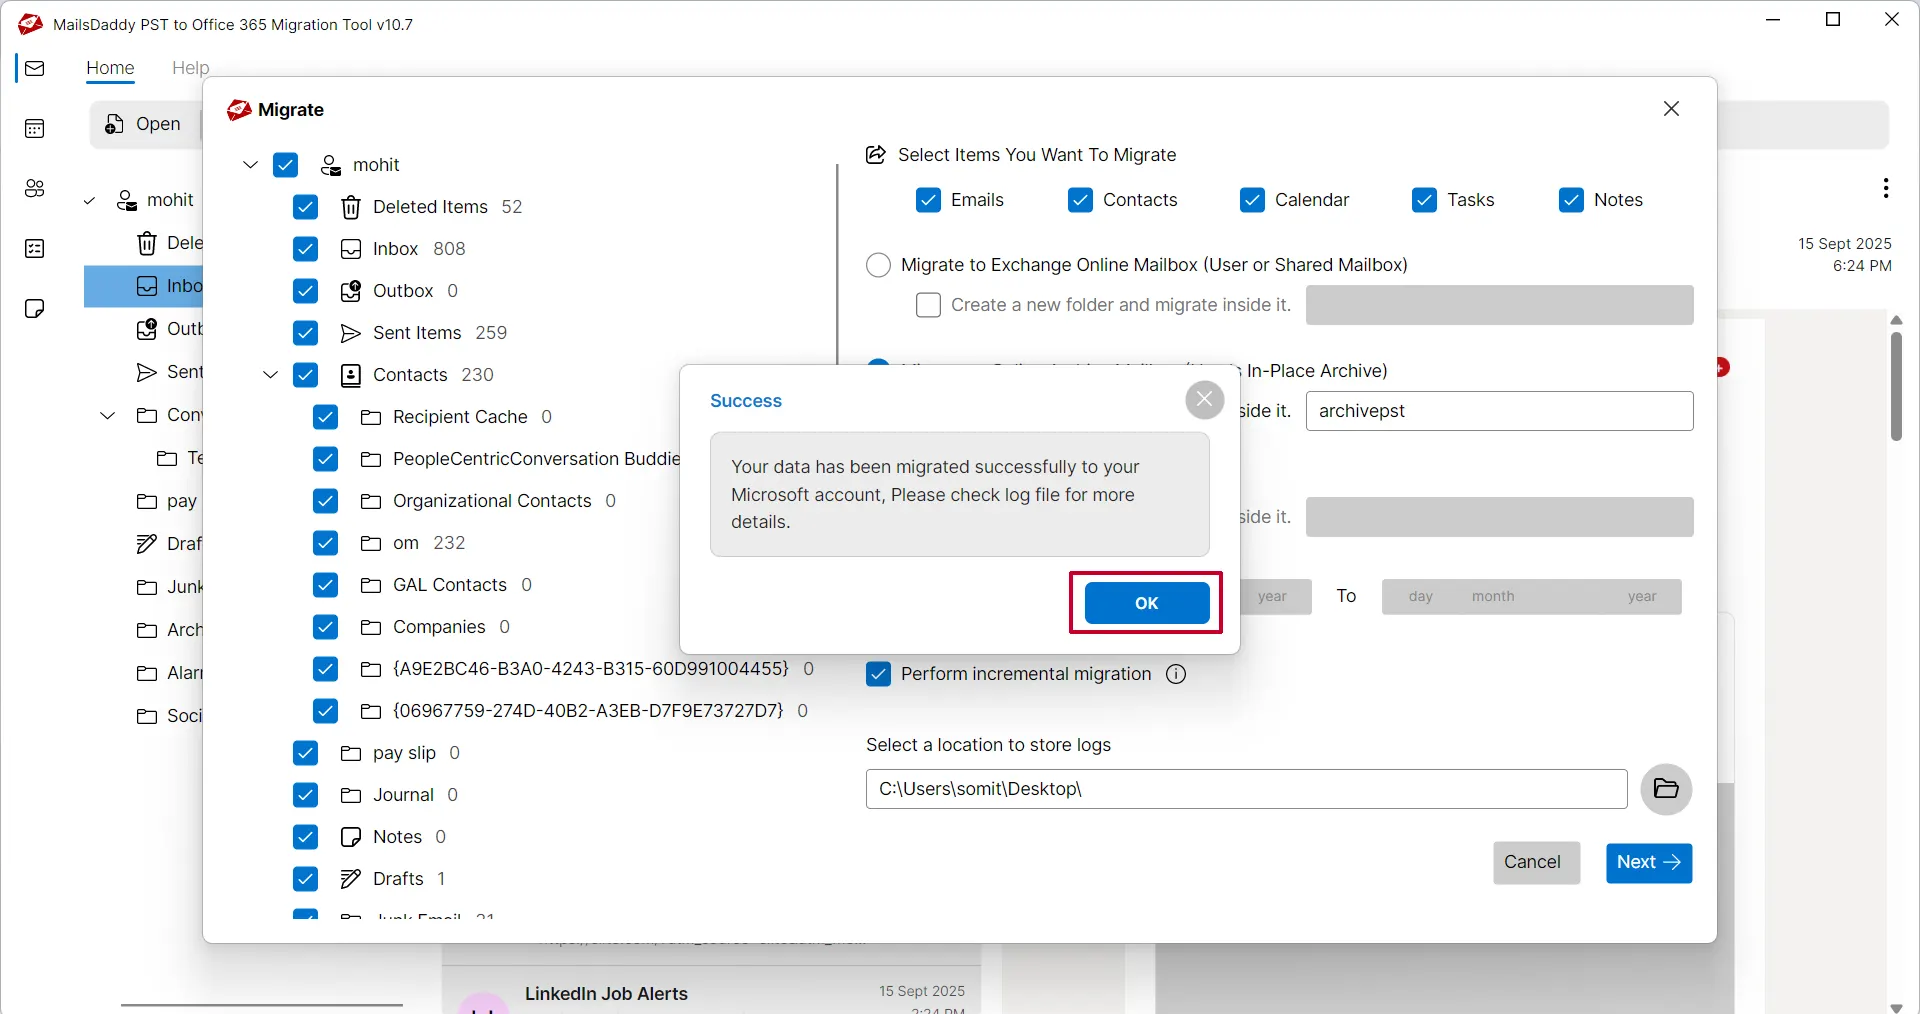
Step 6: The application will show a confirmation message after completion of the process.

Follow step 1 to 3 as described in primary mailbox migration.
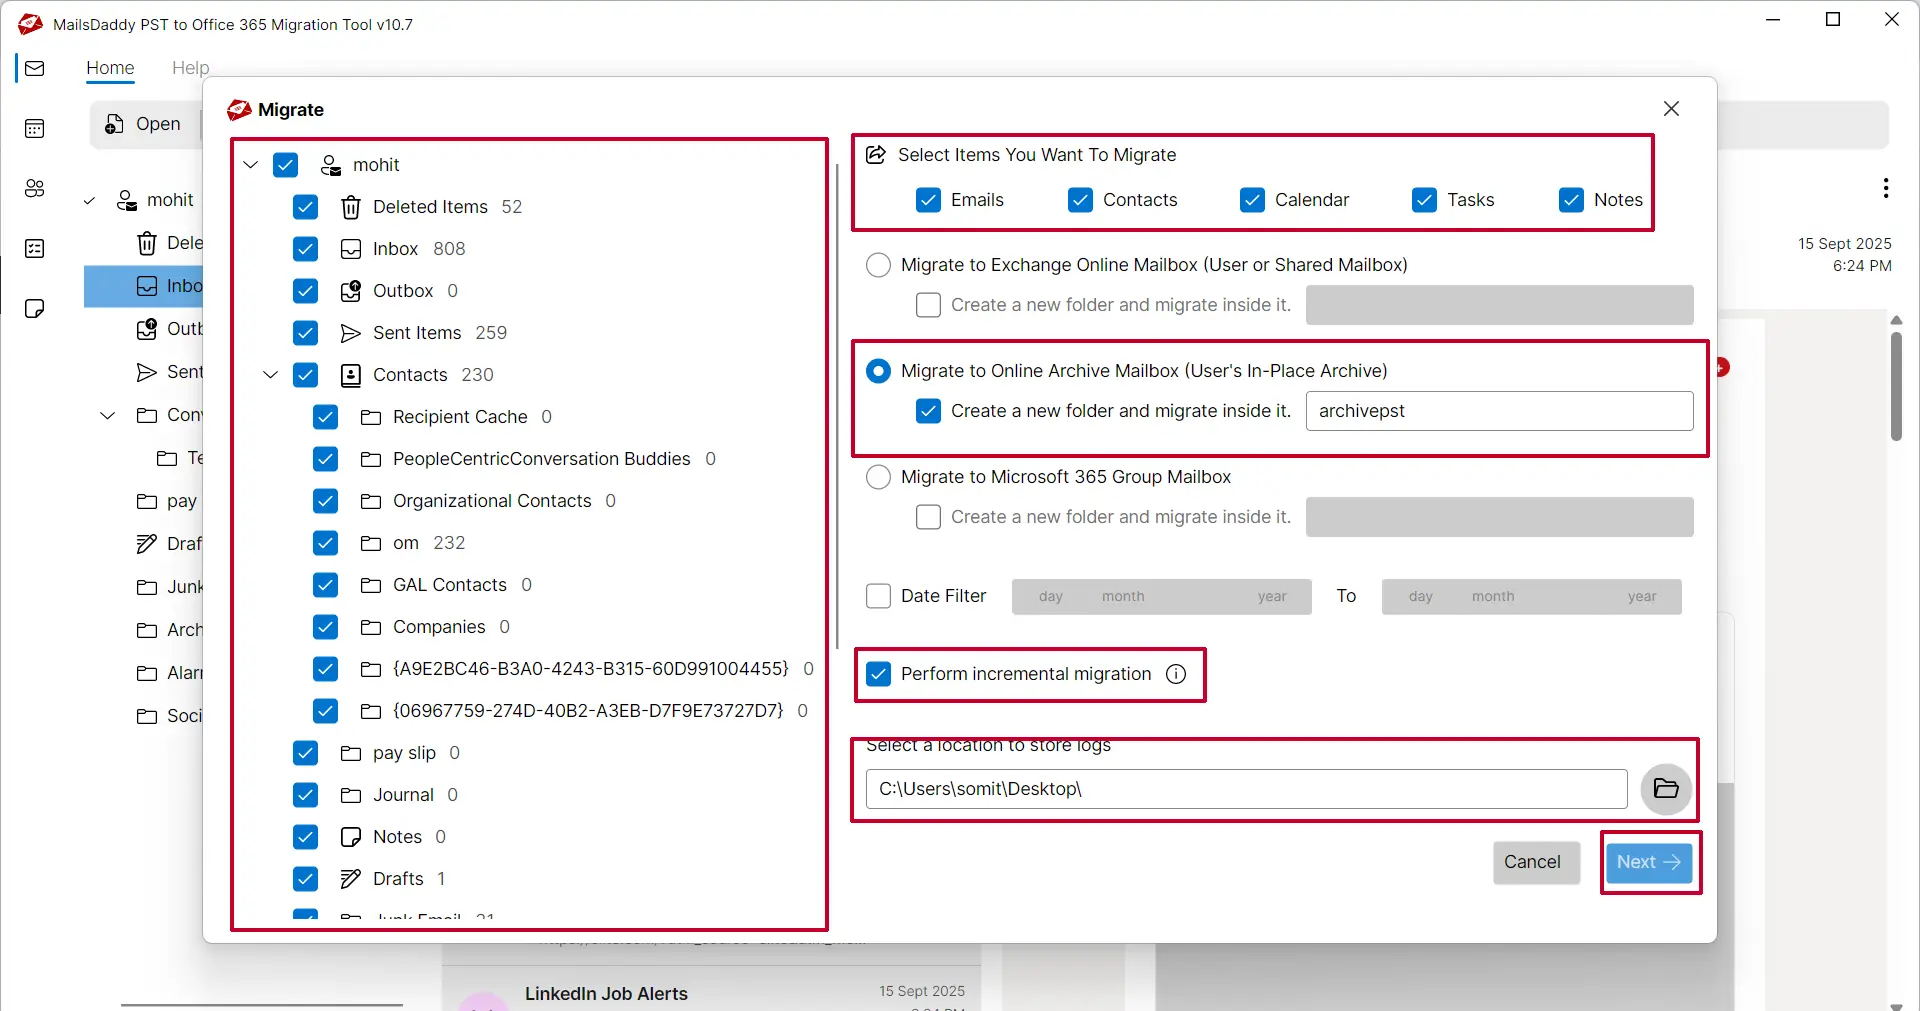
Step 4: Choose Office 365 In-place archive mailbox. You can also create a folder inside the mailbox and import all data in it.
Enable/Disable incremental migration then save the save the log file location then hit on "next" button.
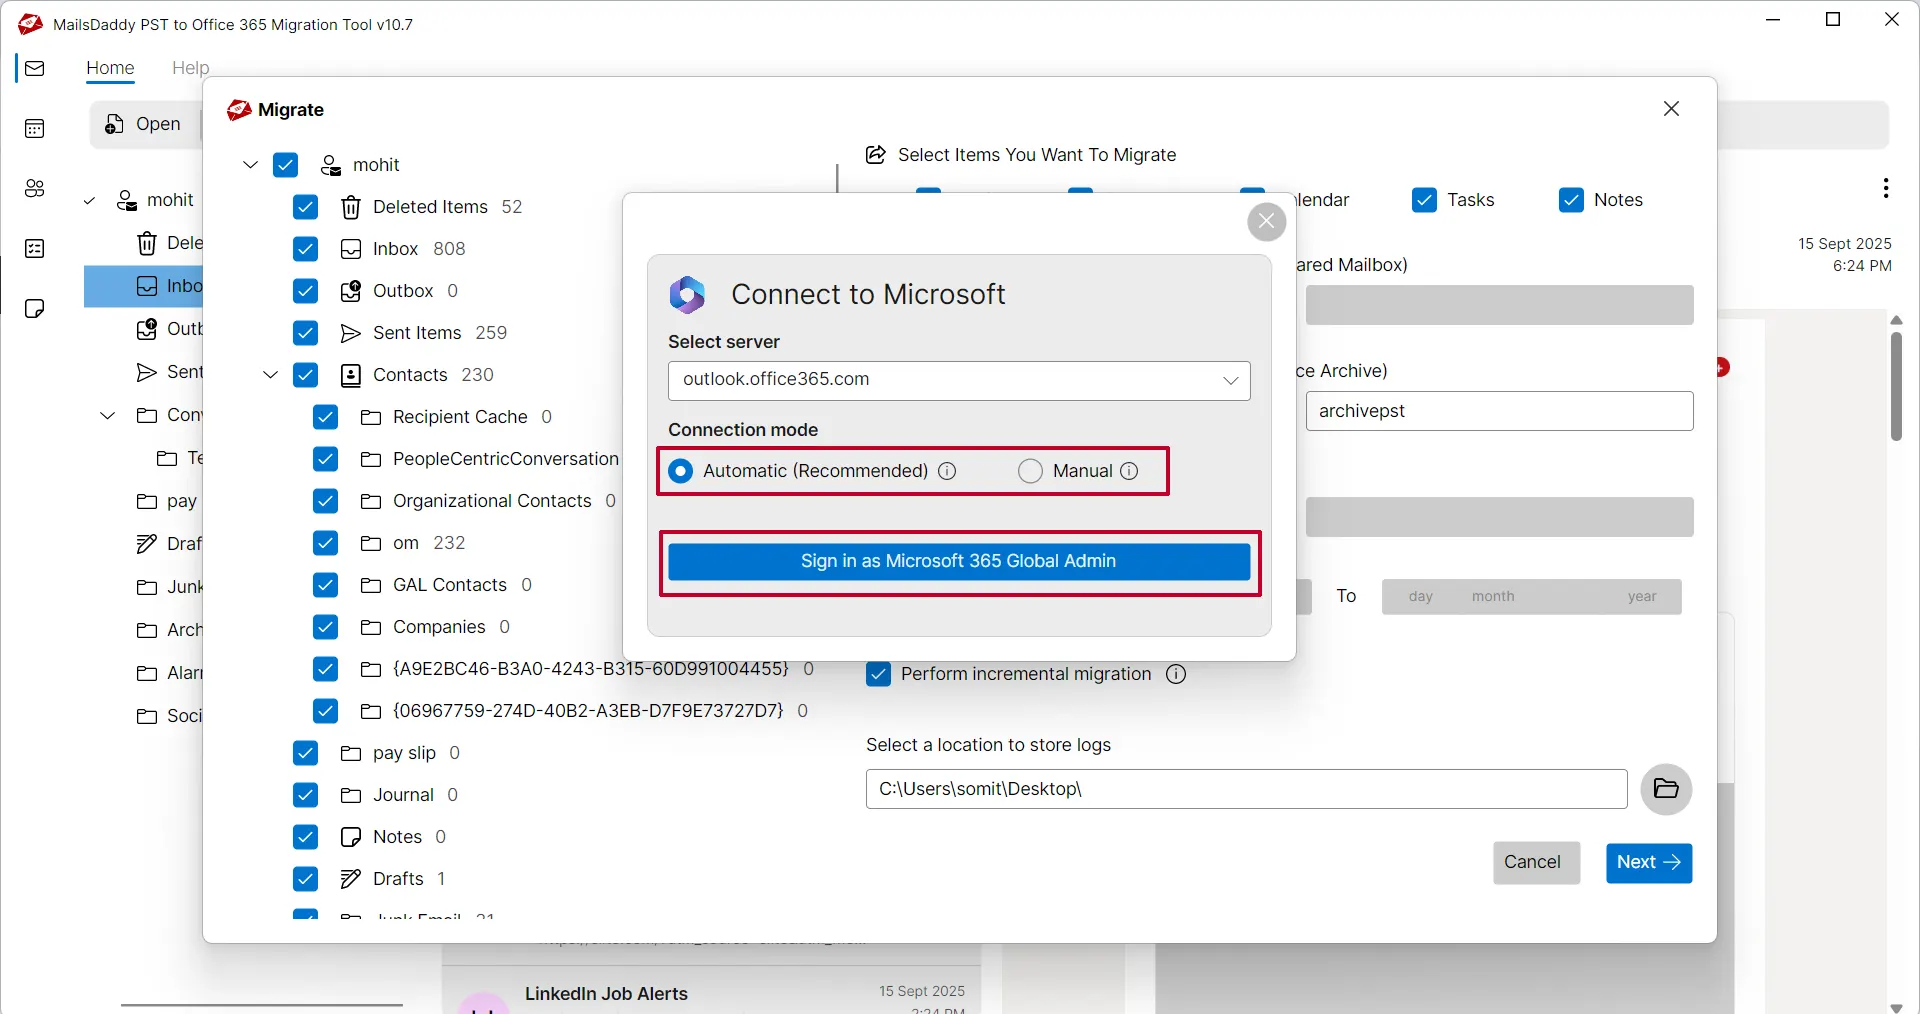
Step 5: Choose an option: Automate or Manual to verify your Microsoft 365 ownership.
With the manual method, you have to create Office 365 Tenant id, Client id & Client Secret Value by following our guide. Check how to create?
Step 6: Once you have successfully verified then type target email address then click on Start Migration button.
The application will show a confirmation message after completion of the process.

 Note:
Note: Simlarly, user can migrate PST file to Group and Shared mailbox.
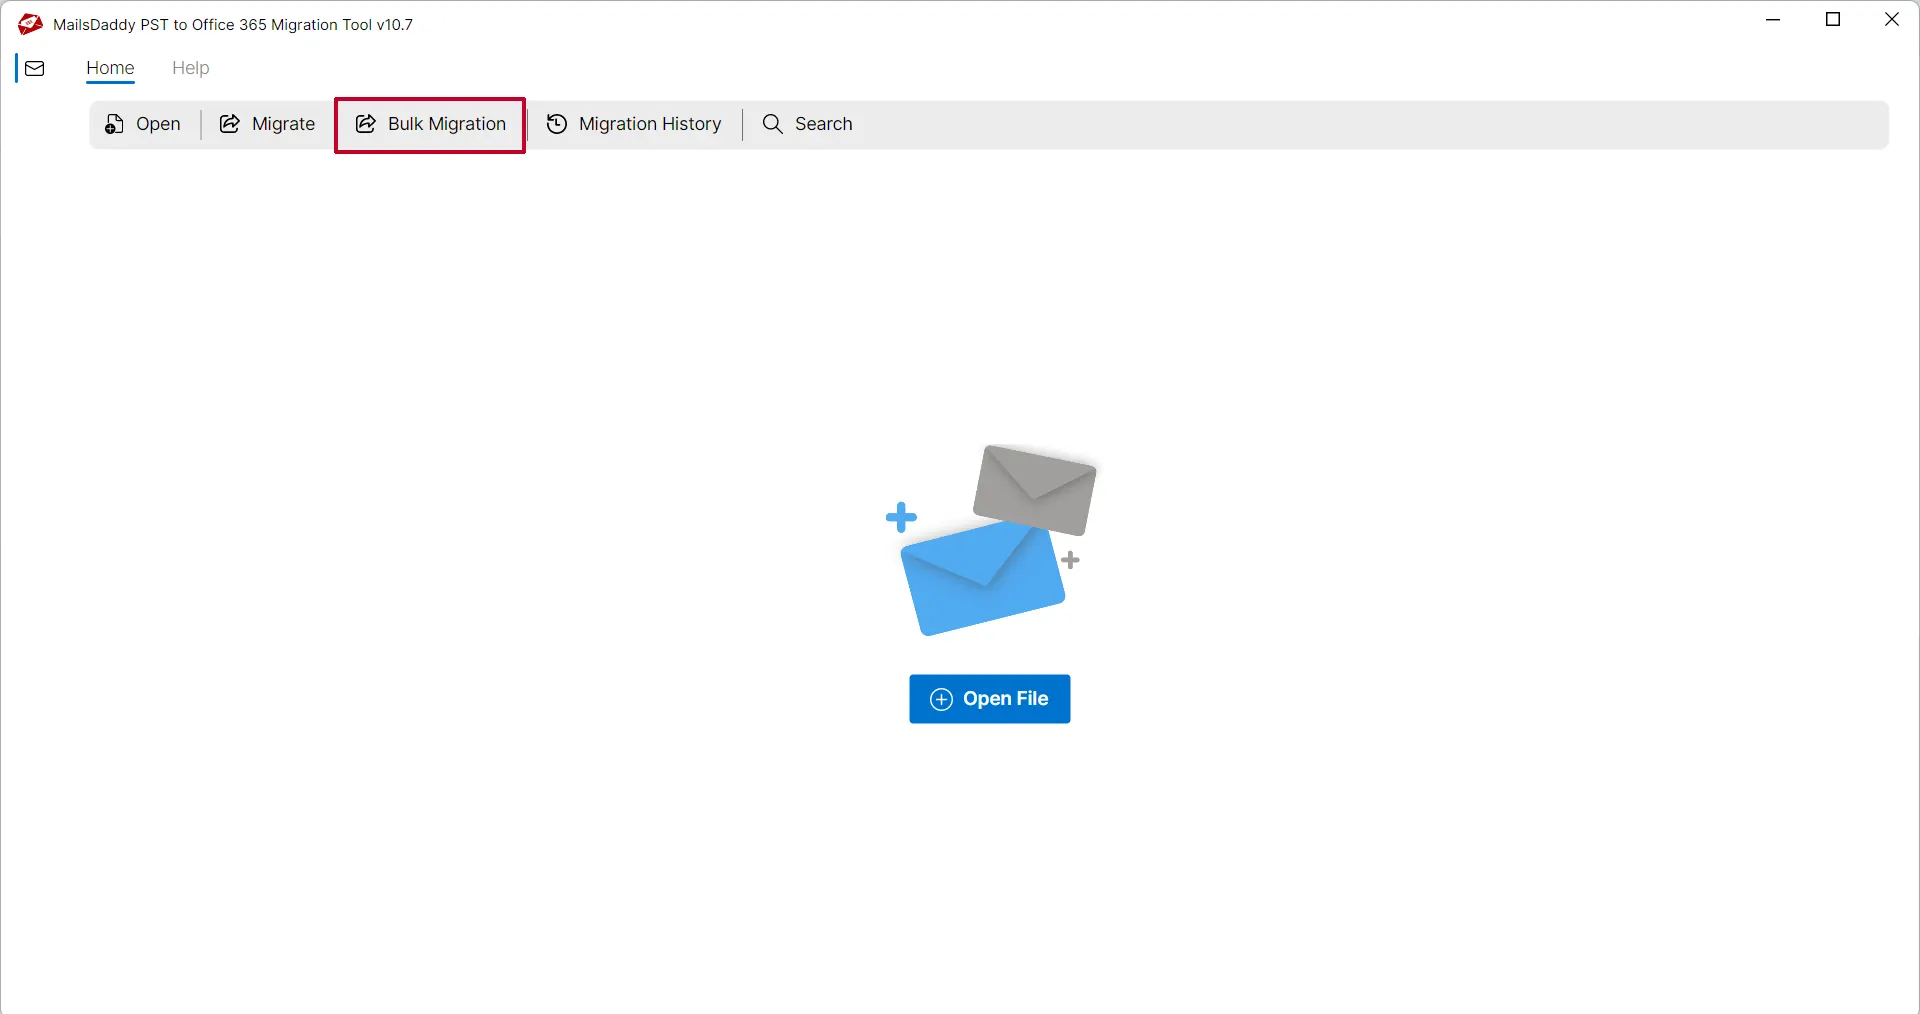
Step 1: Run PST to Office 365 Migration Tool on your Windows operating system and Click on Bulk Migration tab.
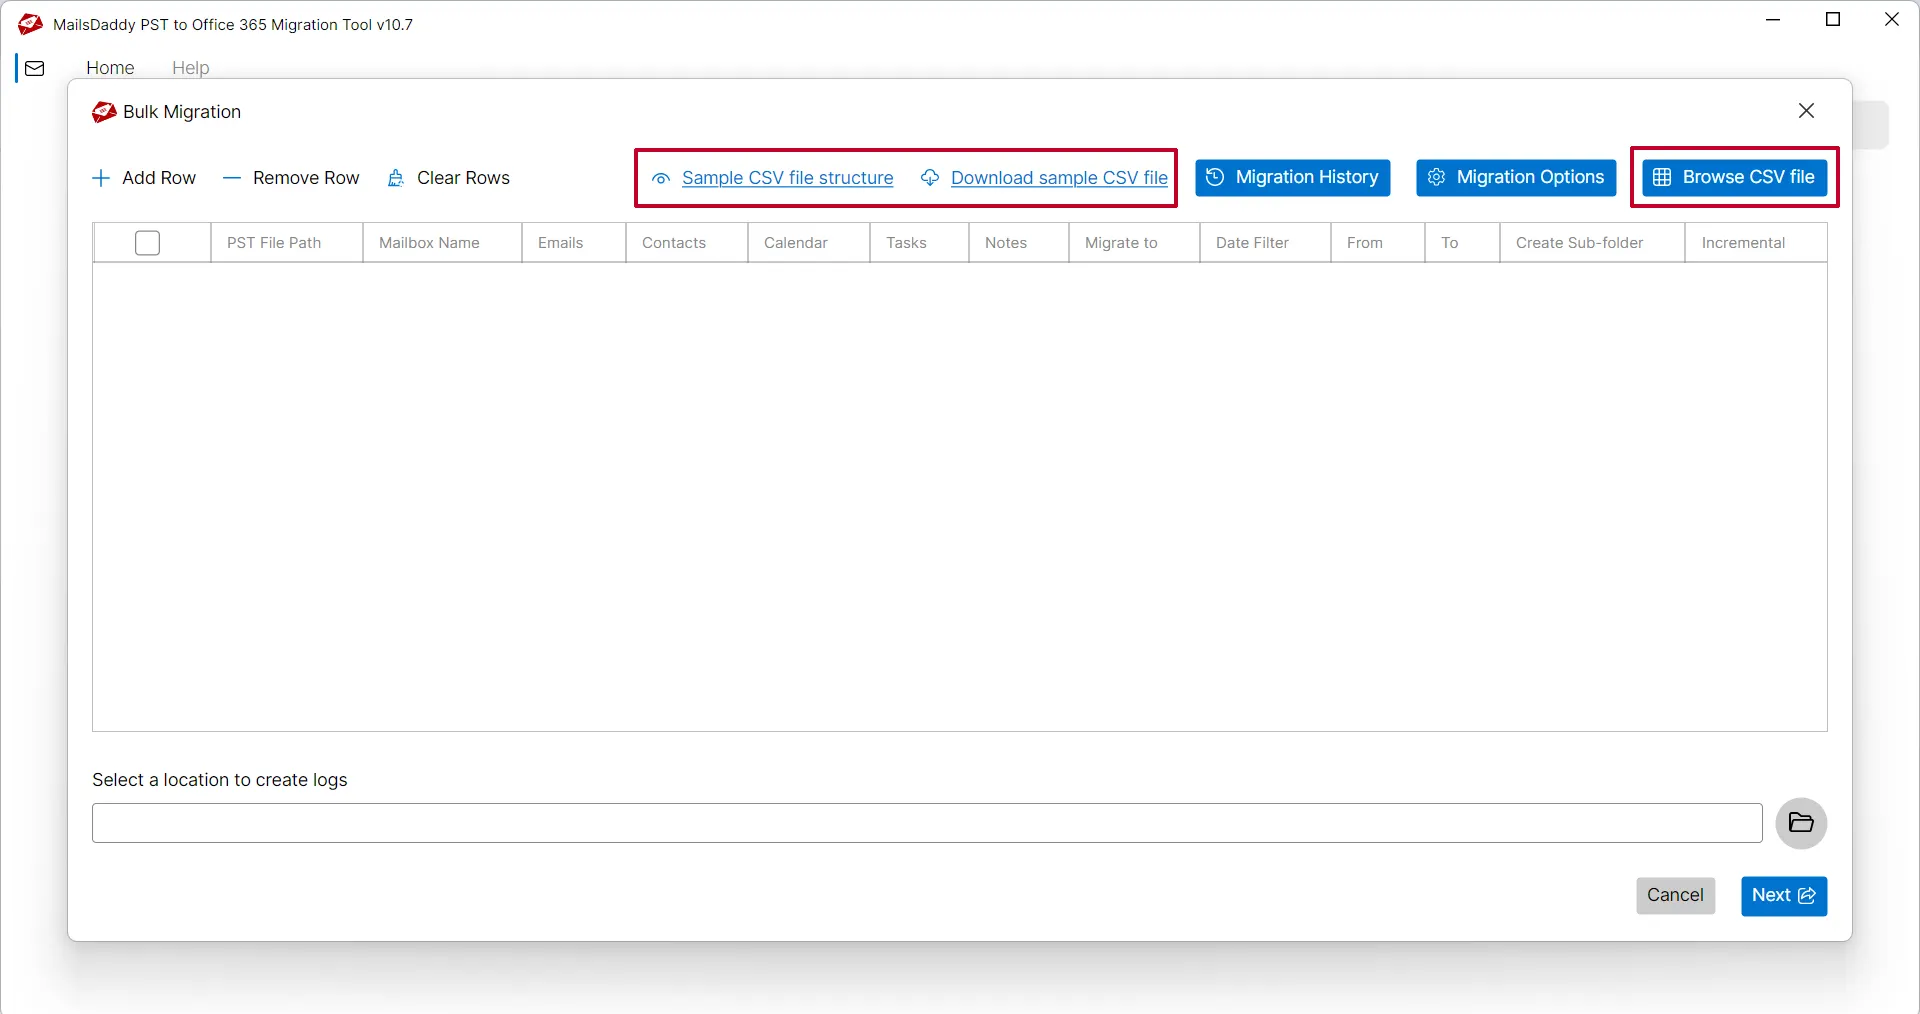
Step 2: Click on sample CSV or Download CSV file. Modify the list with your local PST file location and user account address then save it.
Step 3: Upload the CSV file.
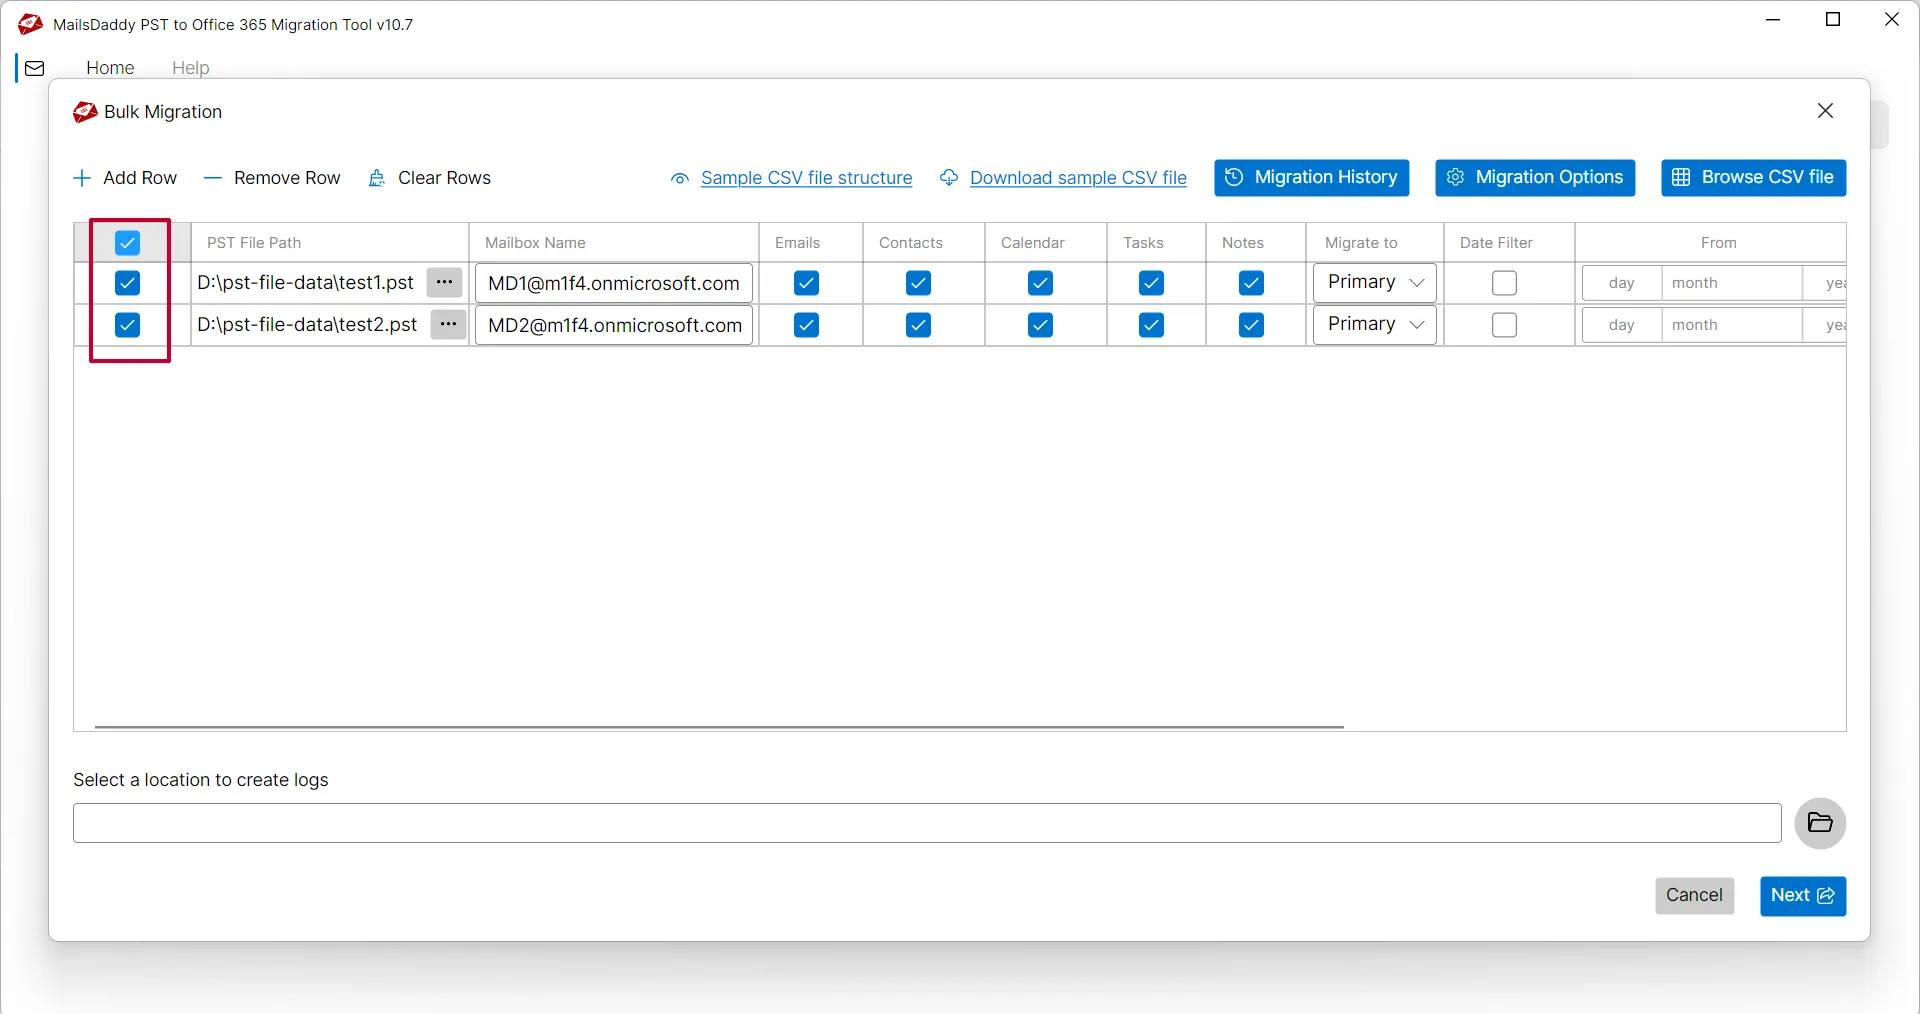
Step 4: Select All accounts that you want to migrate.
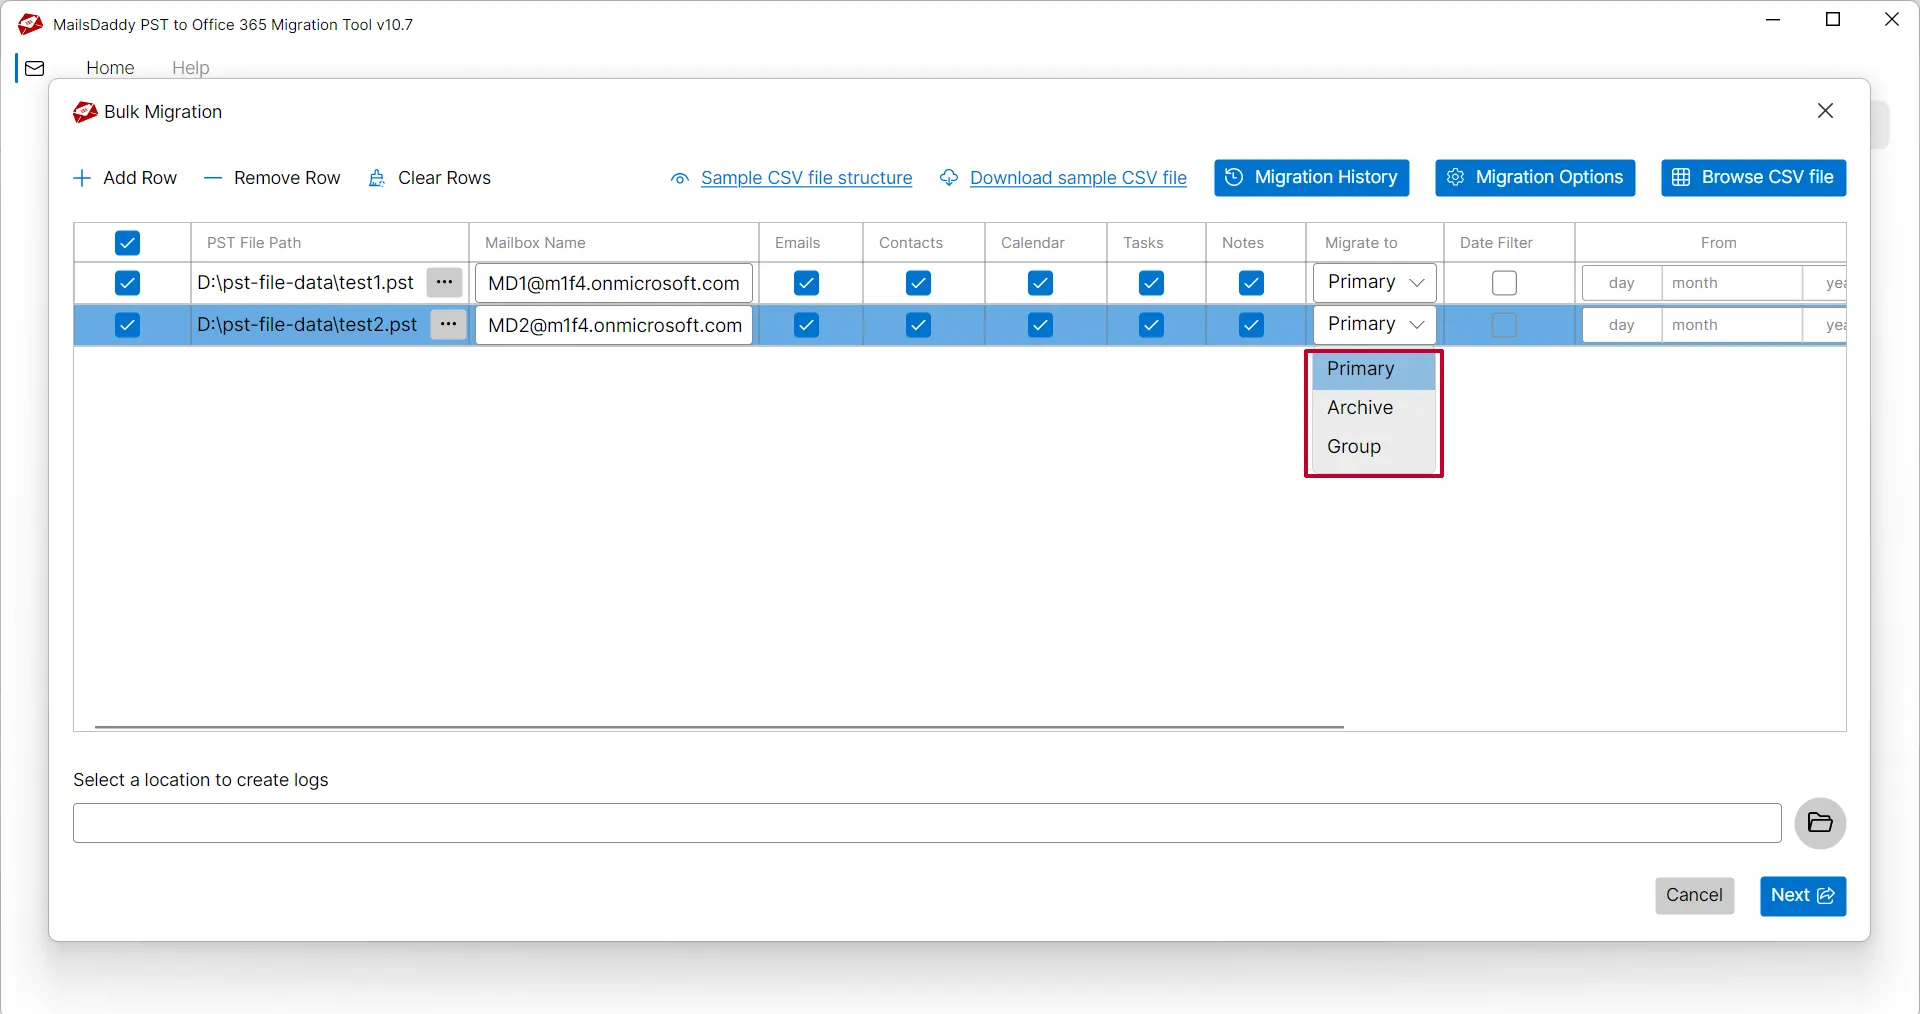
Step 5: You can choose mailbox between Primary, In-place Archive or Group mailbox.
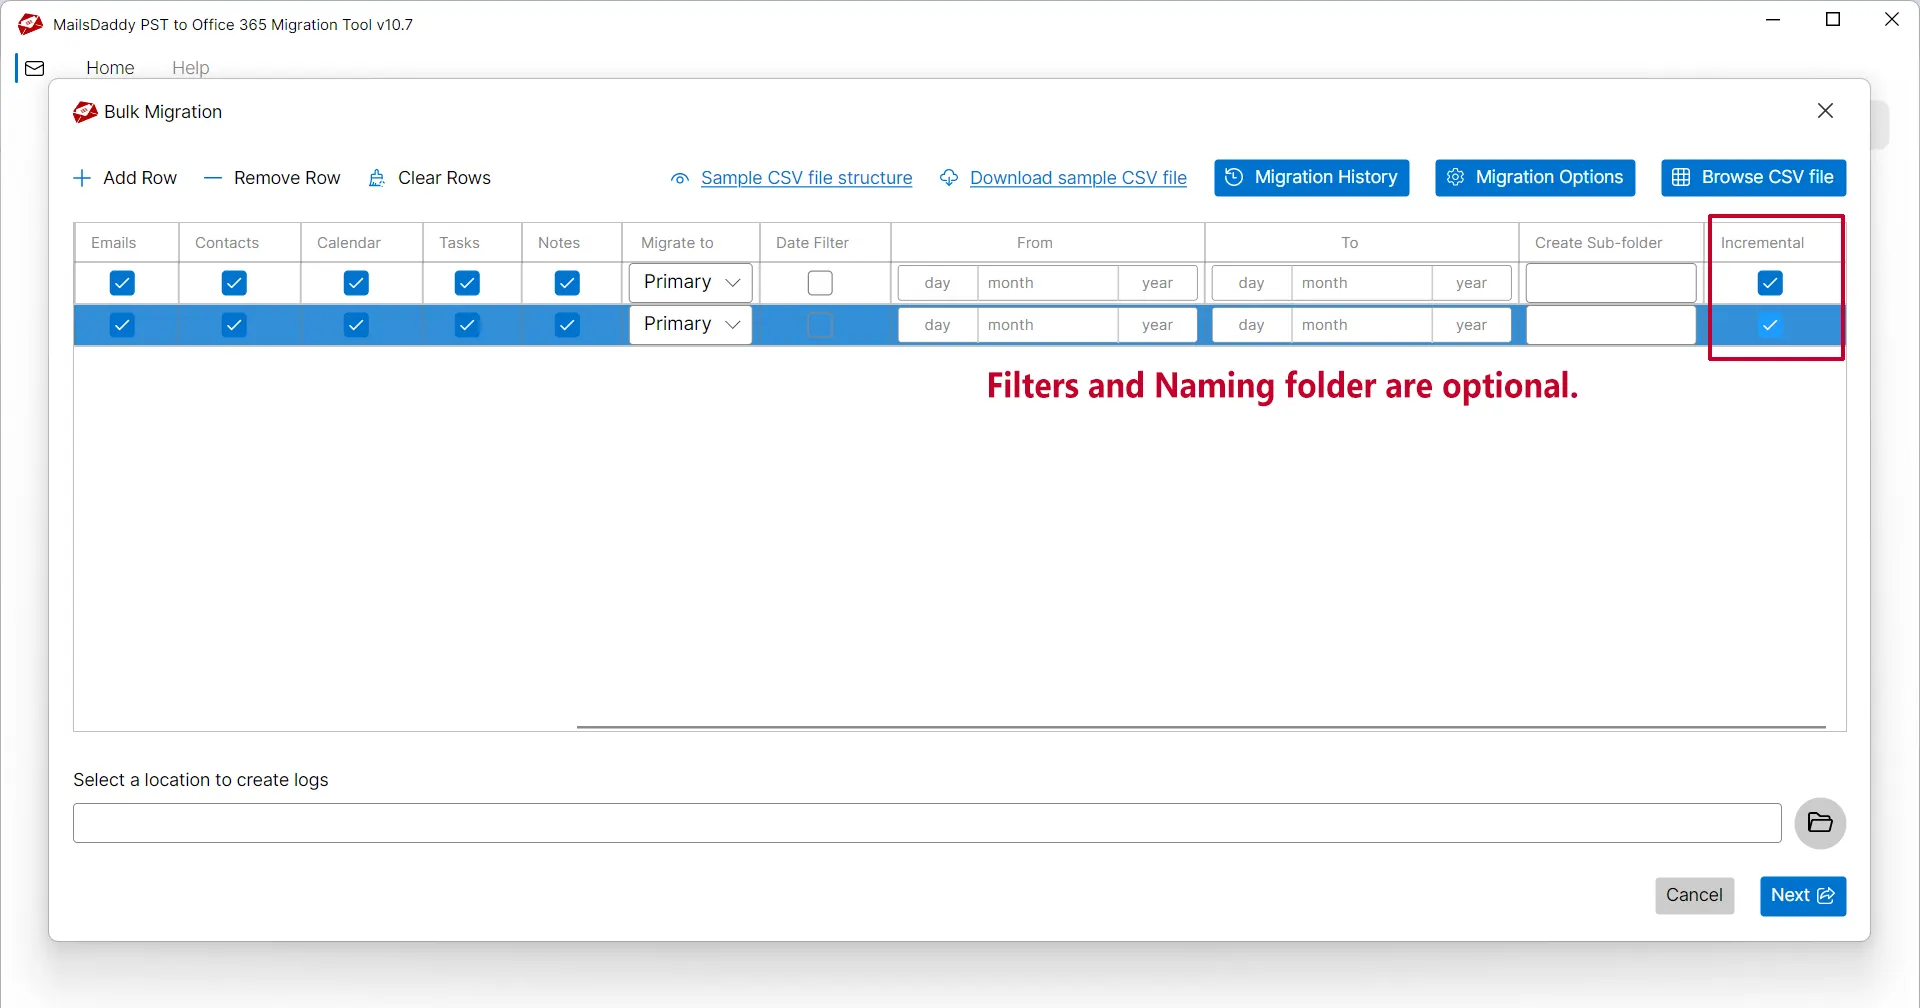
Step 6: Naming folder and filter are optional choice. Enable or Disable Incremental Migration, if it is required.
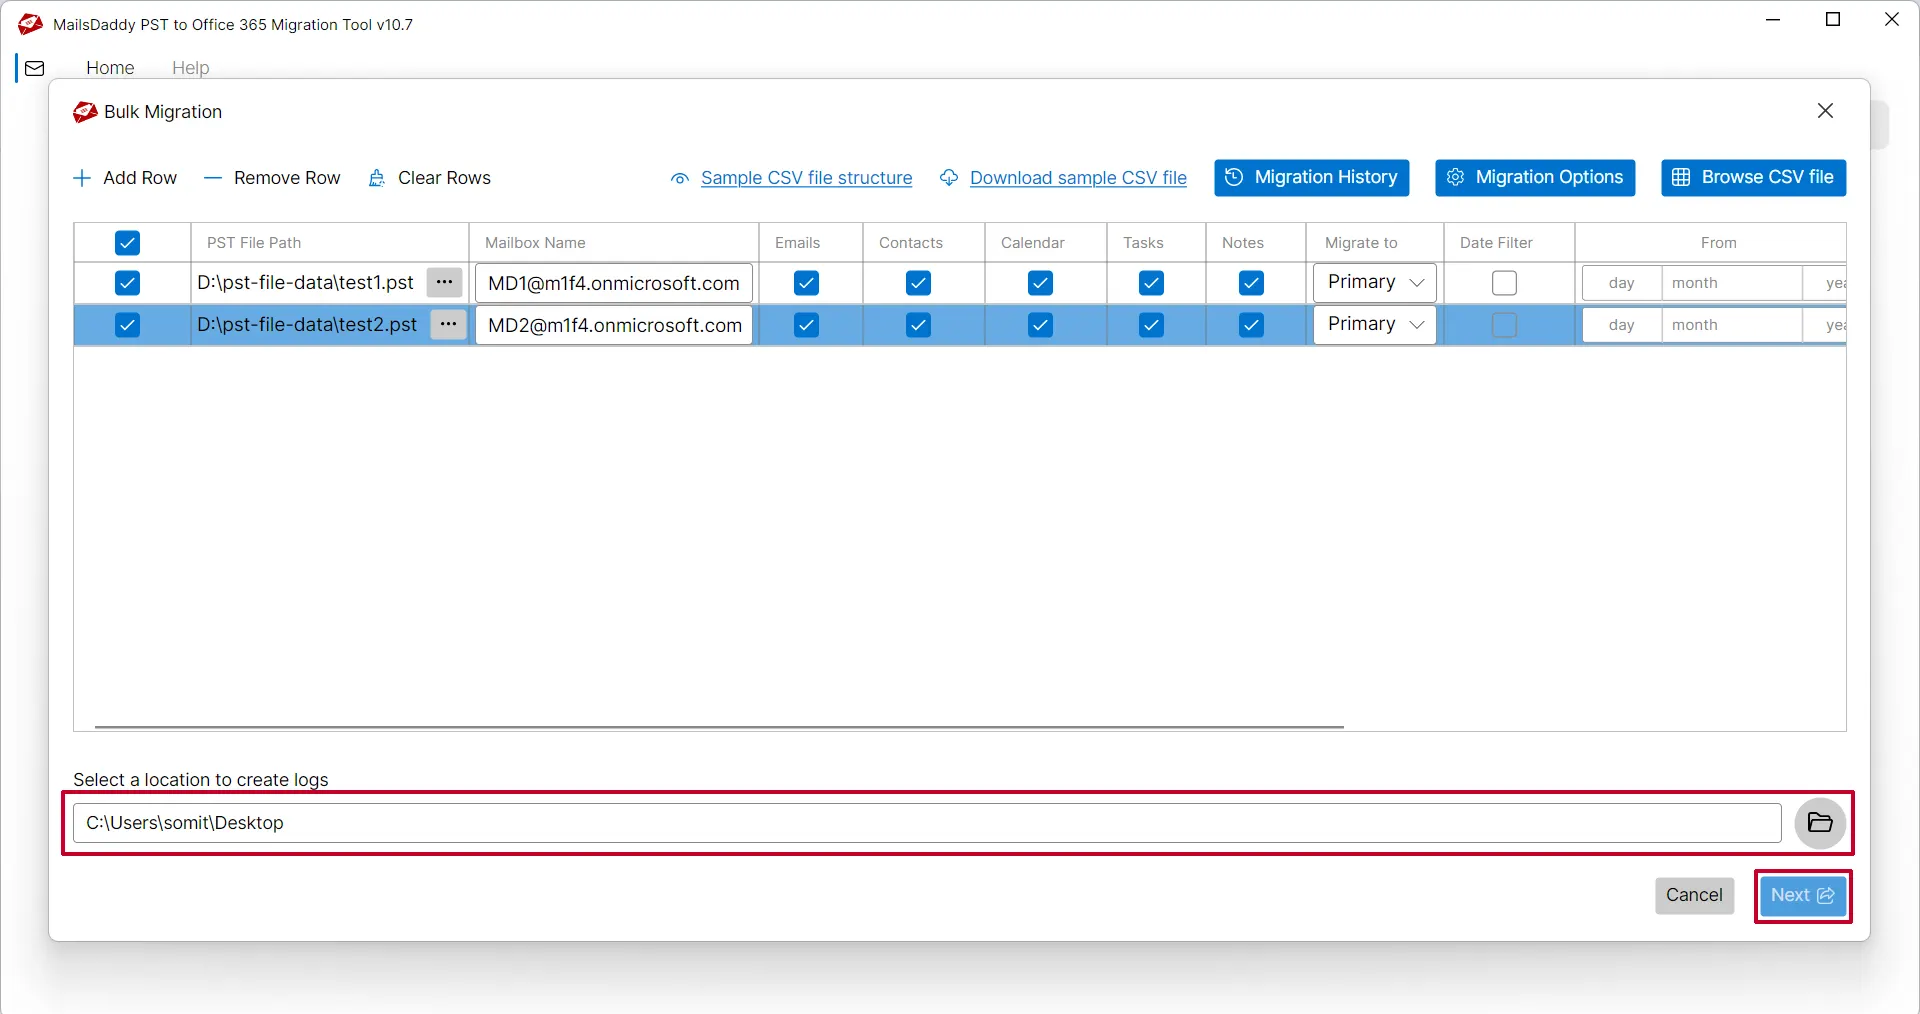
Step 7: Save the loction then hit on Next.
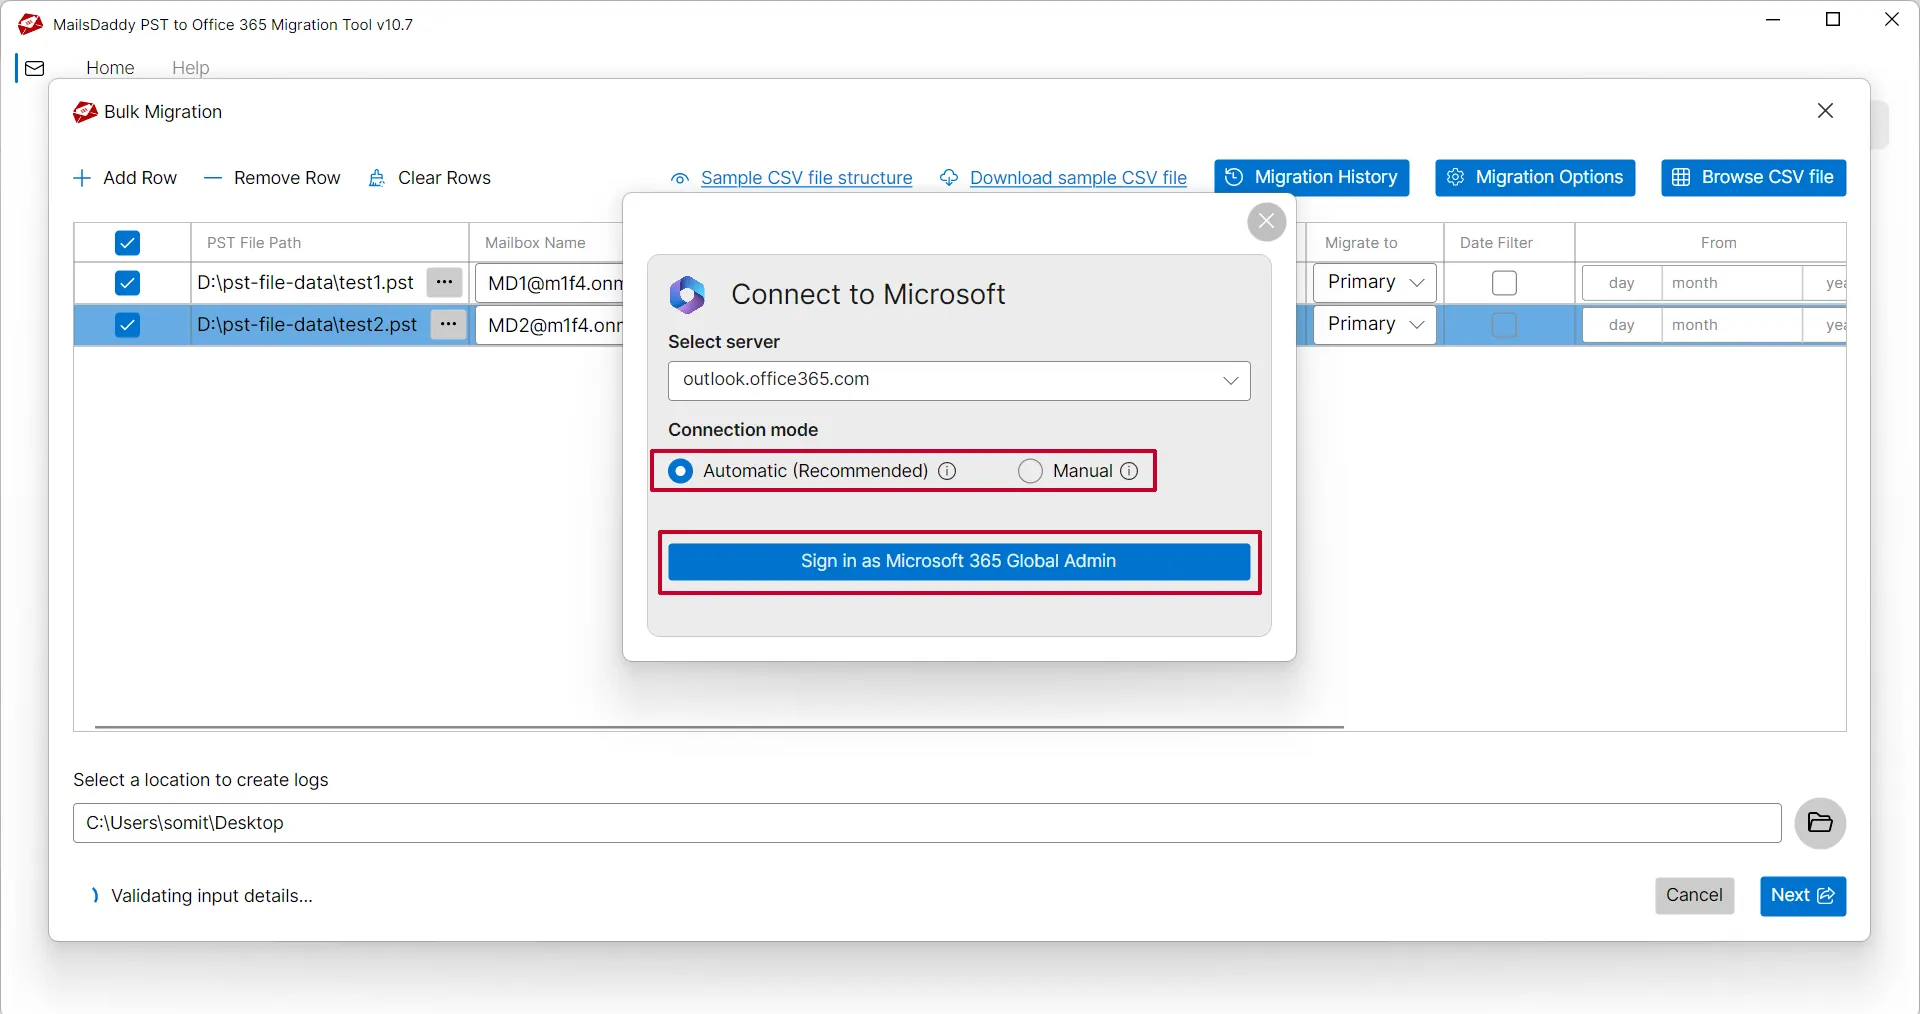
Step 8: Choose anyone option Automate or Manual to authenticate your Microsoft 365 account. With the manual way, you have to manually create Office 365 Tenant id, Client id & Client Secret Value by following our guide.
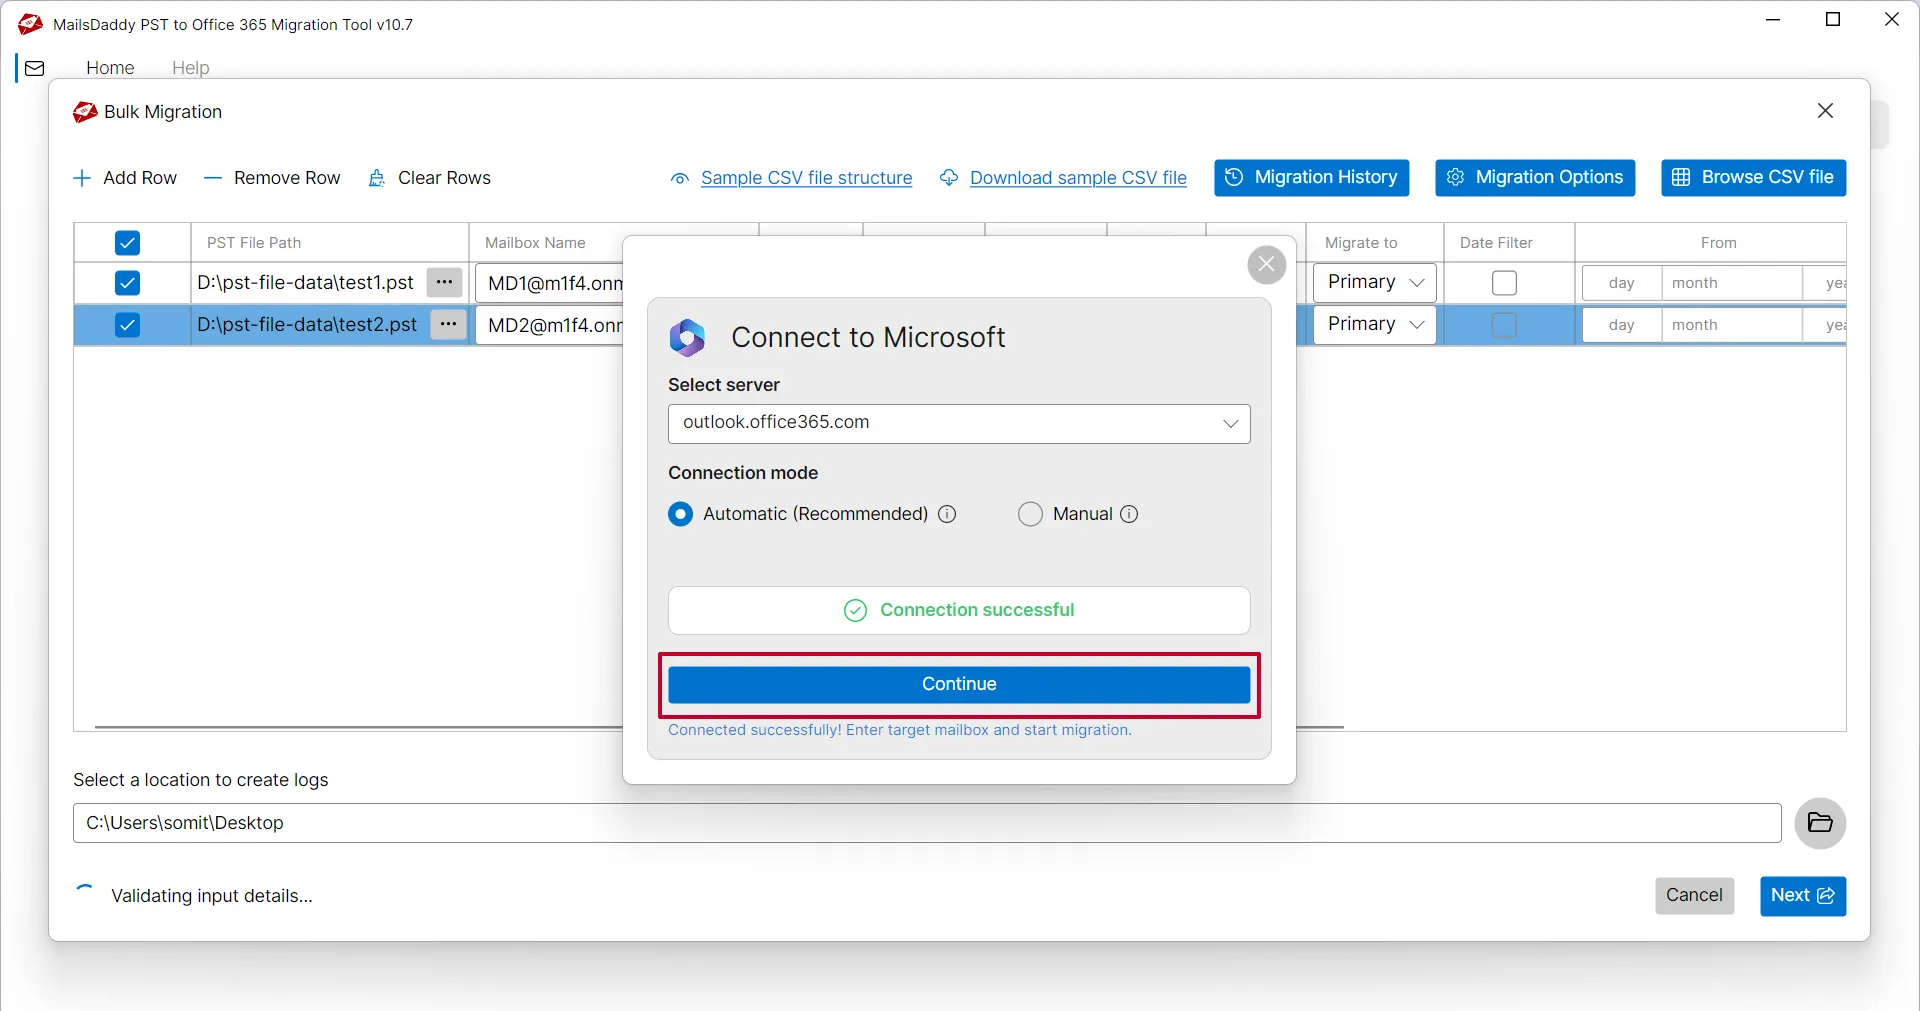
Step 9: After authentication, click on Continue button to run the migration.
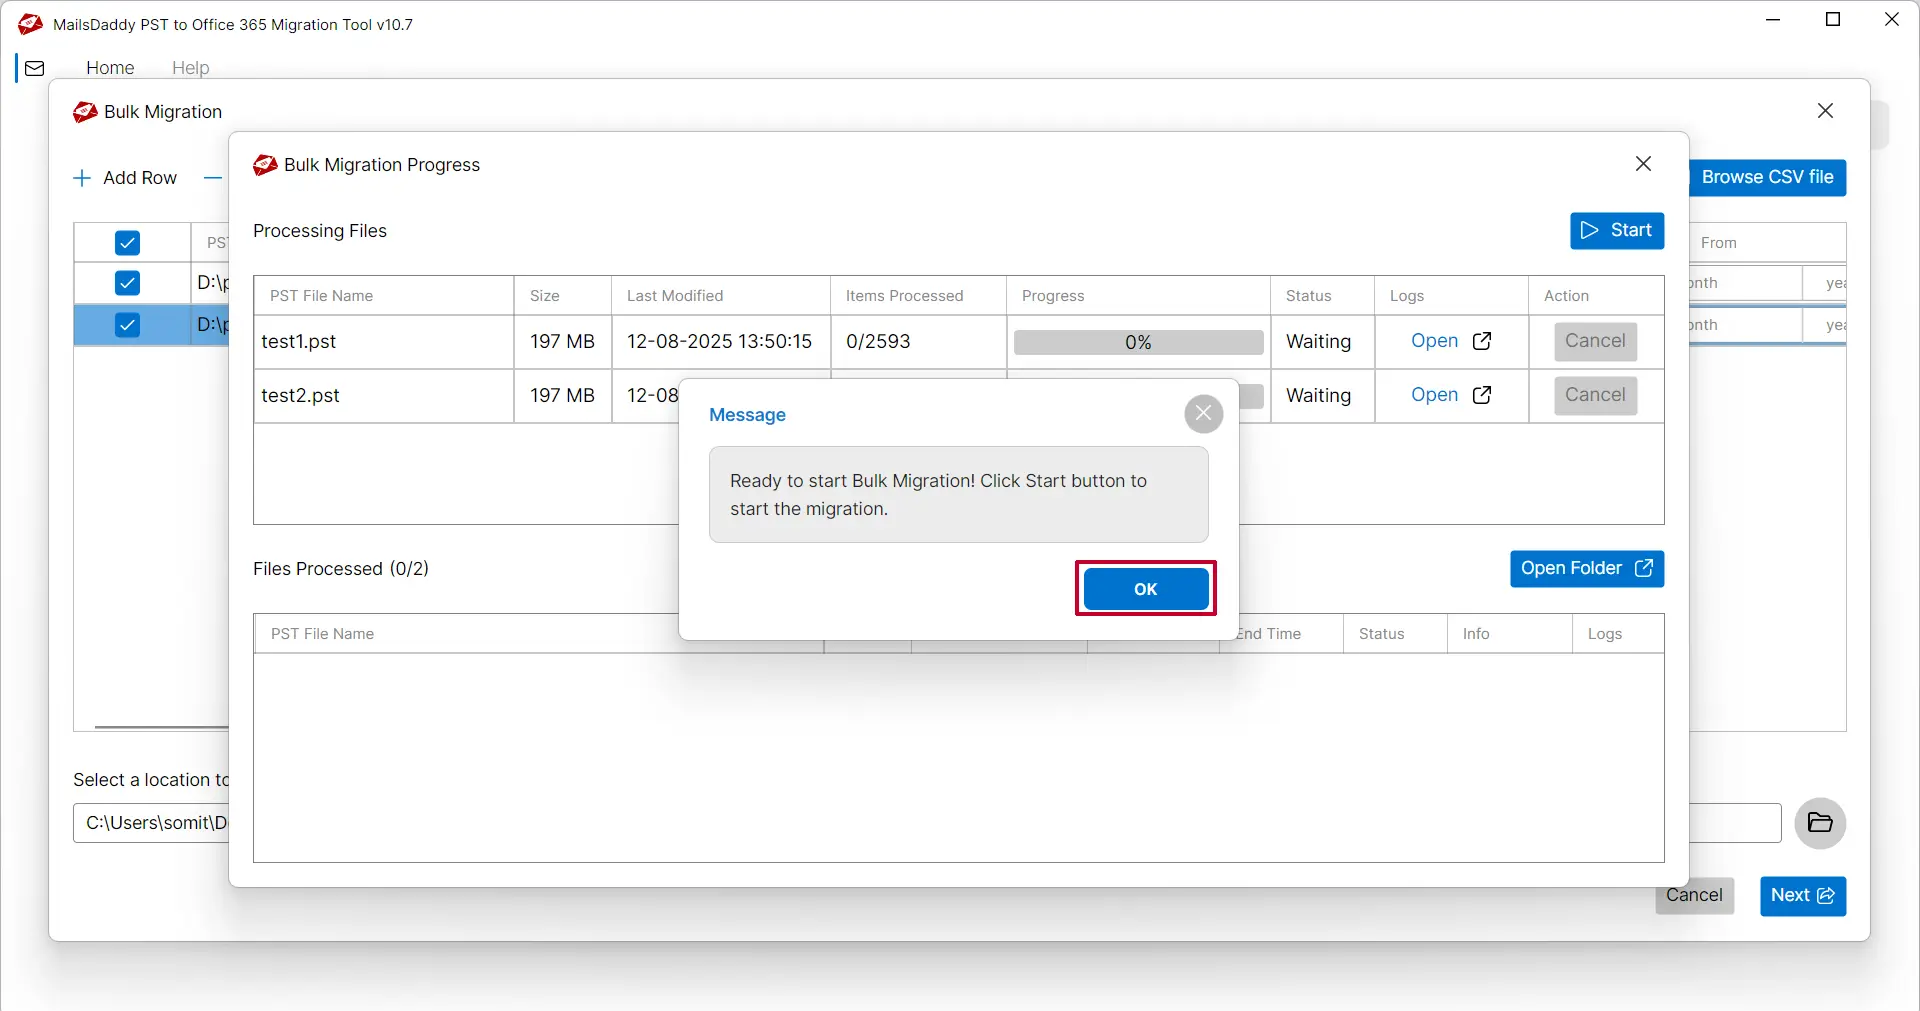
Step 9: Cilck on Ok button in pop-up message then hit on Start button.
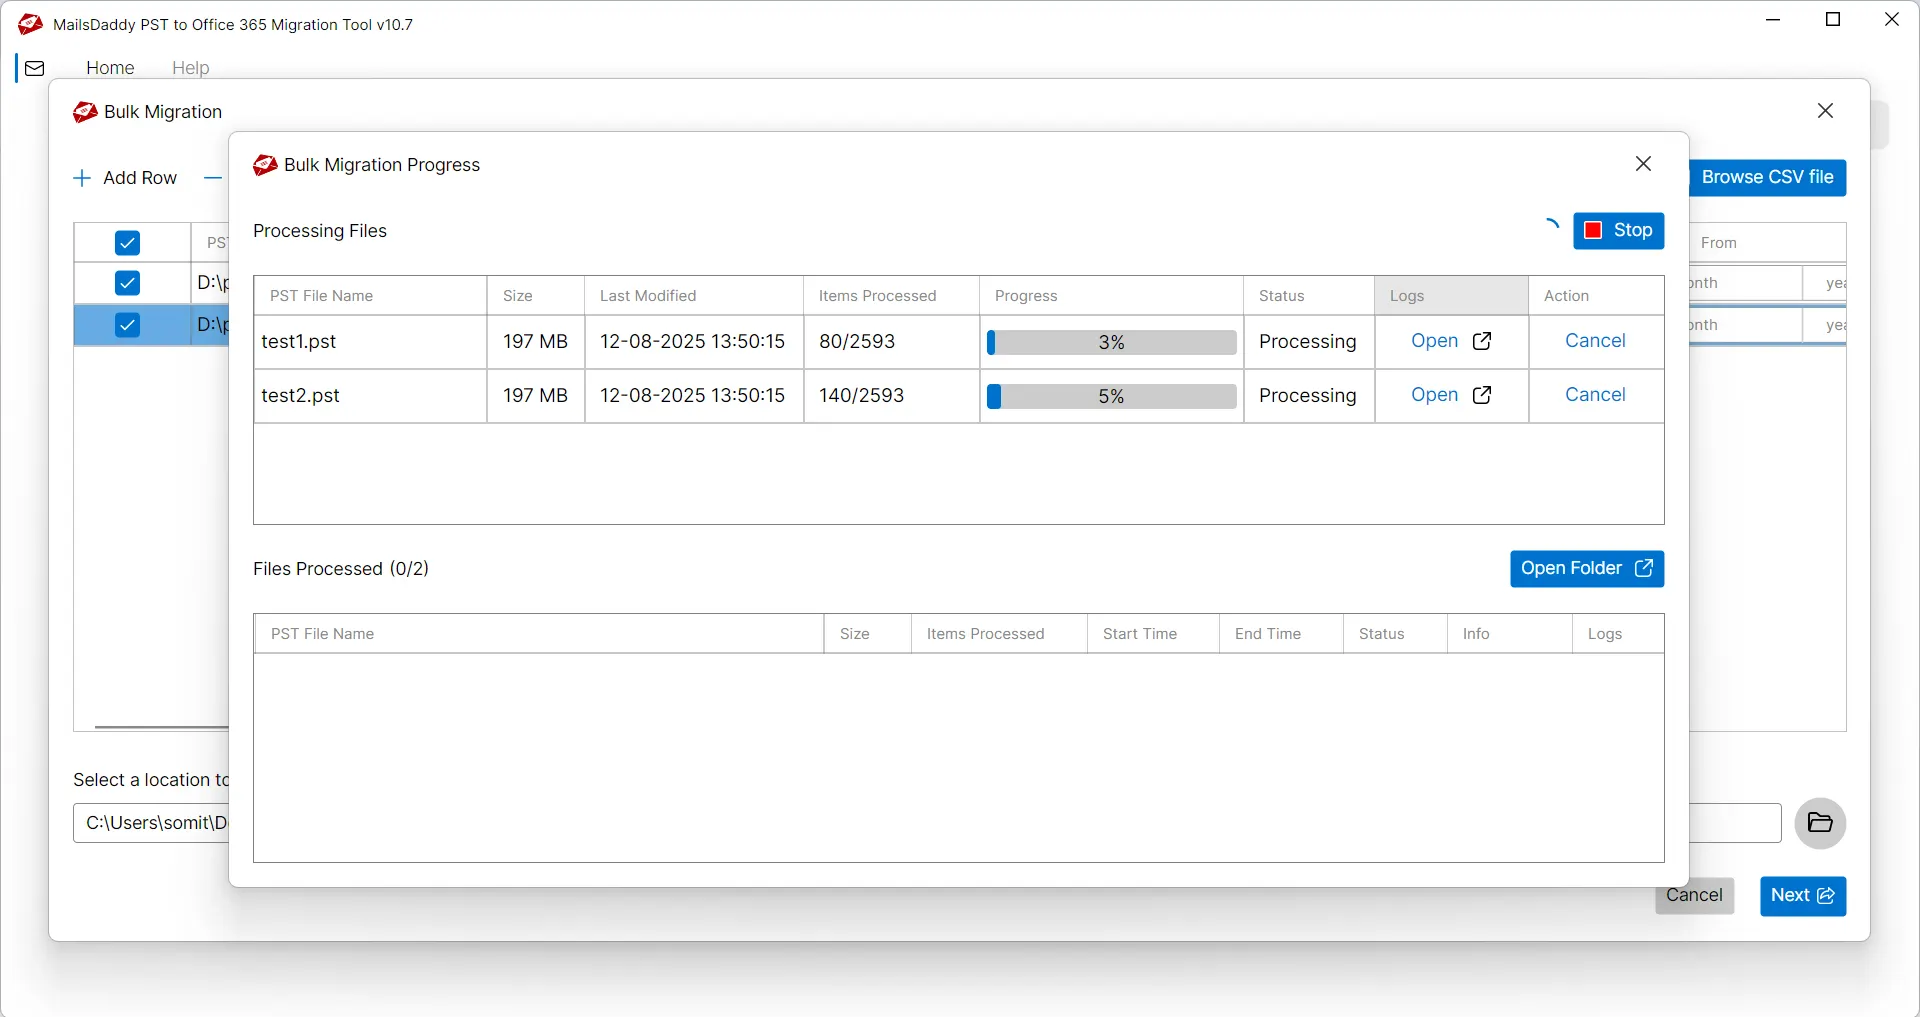
Step 9: When the migration is finished, the results will be displayed below.
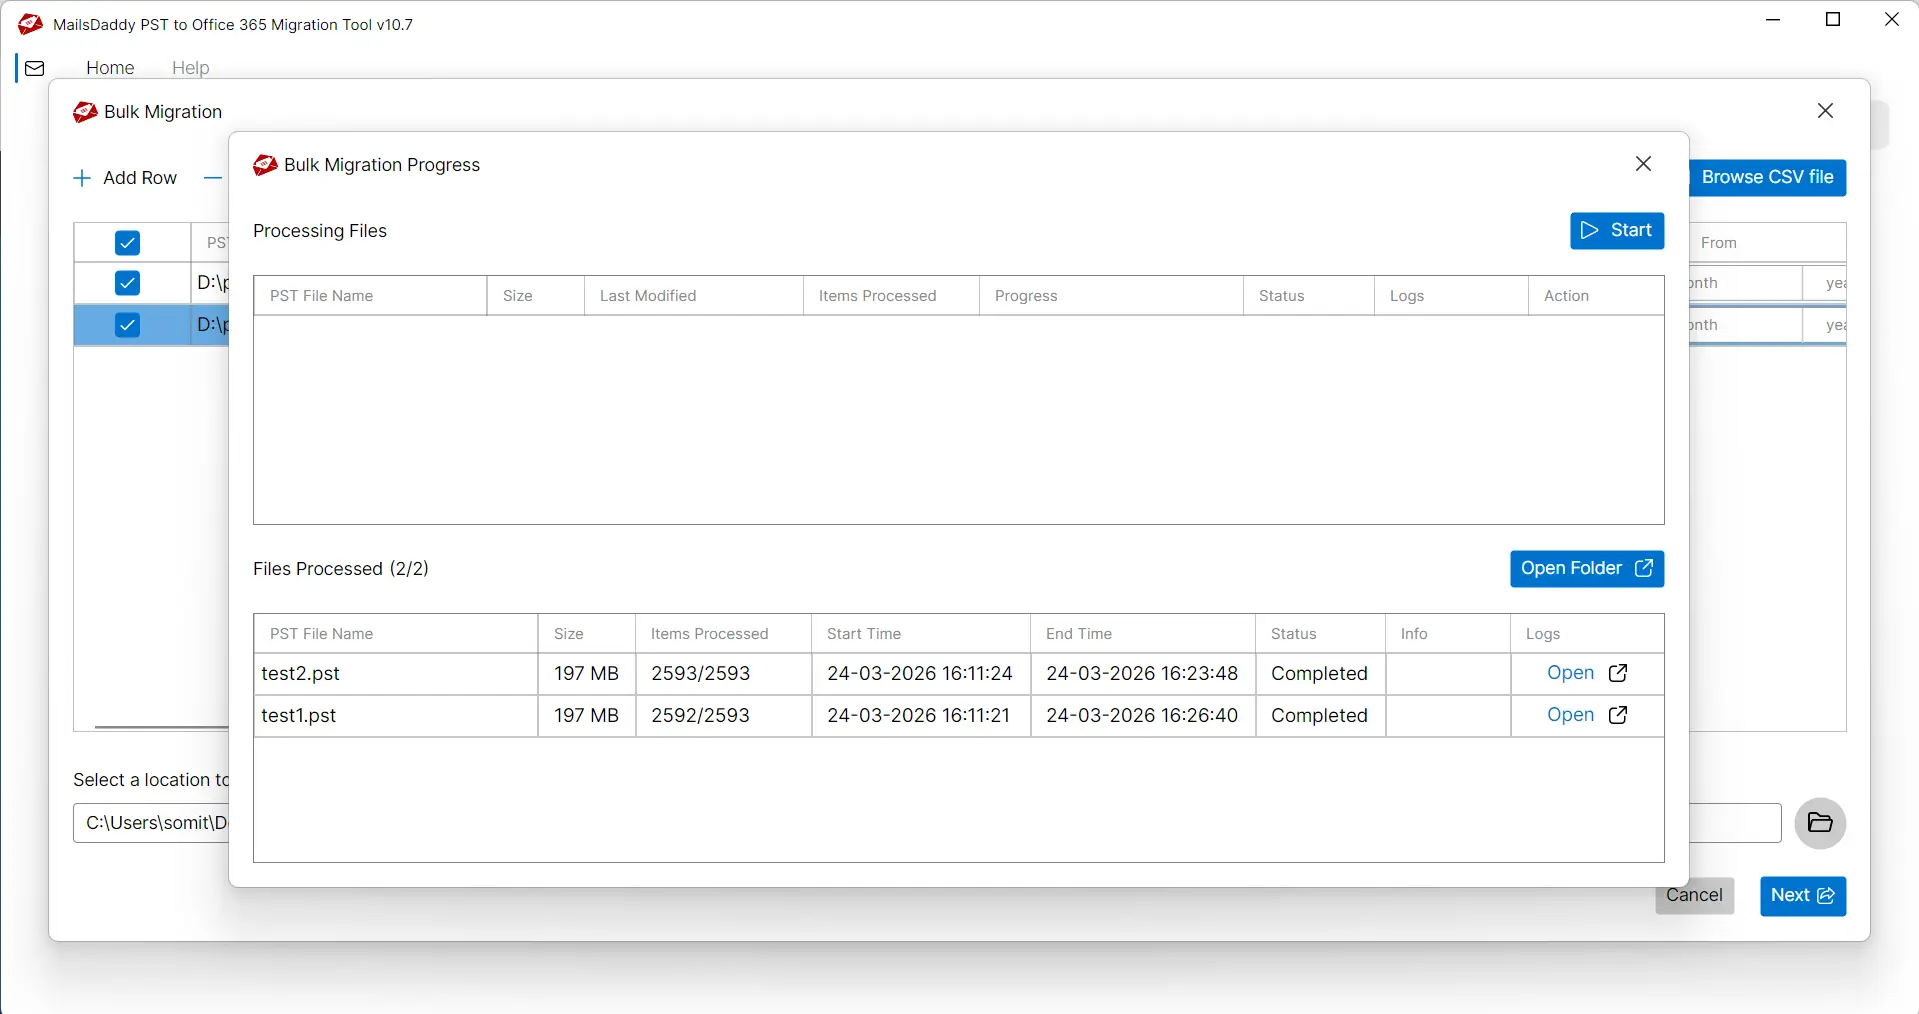
Step 10: You can also retry specific emails from the Migration History if any of them show a migration failure.