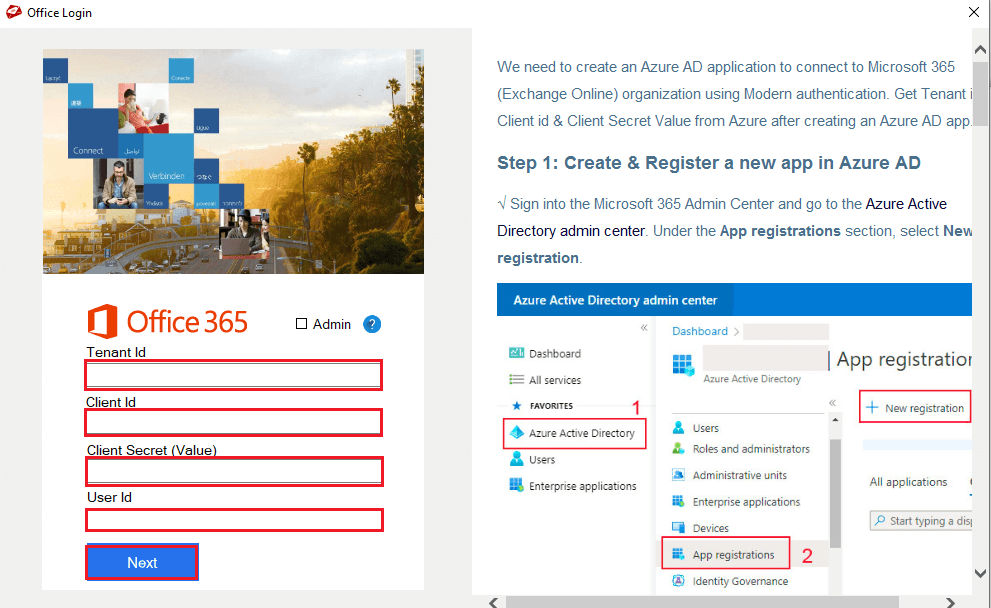
Step 1: MailsDaddy Office 365 Backup Tool supports modern authentication. In the very first step download and launch the software then fill the details to login.
Click next to log in.
Check this Guide to know how to get these details.
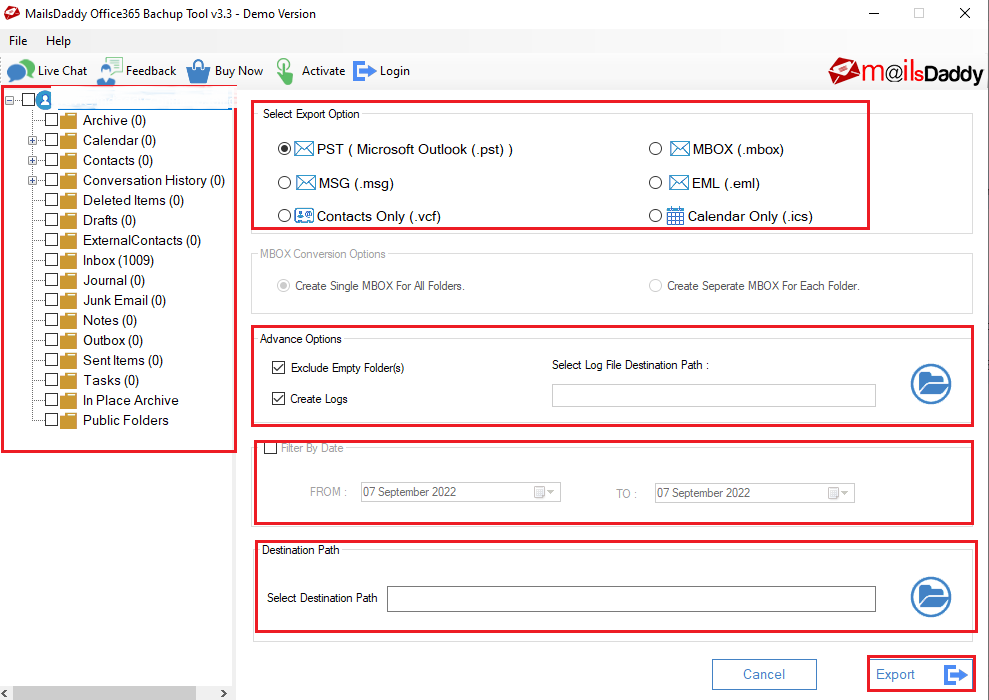
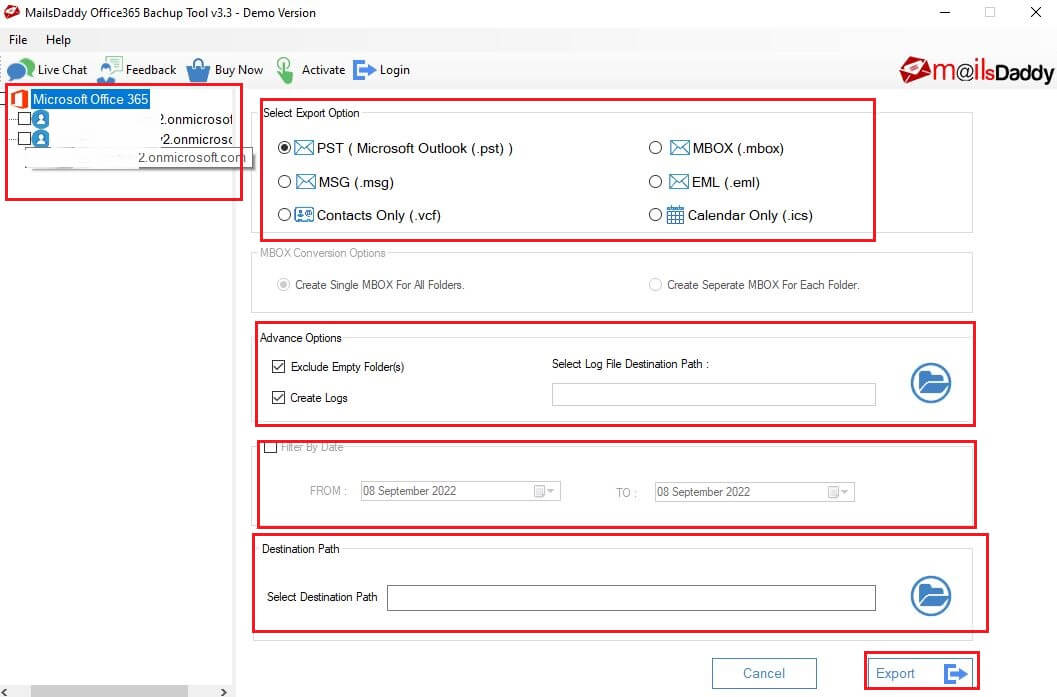
Step 2: Now you will get another window containing all folders and sub-folders, select the required folders that you want to backup.
Choose a required Export option.
In the Advance Options tab, Click on Exclude Empty folders (if you don't want to back up empty folders). Click on Create logs and select Log file Destination path.
Click filter by date (if want to download particular timeframe data), and destination path where you want to save downloaded data.
Finally, click on the Export button.
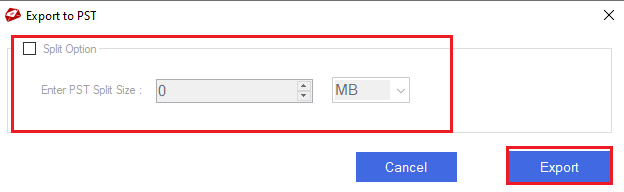
Step 3: After clicking on the export button, you will see an Export screen with a split option. If you want to split the backup file by size, click on the Split option and enter the size, and click Export. That is an optional choice for the users which can be skipped if not required.
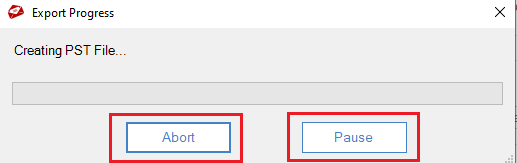
Step 4: The software will start backing up your Office 365 data into a selected file format. You can check the status through progress bar. You can use the Abort or Pause button if needed.
Step 5: In a few minutes, you will get a confirmation message that your selected folders exported successfully to your specified location. Click on Ok button.
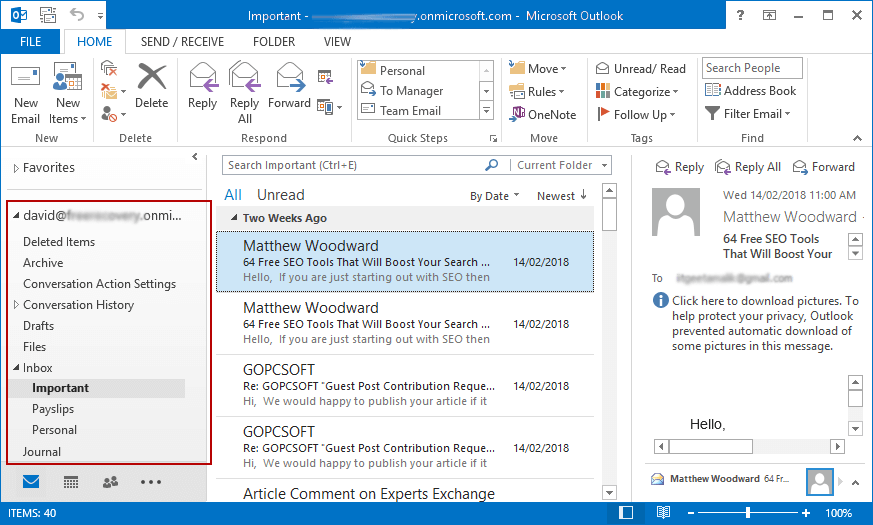
Step 6: Now open converted PST file in Microsoft Outlook. In this way you will able to open all your office 365 data in MS outlook.
If you are planning to backup multiple mailboxes using Admin login that time you need to provide Application Impersonation rights and Full Access to the Admin Account for each mailbox. Feel free to contact us if you have any doubts related to the rights and permissions required to backup multiple O365 mailboxes with Impersonation. This feature is available with a Business and Enterprise license.
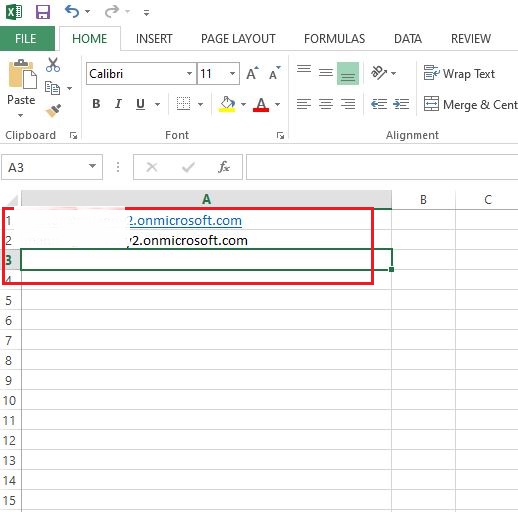
Step 1: In the very first step, create a CSV file containing all Office 365 mailboxes do you want to backup.
Step 2: MailsDaddy Office 365 Backup Tool supports modern authentication. In the very first step download and launch the software then fill the details to login.
Click on the Admin option and log in.
Check this Guide to know how to get these details.
Note: Make sure Admin radio button is checked (This feature is available for Business and Enterprise license users only)

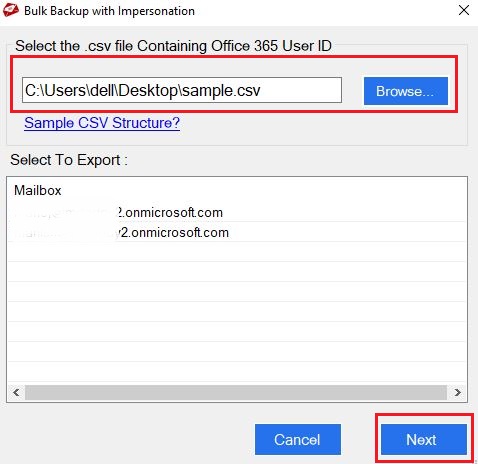
Step 3: Select the CSV file you have created for backing up Office 365 mailboxes. Click on the Next button.
Step 4: Now you will get another window containing all folders and sub-folders, select the required folders that you want to backup.
Choose a required Export option.
In the Advance Options tab, Click on Exclude Empty folders (if you don’t want to back up empty folders). Click on Create logs and select Log file Destination path.
Click filter by date (if want to download particular timeframe data), and destination path where you want to save downloaded data.
Finally, click on the Export button.
Step 5: After clicking on the export button, you will see an Export screen with a split option. If you want to split the backup file by size, click on the Split option and enter the size, and click Export.
Step 6: The software will start downloading all Office 365 mailboxes into selected file formats. You can check the status through progress bar. You can use the Abort or Pause button if needed.
Step 7: later, you will get a confirmation message that your selected folders exported successfully to your specified location. Click on Ok button.
Step 8: Now open converted PST files in Microsoft Outlook. In this way you will able to open all your office 365 data in MS outlook.
